How to Work with Metal or Steel Framing
Useful Tips for Working with Metal Studs and Framing
Metal framing studs compare favorably with conventional wooden construction studs and are now available at your home improvement store. The steel studs are lightweight, strong and uniformly straight and true. Metal framed walls use a track or channel at the top and bottom to hold the studs in place, but the basic wall frame construction is the same. Working with them requires only two tools: a power drill and a pair of snips. Basic installation instructions are available below.
- Hold the track on edge and snip through the sides/legs first to begin cutting the channels to the correct length for the wall frame you are constructing. The cut metal edges may be sharp, so wear leather gloves to avoid nicks and cuts.
- Rotate the track with the severed sides/legs upward and let the unsupported weight of the scrap end drop and bend the face of the channel back on itself.
- Finish severing the two pieces of track along the bend with the metal snips while squeezing the sides/legs together with one hand and cutting with the other.
- Attach the length of track to a wooden base or subfloor with drywall screws. You can also assemble the wall frame with it lying flat on the floor, stand it upright in position, and then anchor it to the floor.
- Insert the metal studs into the channel, sliding them into position and observing building codes for spacing. Avoid making an obstacle of the installed studs. Work from the middle outward to both ends of the channel or ensure that you slide each successive stud into the track from the same end of the channel.
- Secure the studs with short pan-head screws with self-drilling tips. Drive them through the outside of the channel into the side of the studs.
- Set the top track over the secured studs and drive pan-head screws through each to secure them at the upper end.
- Insert large plastic grommets into the pre-punched holes in the studs to facilitate running electrical wiring and protecting it from nicks and cuts.
- Apply drywall in much the same way as conventional framing, but use special screws with finer threads designed to pierce the metal studs.
Blog Articles
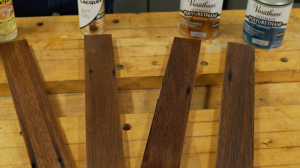
How to Protect Unfinished Wood
Many people are unsure how to protect unfinished wood. Perhaps you've bought a used piece of furniture, sanded it down, and revealed its beautiful wood grain. Now, you want to preserve its natural beauty without painting it. What should you use? In this blog post, we’ll guide you through your options to help protect and showcase your wood piece.
Reasons You Should Replace Your Shower Head
Brian had some guests over – and when they left, he discovered that the shower head was broken. In this video, he will show you how easy it is to replace a showerhead. Whether you're upgrading from a basic plastic model to a sleek stainless steel version, or simply need to fix a broken one, the process is easy.
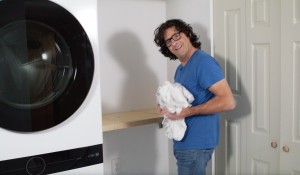
A Space-Saving Laundry Hack
Are you tired of cramped laundry areas and limited workspace? If you have a small space, we have a big solution for you! This DIY project is perfect to maximize your space and create a functional laundry area. Using a folding shelf bracket, you can easily create a countertop that folds up when not in use, saving valuable space. What’s the best part of a folding laundry shelf? You can customize it to fit your unique style and needs.


