How to Repair and Restore Broken Ceramic Objects
How to Repair Your Favorite Ceramic Objects
Ron's family's favorite cookie jar, a personalized New York taxi, was accidentally dropped, leaving a pretty big hunk missing. They were able to salvage some of the parts but not all of them, so this project required more than simply gluing together the pieces.
One of the biggest challenges in repairing an odd shape object like this is keeping it in the right position while working on it. Ron's solution was to use a bucket of sand to embed the ceramic piece so that it stuck up in just the position he wanted allowing him to have both hands free to work.
Ron used a dual syringe for dispensing equal parts of epoxy and hardener. Thorough mixing is important but so is time. You only have about three to four minutes to work with this adhesive.
A pair of self-gripping tweezers works better than fingers for very small pieces. After gluing back all the pieces there was still quite a bit of material missing, and Ron's challenge was to replace it. Ron's solution was an all-purpose polyester resin filler that was quick setting, easy to shape and would stick to just about anything. Each can comes with a tube of hardener and all you have to do is mix the two together. The more hardener you put in the resin, the faster it sets up.
Ron mixed in quite a bit so he only had about two minutes to work with the material. Ron over filled the cavity and then waited for the resin mixture to harden. When the material reached a rubbery state, Ron started shaping it. He removed some of the excess by first paring it away with a sharp knife. Then he began shaping the contours using a rasp.
Ron wrapped sandpaper around a dowel and removed the tool marks and blended the filler with the ceramic edges. He switched to a very fine paper for the final smoothing.
Ron used artist's acrylic colors, beginning with white. He thinned the paint with water to make the paint brush on more smoothly. Acrylics can be intermixed with each other to create precisely the right color for a near perfect match. In this case, a little white and red provided just the pink that Ron needed. The flesh tone for the hand was blended from white, red and yellow.
After the paint dried, Ron applied a clear spray acrylic, which seals in the colors and adds gloss, making the repair nearly undetectable.
Blog Articles
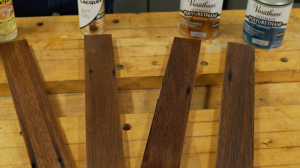
How to Protect Unfinished Wood
Many people are unsure how to protect unfinished wood. Perhaps you've bought a used piece of furniture, sanded it down, and revealed its beautiful wood grain. Now, you want to preserve its natural beauty without painting it. What should you use? In this blog post, we’ll guide you through your options to help protect and showcase your wood piece.
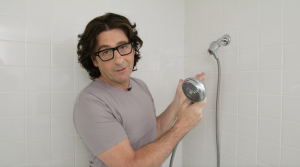
Reasons You Should Replace Your Shower Head
Brian had some guests over – and when they left, he discovered that the shower head was broken. In this video, he will show you how easy it is to replace a showerhead. Whether you're upgrading from a basic plastic model to a sleek stainless steel version, or simply need to fix a broken one, the process is easy.
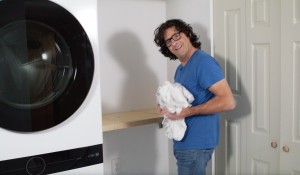
A Space-Saving Laundry Hack
Are you tired of cramped laundry areas and limited workspace? If you have a small space, we have a big solution for you! This DIY project is perfect to maximize your space and create a functional laundry area. Using a folding shelf bracket, you can easily create a countertop that folds up when not in use, saving valuable space. What’s the best part of a folding laundry shelf? You can customize it to fit your unique style and needs.


