How to Install a Programmable Thermostat
Installing a programmable thermostat could cut your energy costs by up to 33 percent. It's easy to do with a few simple steps. First, remove the decorative cover or trim piece from the existing thermostat. Underneath, you'll find mounting screws. Remove these and the thermostat mechanism. Most thermostats have four or five wires connected to terminals that are labeled. Next, remove the mounting screws from the base and pull it away from the wall. One by one, disconnect the wires from the terminals. Pull them out and label them as you go.I made these labels with a computer printer and sprayed the back with contact cement. Now what's important here is to make sure the labels match the lettering on the terminals. They have nothing to do with the wire colors. Place the new base in position on the wall and mark the location of the mounting holes. Drill the holes, insert plastic anchors, tap them into place and mount the base plate. This thermostat has a printed wiring diagram. Remember those labels? Well, all you have to do now is attach the wires to the corresponding terminals. No guesswork, no trial and error. Finally, snap on the cover and you're finished.
For a sleeker look, consider this flush-mounted thermostat. To install it, trace the inside of this template that's included with the thermostat. Cut out the marked opening, using a wallboard saw and set the recessed housing in place. As you begin tightening the screws on the front of the housing, these wings flip out on the backside of the wall. Continued tightening pulls the wings snugly against the surface, holding the box securely in place. Then connect the labeled wires to the corresponding terminals, slip the thermostat into the housing and snap it in place.
Rather than protruding, this recessed model sits nearly flush with the surrounding wall. Greater comfort, lower energy bills. That's a lot of benefit in such a small package.
Blog Articles
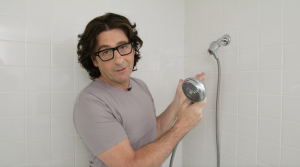
Reasons You Should Replace Your Shower Head
Brian had some guests over – and when they left, he discovered that the shower head was broken. In this video, he will show you how easy it is to replace a showerhead. Whether you're upgrading from a basic plastic model to a sleek stainless steel version, or simply need to fix a broken one, the process is easy.
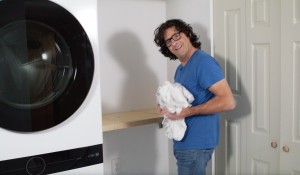
A Space-Saving Laundry Hack
Are you tired of cramped laundry areas and limited workspace? If you have a small space, we have a big solution for you! This DIY project is perfect to maximize your space and create a functional laundry area. Using a folding shelf bracket, you can easily create a countertop that folds up when not in use, saving valuable space. What’s the best part of a folding laundry shelf? You can customize it to fit your unique style and needs.
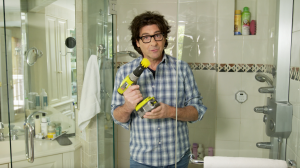
Can You Clean Your Shower with a Power Tool?
Imagine a shower, sparkling clean, with minimal effort. This innovative tool, when paired with a drill, transforms tedious scrubbing into a satisfying power-cleaning session. Its versatile attachments cater to different surfaces, from large, flat tiles to stubborn grout lines. A quick spray of soapy water, a few minutes of drilling, and voila! Your shower is transformed.


