How to Restore the Finish on an Antique Table
Learn how to restore rather than refinish an antique table with a scratched and lifeless finish
A drop-leaf table at a consignment shop offered possibilities despite a finish that was scuffed, scratched, and dull. We purchased the table and brought it to the workshop as a candidate for a restoration project. It was an old piece that was probably hand-made in the late 1800s, as evidenced by the handmade dovetailed joints on the drawer. Additionally, it was solid wood.
Related Tips
Blog Articles
How to Protect Unfinished Wood
Many people are unsure how to protect unfinished wood. Perhaps you've bought a used piece of furniture, sanded it down, and revealed its beautiful wood grain. Now, you want to preserve its natural beauty without painting it. What should you use? In this blog post, we’ll guide you through your options to help protect and showcase your wood piece.
Reasons You Should Replace Your Shower Head
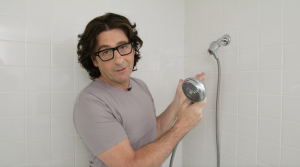
Brian had some guests over – and when they left, he discovered that the shower head was broken. In this video, he will show you how easy it is to replace a showerhead. Whether you're upgrading from a basic plastic model to a sleek stainless steel version, or simply need to fix a broken one, the process is easy.
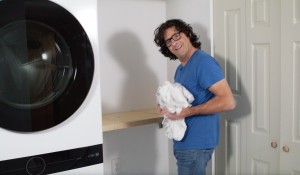
A Space-Saving Laundry Hack
Are you tired of cramped laundry areas and limited workspace? If you have a small space, we have a big solution for you! This DIY project is perfect to maximize your space and create a functional laundry area. Using a folding shelf bracket, you can easily create a countertop that folds up when not in use, saving valuable space. What’s the best part of a folding laundry shelf? You can customize it to fit your unique style and needs.

