RH: My next stop in Washington was just a short trip from the Canadian border. The city of Dellingham. We’re on our way to the home of Gina and Ray Moore who have been working hard to give their home a classic Victorian look. Today we’re going to extend those efforts to their foyer ceiling. Hi Gina!
GM: Hi Ron!
RH: How are you?
GM: Good.
RH: Ray.
RM: Hi! It’s a pleasure to meet you.
RH: What a nice house you guys have got here.
RM: Thank you.
RH: How long have you been here?
GM: About three years.
RH: Wow. A lot of nice work you’ve done here.
RM: Thank you.
RH: Finishing it off.
RM: All we have left are finish projects on the house and the ceiling is the one that we wrote you about.
RH: Ah, right here. Okay. Now you guys were thinking originally about some kind of embossed wallpaper for this?
GM: Yeah. Well, we wanted sort of a Victorian look. Like the old tin ceilings.
RH: Right.
GM: I thought that would go with the style of the house.
RH: Right, and we came up with this embossed tile idea which I think is going to be even easier to do and I think it’s going to give you even more detail. It’s going to look more like that tin ceiling.
GM: Yeah.
RH: All right. The first thing we want to do is do some layout work up here so, let’s grab a couple ladders and a couple tape measures and get started if your up for it.
GM: Sounds great.
RH: All right. Good.
GM: Okay.
RH: Now these are the embossed ceiling tiles that we’re going to be using today. There are two ways to put these up. You can install these strips of wood called firing strips on the ceiling and then these tiles simply lay on top. They interlock like this and then simply staple the tabs to the wooden strips or you can do it this way, which is the way we’re going to do it today, using these metal tracks and they attach to the ceiling. The tiles go right on top, interlocking the same way they would before but, instead of the staples, in this case we’re going to use this metal clip which just slides right over the tab on the edge of the tile. Okay guys, lets get the length of the ceiling here. The first step in determining how we’re going to lay out our tiles is measuring the length and width of the ceiling.
RM: What’s it looking like Gina?
GM: It looks like 6’ 3 ½”.
RH: Six feet three and a half inches. I’ll buy that. Okay. While Gina and Ray work on taking down the light fixture I’m off in search of wooden ceiling joists with my Studfinder. We need to know where the joists are because we’ll be attaching the metal tracks to them with screws. Now that we’ve established the location of the studs we mark their position by striking a chalk line along the length of each one. Then we snap a second series or lines at right angles to the first, 12 inches apart. These marks will show us where to place the mounting tracks. This is our first piece of track here Ray. With two screws the first section of track is installed. The second section though, will have to be cut to length. This track comes in four foot lengths so we’re going to cut this done to that measurement you made.
GM: Okay.
RH: What was it again?
GM: Twenty seven inches.
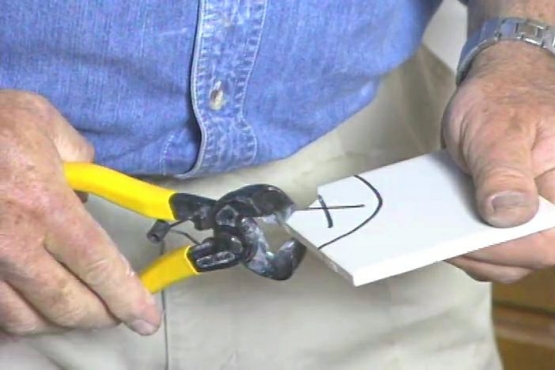
RH: Twenty seven. Okay, now, this stuff is very easy to cut. I use a pair of aviation snips to cut the track. What works best is using the tip of the cutters and nibbling through with a series of small bites. In practically no time Ray and Gina get the hang of the system quickly working their way across the rest of the ceiling. More often than not ceilings are not perfectly flat. By placing a straight edge across the tracks I can check for any that are high and adjust them downward by loosening the screw. A real advantage of this metal track system. Now, in a lot of homes, especially older homes the walls are not always straight and we have got to have one perfectly straight line to start putting these tiles up. So, we’re going to use a piece of string to get that. I have attached it to the wall right here. What I want to do is make sure that this string is perpendicular to this strip right here that we put up earlier. We’ll use a carpenter’s square. Lay it up in here. I’ve got Ray on the other end. Okay, Ray, move it to the right. To the right. A little bit more. Now back to the left. Okay, now mark it over there on the wall. Ray has made his mark and driven a screw into the wall. Now, he wraps his end of the string around it. The distance between the string and the wall will be the width of our first row of tiles.
GM: Seven and three quarters.
RH: Seven and three quarters. Okay Gina. Now we’re going to cut these tiles to the width that we need so let’s go ahead and transfer that measurement you just made, that was 7 ¾ right?
GM: Uh-hunh.
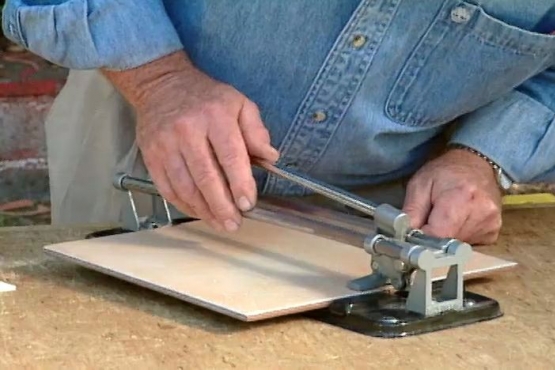
RH: We’re not starting our first row with full tiles because if we did based on our measurement of the ceiling we’d end up with a very skinny row on the opposite side. By trimming the first row of tiles we’ll end up with rows of equal width on both sides of the room. While Gina cuts, Jeff is busy snapping the first set of clips onto the track. Finally we slide the first tile into place. Right under the string. Right up against both walls. Then Jeff installs another clip, on the outer edge of the tiles. The tongue and groove design on the edge of the tiles allows them to interlock with each other and makes alignment easy. Once they get the hang of it, Ray and Gina start to make progress. Make sure they’re all tight. All right guys this is the ________ crown molding going up there. Now to give this Victorian ceiling an added bit of detail we’re going to install crown molding where the walls meet the ceiling. This cordless butane powered finish nail gun is a new experience for Gina and Ray. That wasn’t so bad?
GM: No, actually it was pretty easy.
RM: Don’t point that at me.
GM: Sorry.
RH: All right guys. Last piece of trim here.
GM: Okay. This is it.
RH: There you go. With the crown molding up and the light fixture reinstalled the Moore’s finally have the Victorian ceiling they’d been wanting. Well, I think this did what we wanted it to?
GM: I think it really did.
RH: So, now you ready to do it in the kitchen?
RM: Yes.
GM: Yeah, I think so.
RM: Thank you for helping us.
RH: Well, you’re absolutely welcome. Enjoy it. And Ryan, see you. Okay? Help your mom and dad in the kitchen.
RM: I will.
RH: Okay then. Bye-bye.
RM: Bye-bye and thank you.
GM: Bye.


