RON HAZELTON:
You know when it comes to my wood shop, there's a place for all my tools and all my tools are in their place. But I can't say the same thing for my gardening gear. So I want to put them in a gardening shed. The only problem is, I don't have one. So I'm going to build it.
An on line search leads me to handy home products and a shed that reminds me of a miniature bar. A few days later, it's delivered by my local home improvement center.
I've picked out a spot for my shed in the backyard. So to save a lot of carrying, I have everything dropped close by.
[MUSIC]
I've unpacked my kit, laid all the parts out here and checked them against the parts list. Now I don't always do that but it's a really good idea in a project this size. Now this kit comes complete with everything that I'll need except for the roofing materials and the paint.
So you know what? I can't see any reason not to get started. I'm placing the shed on pressure treated 4 by 4s. The 4 frame made of 2 by 4s will sit right on top. Next, I nail in floor joists every 16 inches. Since everything is precut, things move along pretty quickly.
Then I nail the joist to the 4 by 4s, level the frame and begin putting the decking on top. Floor is finished, got the decking on to. Now the next thing is to build the walls. Since the new shed floor is both flat and level, it will make the perfect surface on which to assemble the wall sections.
These parts too are all precut. All I have to do is nail. Once the framing is done, I start on the siding. I'm working alone today and just about now, I'm starting to wonder how I'm going to get these wall sections up once they're put together.
PETER:
Hi Ron.
RON HAZELTON:
Hey, Peter, hey Alex. How you doing? Wow, I like your wheels buddy.
PETER:
What are you doing?
RON HAZELTON:
I'm building a garden shed and I'm glad you came along because I've been putting this wall together. I had no idea how I was going to stand it up. Can you give me a hand?
PETER:
Absolutely.
RON HAZELTON:
Well I can always count on Peter to lend a hand when I need it. The same goes for his 5 year old son Alex. With the wall in position, I attach a simple brace to hold it upright. Alex though is not content just to carry the lumber. He wants hands on tool time.
With the wall braced, Peter nails it to the floor. Then it's on to number 2. Think of the old barn raising. There we go, here you go. Good, okay. All right, now come down to me if you could. That's right, good. Okay, Peter, number 3.
Not too bad huh?
PETER:
No, this is good.
RON HAZELTON:
Come on down. All right guys. I’d say we've got ourselves a building. We finish the nailing just as the sun's beginning to drop behind the trees. Well Alex, I think we'll call this a day, what do you think?
Peter:
Good job man.
RON HAZELTON:
Thank you very much yeah. Got four walls up, put the roof up tomorrow. You going to be around?
ALEX:
Sure will. I'll come by.
RON HAZELTON:
Today is roof day. I start by attaching 2 by 6s to the tops of the walls. Now this morning at least, I'm on my own again. So I'll need some good advance planning to deal with the rafters. First I set them in place upside down.
Then flip them up one by one and toe nail them into the 2 by 6s I just installed.
Well it's really starting to look like a shed, actually a small barn. I like it. Now with these rafters up, the next step for me is to start putting on the roof sheeting. Right now the rafters are being held in place only by the toe nailing. But as soon as I attach this 5/8ths in sheathing, the whole roof assembly will become rock solid.
The gable ends come in 2 sections. I nail up the first one, install a cleat, then put up the other half.
[MUSIC]
The trim which is all precut and primed, covers any remaining raw wood, unfinished surfaces and joints.
[NAILING SOUNDS]
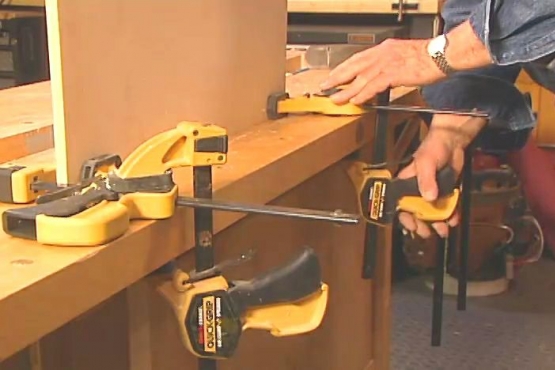
The shed door comes pre-hinged. But it's heavy. And will be a bit awkward to hold in position. So Peter and I use a couple of adjustable clamps to jack it into place and secure it while we fasten the hinge rail with nails and screws. Other trim pieces like these cross braces will add to the barn look of the shed.
That's it, that’s teamwork man. Good job.
The simulated hayloft door adds another bit of interesting detail. Inside I've got a little modifying to do. I start by removing a section of stud wall. Windows were an option for the shed and I ordered two. I like the idea of letting in some additional light and I think they'll add detail to the exterior and interest to what otherwise would be pretty plain walls.
To install the windows, I need to first frame out what will be the window opening.
[HAMMERING]
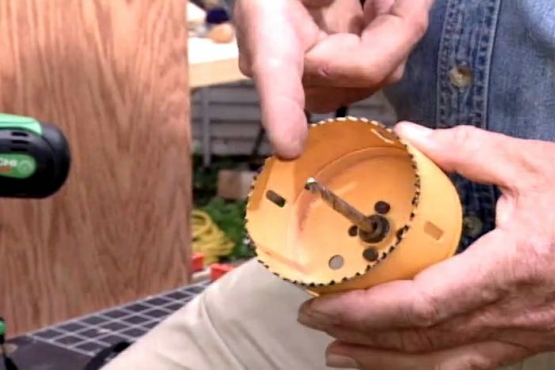
Once that's complete I bore from the inside out at all 4 corners.
Then insert a jigsaw into the holes and begin cutting away the siding. Well I've got the opening. Now that inevitable moment of truth, do I have a fit? I do. This tool caddy, also an option, simply screws onto the back wall of the shed.
Since the roofing materials are not included in the kit, I picked them up from my nearby home improvement center. Nailing on the metal drip edge is the first step in roofing my building. We lay the first strip of roofing paper on top of the drip cap. Hammer tackers allow us to keep one hand free for holding as we staple.
The second strip overlaps the first. This insures that any water will run off the edge of the roof and not get underneath the paper. Although they may look intimidating, shingles are fairly straightforward to install. Again, I begin at the bottom - overlapping each course and staggering the seams. This pneumatic roofing nail gun which can be rented really speeds things up.
Overhanging shingles are trimmed off using a utility knife. My shed came already primed which makes painting a bit less time consuming.
And under the heading of window dressing, a bit of trim, shutters and planter boxes. Finally it's up on the roof-top because no self respecting barn would be complete without a cupola. This one of course is purely decorative.
And a weather vane. After all, a guy's got to know which way the wind's blowing. Well that pretty much does it. The tool caddy is going to take care of my rake and shovel storage and I think I know how I want to use the inside.
Hey you know when you've got a shed as good as this, it seems like kind of a waste to use it just for storing tools.


