RON HAZELTON:
You know, when it comes to first impressions, entryways communicate a lot. They can be inviting, welcoming, in effect say, hey, come on in. Here, inside the foyer, I've got a second chance to make a first impression and what I want to do is install a decorative archway so that I can frame this opening into the living room.
Now, when I was at the International Builders Show last year, I saw something that caught my eye. So, I'm gonna go online and see if I can find it. A Google search under Curved Archway Kit leads me to www.curvemakers.com. After a little bit of exploration around their website, I find what I'm looking for, so I place my order. In a few weeks, I get the word that it's on its way, so I go to work preparing the opening.
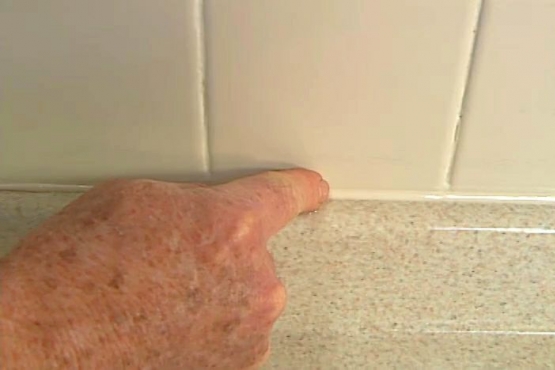
The first step is removing the existing casings and jamb. To keep from damaging the surrounding wall, I first cut through the caulk with a utility knife. I like this style knife for the job because I can simply break away a dull blade, exposing the fresh cutting edge. For this job, no question about it: sharp is better.
To keep from crushing or breaking through the wallboard, I drive a wide putty knife behind the casing, tap in this flat spoon-shaped bar and pry the trim gently away. Once I've opened up a gap, I switch to this type of pry bar, which gives me more leverage and movement.
[MUSIC AND TAPPING SOUNDS]
It's not unusual for the casing to pull off the nails, leaving them still embedded. A pry bar or hammer will pull them out, but again, I use the wide putty knife to keep from damaging the wall.
Typically, the doorframe or jamb is nailed into the framing at several points. The nails are usually driven through shims. Now for me, the quickest way to free the frame is by cutting through the nails, using a reciprocating saw with a multipurpose blade that's designed to cut both wood and metal nails.
With all the nails cut, the doorframe tilts right out of the opening. I'll also have to remove the baseboards, once again using the wide putty knife to protect the walls.
Well, I've encountered a small hitch. It seems these switches are too close to the opening and will prevent the archway column from slipping into place. The solution is to move them a couple of inches to the left. First, I remove the switches from the electrical box and then begin cutting away the wallboard so I can gain access to the wiring.
Next, I remove the staples holding the armored cable in place, and pry the electrical box bracket free from the wall stud. Now what I'm hoping to do is screw a two-by-four to the stud and attach a one-by-four on top, then remount the box. If I have enough slack in the cable, I can do it.
It works! Now it's time to replace the wallboard. First, I attach cleats or backer boards to the left, top and bottom edges of the opening. Then using 80-grit sandpaper, I create a small bevel around the opening and on the edge of the patch, then attach the drywall with several screws.
This technique stabilizes the joint, and along with the bevel, will allow me to make a completely flush repair without the need for tape. I can simply apply the compound, press it firmly into the joint and over the recessed screw heads, then skim off the excess.
I'll let this dry, and do a light sanding and probably come back with a second coat. Well, once I get a coat of paint on that, you'll never know I was inside that wall. Now, chances are you won't have to relocate an electrical switch if you decide to put in an archway.
But you know what I found? More often than not, I do run into some kind of little problem, some detour, and as you can see, it's just not that big a deal to handle it. Well, I'm gonna grab my archway.
Well, this is my archway kit. Now even though it's very detailed, it really only has three components: an archway header and two archway columns. You know, you're gonna be really amazed at how easily this goes in.
The first step in preparing the opening for the archway kit is installing one by four cleats to the framing on the upper corners. Once they're in place, I attach wallboard using drywall screws. Now I'm careful to countersink the screw heads slightly, but not enough to break the paper face. Once the first side is finished, I move on to the other. Now, I put the columns into place temporarily, and set a cardboard template that comes with the kit on top. With a marker, I trace the template outline onto the wallboard.
Then, remove the template and the columns. Using a drywall saw, I cut along the line, creating a curve that will form the top of the archway. Finally, I apply joint compound to the seams and skim off the excess. With the modifications to the opening complete, I install the first column by slipping it over the edge and pushing it into place.
Next, I slide the archway header into position, and use a piece of one-by-two to brace it. Notice how I've cut the brace just a little long, so that it forms a slight bend when it's wedged into position. Now I fit the second column over the left side of the opening -- check both columns for plumb, then lower the header so that it's resting on top of the columns. Finally, I use a finish nail gun to secure the columns and header to the framing. Just a few nails is all that’s needed.
The nail holes are easily filled with spackle then it's time to apply a coat of primer that will be followed by a semi gloss enamel.
You know, I think the word elegant is often overused, but in this case, I believe it applies, and this was easy as 1, 2, 3.
