Patch Wooden Flooring – Learn How to Do It Yourself
Repair a Hole in an Oak Tongue and Groove Floor and Finish the Patch to Match in Color and Gloss
Patch small holes and imperfections in oak tongue and groove hardwood flooring and its finish to invisibly repair damage or unsightly areas. Whether the blemishes are from wear and tear or through-and-through holes revealed through remodeling, replacement tongue and groove planks can be cut, shaped and installed in staggered design to match the irregular pattern and tone of original flooring.
Read More
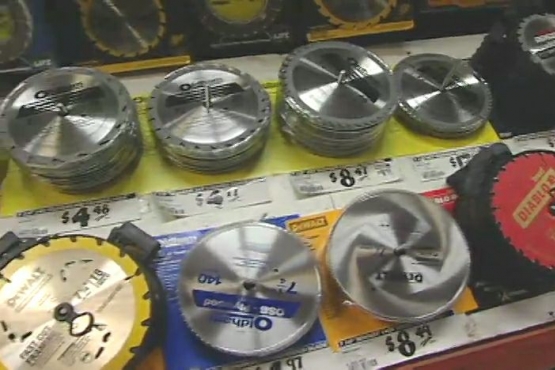
Split Planks for Removal by Plunge-cutting with a Circular Saw
Split only the damaged planks in the hardwood floor restoration area to facilitate their removal. Set the circular saw blade just deep enough relative to the saw's baseplate to cut through 3/4-inch flooring and make plunge cuts.

Score and Chisel-cut the Ends and Pry Out Split Planks
Score each end of the damaged planks with a utility knife and straight-edge. Make straight and angled cuts with a hammer and chisel along the scores to loosen the planks. Pry out split planks without stressing the adjacent boards.

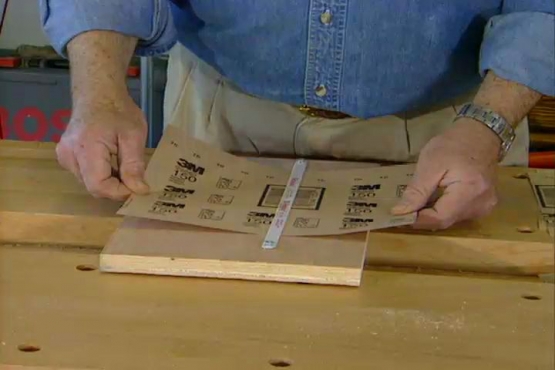
Sand Damaged Flooring with 60-Grit Sandpaper and a Belt Sander
Resurface the rough and unsightly hardwood floor repair area only. Avoid scuffing adjacent undamaged areas. Use a fairly coarse sandpaper, 60-grit for this hardwood floor restoration, on a small belt sander and work in the direction of the wood's grain.

Remove Part of Groove so that Planks Drop into Position
Cut replacement planks for the patch to length. Adjusting table saw blade to remove the bottom portion of each plank's grooved side to allow it to drop in rather than fitting on the tongue. Tap with a mallet to seat.

Face-nail with a Pneumatic Nail Gun to Secure Replacement Planks
Secure the new planks by face-nailing them with a pneumatic nail gun. Edge-nailing through the tongue is impossible because the planks were adjusted and dropped into place rather than fitting them with their original tongue and groove design.

Sand within Edges of Target Planks Prior to Refinishing
Sand/scrape planks with the grain. Confine resurfacing efforts to individual planks, shortening their apparent length by scoring false joints to avoid reworking an entire board. Blend the repair into the natural variation of the floor's color and grain.

Fill Nail Holes and Sand Again with Fine Paper
Fill nail holes with wood putty stained to match. Perform a final sanding with a block and fine sandpaper, staying within the borders of the target planks. Remove dust with a tack cloth.

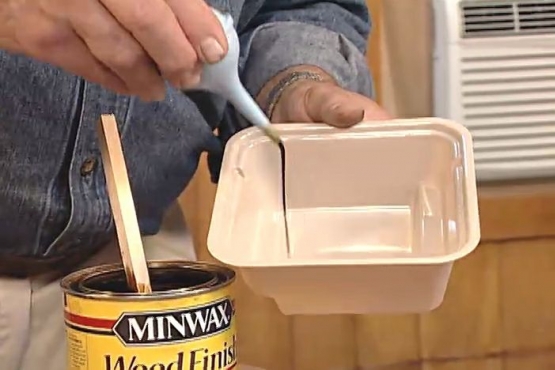
Consider the Logistics of Matching the Original Finish
Determine how to apply a finish that matches the original in color and sheen. Clear polyurethane yellows and darkens with age, so we have diluted shellac in alcohol and brushed on a light toning coat to approximate the aged color.

Apply a Top Coat of Polyurethane to Seal the Repair
Top-coat the repair with clear polyurethane to seal the planks and add gloss and durability. A cheap foam applicator works well on the narrow individual planks to avoid coating adjacent boards. Discard the foam applicator when the project is complete.
Related Tips
Blog Articles

Have You Heard of Landscape Glue?
You love the rustic charm of a gravel walkway, but the constant scattering of stones across your lawn and patio can be a real headache. Whether it’s from pets, lawn mowers, or just foot traffic, it seems impossible to keep those stones in place. Sound familiar? Well, Brian shows us a simple DIY method using landscape glue to keep your gravel path looking pristine and, more importantly, in place.

How to Remove Candle Wax Drips: Two Effective Methods
Candles create a warm and inviting atmosphere, but those pesky wax drips can be a real headache. Luckily, Brian shows us a couple of effective methods to tackle this issue, and they involve two very different temperatures: hot and cold. Here, we'll explore two effective methods: one using cold and the other using heat.

Guide to Hanging on Masonry Walls
Ever wondered how to hang that picture frame or shelf on a brick or concrete wall? It can seem daunting, but with the right tools and techniques, it's a straightforward DIY project. This guide breaks down two common methods: using concrete screws and using anchors, making it easy for you to tackle your next hanging project.


