RON HAZELTON:
You know except for the kitchen, this is the room where the wife and kids and I spend most of our time. It is our family room. And like most families, we watch a lot of TV. Maybe sometimes a little bit too much. Nevertheless, we decided that we want to create a home theater in this room. Now this won't be a dedicated home theater. We still want the room to be a place where the kids can play and we can have conversations with our friends.
So the trick will be to combine the best, state of the art home theater technology while keeping this a functioning family room. I first met Sean Cutrufo when he brought a mammoth saw blade to our home and asked me to autograph it as part of a fundraiser he was planning.
After the photo op was over, I discovered that Sean was an expert in designing and installing home theaters. He offered to put one in for me and I accepted. Our first task was to pick out the equipment and bring it home.
This is a sort of a home theater in a box or I guess boxes, right?
SEAN:
It's everything you need except for the cabling. Have you decided where you're gonna put the TV?
RON HAZELTON:
Pretty much right here where this picture is. I mean considering the room here, do you think this is a decent location?
SEAN:
I think it's the best location in this room.
RON HAZELTON:
So what's the first thing you gotta do?
SEAN:
First thing we gotta do is, we have to mount the TV.
RON HAZELTON:
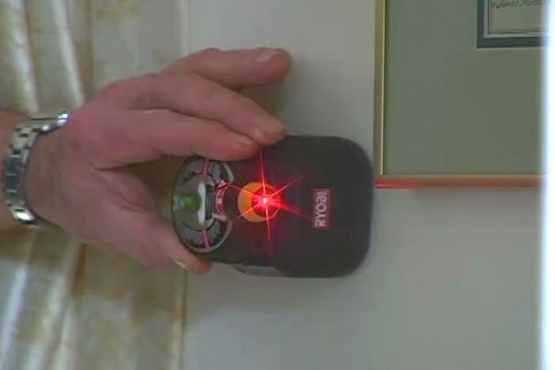
Until now, this wall has displaced one of my favorite paintings by California artist Howard Lake. As soon as I've taken it down, Sean goes to work cutting two holes. One for the television cables – and the other for an electrical receptacle that will provide power to the TV.
In all, there will be 6 separate pieces of equipment in our home theater system, and that could mean 6 individual remote controls. Fortunately, that won't be the case, because Sean is setting us up with this universal remote that will replace all the others. The universal remote control will communicate with a master sensor that receives and relays signals not only to the TV, but all the other electronic components as well.
SEAN:
I need you to hold the remote like you normally would.
RON HAZELTON:
I’d probably hold it something like this.
SEAN:
Because of that I would probably go with under the TV set.
RON HAZELTON:
All right. So this is kind of important, before you decide where to put that sensor, you need to sit down like I'm doing right now and figure out what your normal holding position is.
SEAN:
Correct.
RON HAZELTON:
With the position settled, Sean cuts the final hole. Down in the basement he next bores holes in the bottom of the wall. Then his assistant Brian pushes what's known as a fish tape up inside. Once the tape is visible, it's pulled through the opening.
SEAN:
That's great.
RON HAZELTON:
Next, cord is attached to the end of the tape and pulled back into the basement. Then wires for the TV, electrical outlet and sensor are tied to the string and it, in turn is used to pull the wires inside the wall and up into the family room.
BRIAN:
Right. Here it comes.
RON HAZELTON:
Next, Sean pushes the electrical wires through the back of a box, sets the box in the wall, attaches the wires to a receptacle, mounts the outlet in place and puts on the cover plate.
Sean and Brian begin by mounting a plywood spacer on the wall. Screwing it directly into the wall stud.
Next comes the television mounting plate. To bear the weight of the TV, it too is secured to the wall studs but with larger heavy duty lag screws driven in with a socket wrench. Mounting brackets are also attached to the back of the television.
To hang the TV, Sean and Brian first set it on a table so the power cord and cables can be attached. The set is heavy, nearly 100 pounds, so lifting it into position is definitely a 2 person job. The brackets on the back of the television hook over the mounting plate on the wall, transferring the TV's weight directly to the wall studs.
Once in place, the hanging system can be locked so the set can't be accidentally knocked loose. Next, Sean installs the box that will house the sensor for the remote control.
RON HAZELTON:
Can't wait to see a picture on here.
SEAN:
You're gonna love it. Not only is home theater a great picture but it's also a great sound system. And here's your speakers.
RON HAZELTON:
Now, huh, is this what people refer to as surround sound?
SEAN:
Yes, it is. These 3 speakers are gonna go on the front wall. These 2 rear speakers are gonna go on a rear wall and this subwoofer will be hidden behind the sofa where you can't see it.
RON HAZELTON:
Okay.
SEAN:
The heighth of a speaker can make a difference in the sound. You want it to be between the ear standing and the ear sitting. Somewhere in that general area. That would place it about here or here on this shelf. But unfortunately we have kids in the house and they could pull the speaker off the wall and that would be dangerous. You might want to consider here. And as long as we have a speaker bracket that can tilt it down, it will make up for that height difference.
RON HAZELTON:
So you can take them high but point them downward?
SEAN:
Correct.
RON HAZELTON:
I definitely think I want them out of reach.
SEAN:
Great.
RON HAZELTON:
Now let me ask you something. Is it necessary to have the speakers at the same height all the way around the room?
SEAN:
Well not only should they be the same heighth, but they should be the same speaker and they should be the same amount of power all the way around the room.
RON HAZELTON:
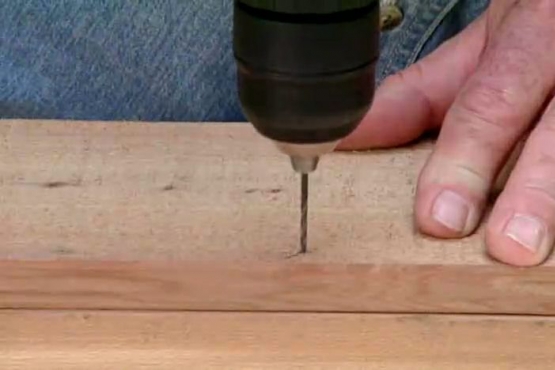
To mount the speakers, a half inch hole is drilled. Then a fish tape is inserted into the wall cavity and fed into the basement. Speaker wire is attached and pulled up into the room above. Next, the mounting bracket is screwed to the wall, the wires are connected.
The speaker is fastened to the bracket and aimed toward the seating area. This is 5.1 surround sound. That means there will be 5 wall speakers. 3 across the front, and 2 in the rear. The point one is a 6th speaker for low frequency effects like the boom of an explosion.
Called a subwoofer, it will sit on the floor. To install it, Sean first drills a hole. The wiring is then passed down into the basement. The circuitry in the sub woofer controls the timing of the sound signals through all the wall speakers. In short, that means a whole lot of wires. Now it's time to gather up the wires from the television, wall speakers, and sub woofer and bring them into the equipment cabinet.
Right now, all that wiring is in the basement ready to come upstairs.
RON HAZELTON:
Okay, push. Okay, got it.
RON HAZELTON:
Now I'm pretty adventurous as a do it yourselfer. But one look at this electronic spaghetti has made me very glad I've let a pro tackle this job.
With everything hooked up, it's time to do some programming. First Sean measures the distance from each speaker to the primary seating area. Then he enters this data into the on screen setup program. The system will use this information to automatically adjust each speaker's volume to produce a true surround sound effect.
SEAN:
Well Ron, you're all set and here's the new remote.
RON HAZELTON:
Wow, the commander.
SEAN:
It's pretty nice, huh? I also got you something else: A little starter kit. Popcorn, candy and some movies to get you going.
RON HAZELTON:
Oh, thank you Sean. This is very nice of you. And I want you to know that I really appreciate the installation. It was top notch. But I also want to thank you for making me smarter about home theater.
SEAN:
It's no problem Ron. If there's anything I can do for you - if you have any problems, just call me on the phone and I'll talk you through it. And if I can't, I'll come right on over.
RON HAZELTON:
24-7.
SEAN:
For you, 24-7.
RON HAZELTON:
Now that's what I call service. Is it a family room or is it a home theater? For us, it's both. Yessir, we've gotten exactly what we wanted.

