RON: Next stop, Ponte Vedra Beach, home to the ATP Association of Tennis Professionals. But it’s good old kick back relaxation that’s on the mind of Floyd Miller. He’s in search of the perfect rocking chair.
FLOYD: Well, I like the sundowns on this side of the river.
RON: While he’s got the perfect westward view for a Florida sunset, he’s convinced there’s still one thing that would make his sunsets all the more enjoyable, a couple of rocking chairs.
RON: OK so Floyd, where do you think you’d like to put the chairs?
FLOYD: Well, I think up here where we see the western sunset,
RON: Right up here on the porch.
RON: Now building a chair from scratch, any chair, can be a challenging project. But one way to make it a whole lot easier is to purchase a set of plans. And that’s exactly what Floyd’s done.
RON: So there’s the sort of assembly process right there, and these are all of our patterns here.
RON: The plans include full size patterns for each chair part, a feature that eliminates a lot of guess work.
RON: Tell you what - let’s start by taping that down.
RON: Each piece of chairs will be cut from a block of wood. The plans give us the rough dimensions for each block, so we set about making up a cut list.
RON: ...we’ll make that by one by four and we’ll need two of those.
RON: List in hand we set about cutting our wood. In this case cedar, to the proper width, using the table saw. And then to the correct length using the sliding compound miter saw. Back over at the work table we use a utility knife to cut out the paper templates. I could tell by the way Floyd handled that knife that he was an engineer all right.
Ron: Now this is the template for the rocker- this is the one that Floyd cut out. Nice job, huh? And see how we’re using this the straight edge of the template along the edge of the board right here? This will save us having to cut these lines. So we’ll put this in place, hold it in position with some small pieces of tape right here. Now, we could try to trace the outline of this with a pencil, but, I’m not going to do that. I’m going to use a felt tip marker. We’re going to make a series of lines across the paper to the wood like this. There we go, now we just peel off the pattern and there’s the shape that we want to cut out.
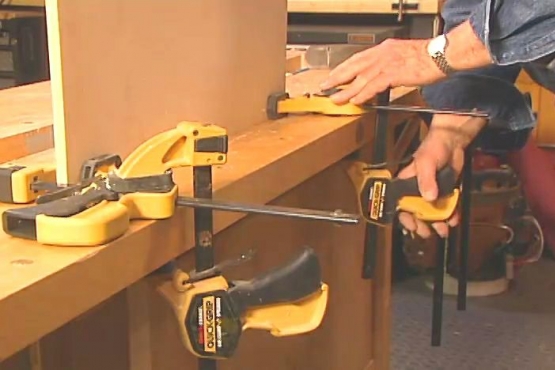
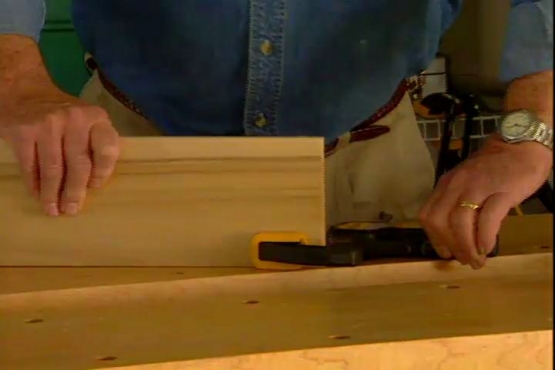
RON: We’ll clamp the piece of wood to the table. This will keep it stable while we cut. Floyd takes first dibs at the jig saw, with two chairs to build there’s a lot of wood to cut.
RON: Now we’ve used the paper template to cut this first rocker. But now for the rest of the pieces we’ll use this rocker for the template. All we have to do is lay it on top of the wood and trace the outline with a pencil.
RON: So… using our paper and wood templates… Floyd and I trace and then cut all the pieces for our two matching chairs.
RON: Why is it that you think we want to work with our hands these days?
FLOYD: Well you get to achieve something. You get to finish a project that is your project- you did it.
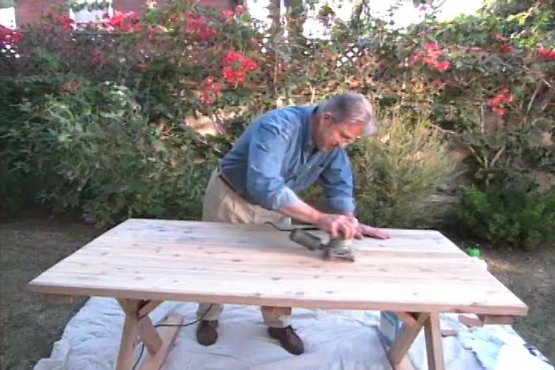
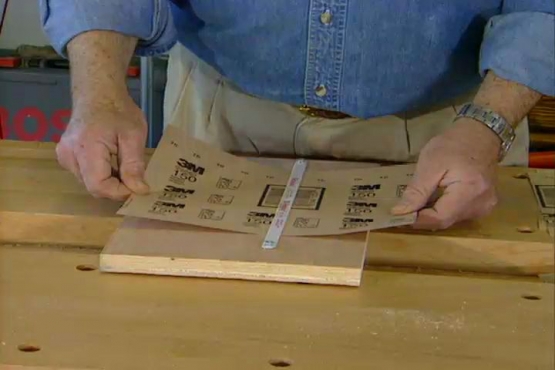
RON: To make sure matching chair parts… like these rockers… are exactly the same, we clamp similar parts together… remove the high spots with a wood rasp and small hand plane…then smooth the surface with a power sander.
RON: Well, that just about finishes up all the pieces that we have to cut out. Everything is laid over the table. Actually what you’re looking at here are all the parts necessary to build two chairs. What do you think Floyd?
FLOYD: Looks good to me.
RON: Ok lets start to put this together. Come on down Floyd. Come on down!
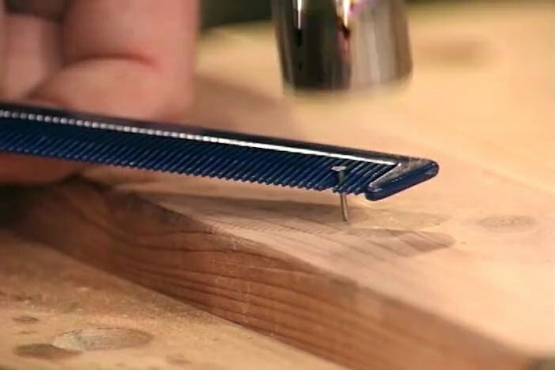
RON: We start assembling the sides of the chairs. It helps to have a large flat surface where we can lay everything out. We temporarily tack the parts together with galvanized finish nails… just to make sure everything fits properly. Then we bore clearance holes and install three eighths-inch carriage bolts. On the ends go washers then nuts, which we tighten snugly.
RON: OK, there’s our first side –3 more to go!
RON: Well Floyd had to go teach his computer class and now I’m really in need of an extra pair of hands as I try to clamp the first seat board in place.
SYLVIA: Hey Ron, you look like you need some help.
RON: Oh you are an angel. Thank you so much!
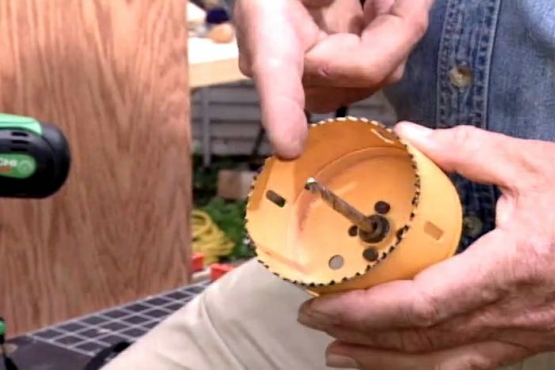
RON: Sylvia, Floyd’s girlfriend, stopped by and jumps right in. We clamp one seat board in position to hold the two rocker sides upright. Then, we begin drilling pilot holes in the ends of the remaining seat boards. The boards are then attached to the frame sides with rust resistant deck screws. This extension bit in our cordless drill is exactly what we need for those hard to reach spots.
RON: We’re gonna drop the screw in first. Alright now take the screw driver. Now pull the trigger very slowly on this. Now keep this perfectly straight and pull the trigger very slowly. OK. Alright.
SYLVIA: Oops.
RON: Just touch the trigger- Just a little bit.
SYLVIA: Oh gosh I went down to far.
RON: That’s all right.
RON: Now we can start attaching the back slats, again using the rust resistant screws.
RON: So how long have you and Floyd known each other?
SYLVIA: 14 years.
RON: 14 years? Has he ever proposed?
SYLVIA: No we’re not interested in marriage.
RON: You’re not?
SYLVIA: No.
RON: It was fun talking to Sylvia and once I hear she goes to aerobics class I have to give her another chance to put her muscle into the drill. All she needs is a little coaching.
RON: Now I want to give you the other secret with using this drill. This has to be perfectly lined up with the drill shaft. Just a quick tap- bump bump.
SYLVIA: Well, I’m not to sure of this.
RON: No, that’s alright you’re doing great!
RON: With the slats in place, I remove the sharp edges with a block plane and rasp, then go over the entire chair with an orbital sander, paying special attention to the seat, back and arms. I’d say we’re just about ready to rock.
RON: Well. I’d like you to be the first. Ok, see how this sits. How is it? Does it have a good rock to it? You know rockers have gotta have the right they don’t want to be pitching you forward or back.
SYLVIA: Very comfortable.
RON: Floyd returns from class just in time to sit back with Sylvia in their new chairs and enjoy the sunset.
RON: Thank you for working with me! Good project!
FLOYD: Happy House Calls!

