RON HAZELTON:
Well, this is Rick Peters, a good friend of mine and a maker of Shaker woodenware, right?
RICK PETERS:
Yes, sir.
RON HAZELTON:
This is all made of bent wood and it looks like it's very complicated.
RICK PETERS:
And it's not. It's really easy to bend wood. And once you learn how, you really can't stop.
RON HAZELTON:
What kind of wood you'd use for something like this? You can't just pick any piece of wood, it has to be thin for one.
RICK PETERS:
Right. Yeah, the Shakers usually used maple or cherry like this piece here. The key thing is that the wood be cordosan and that means that the grain is straight and on the ends, it's vertical. That allows us to bend it without the wood splitting.
RON HAZELTON:
Now is this something you'd have to cut yourself?
RICK PETERS:
You can but you'd almost need a thickness sander to get it down to this thinness. Otherwise you could try it on a planer and it's dangerous. You could also buy it in mail order catalogs and you can find it on the Web.
RON HAZELTON:
What's actually the first step you take in, in constructing one of these?
RICK PETERS:
The first thing we're gonna do is first put a template on the end to create the swallow tails. What we'll do is, we'll trace around these, we'll mark the holes for the copper tacks. And now you can cut this out a number of different ways.
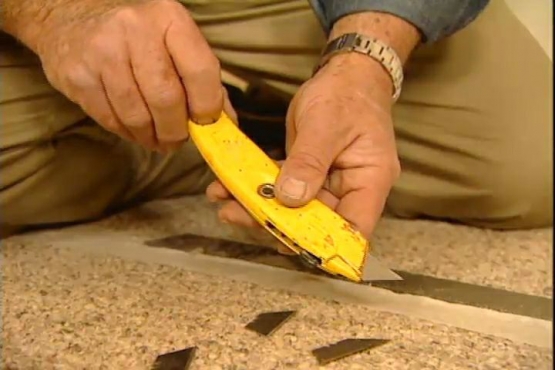
Again, you can use a scroll saw, a refined tooth blade. But because it's so thin, you can cut it out with a utility knife.
RON HAZELTON:
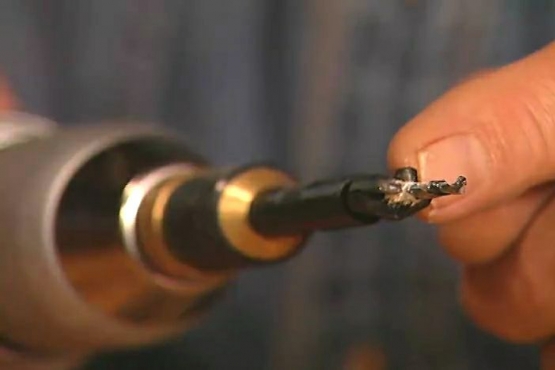
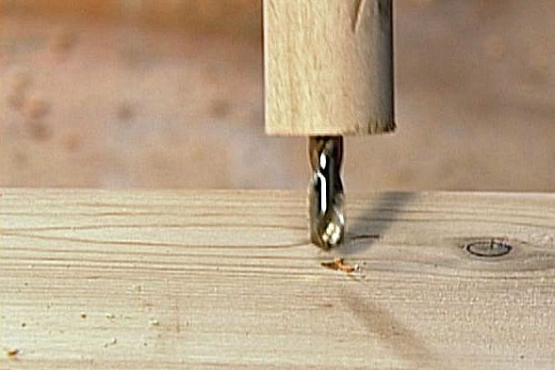
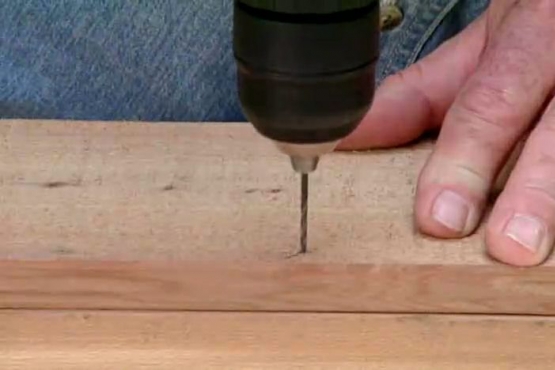
Next we drill the holes for the copper tacks using a 3/16th inch bit.
So this is how we're gonna actually bend this. This is very hot water I take it --
RICK PETERS:
You bet.
RON HAZELTON:
It looks like it's just a planter.
[BOTH SPEAK AT ONCE]
RICK PETERS:
That's just a metal planter box with a shop made lid on it.
RON HAZELTON:
So we're heating that up. Are we ready to drop this in and soften it up?
RICK PETERS:
There's two more things we have to do. The first is that we have to feather sand one end so that when the band wraps around itself, you won't have a thick joint. And we'll do that on a belt sander.
RON HAZELTON:
Rick uses a sanding block which not only keeps his fingers away from the belt, but provides the uniform pressure necessary to create a clean, tapered end.
And now the moment of truth.
RICK PETERS:
Moment of truth. Yeah. Drop it in there. Watch out for that steam. All right.
RON HAZELTON:
Just drop it right in, eh?
RICK PETERS:
Yeah. You might want to push it down with a pair of tongs or something so it's submerged.
RON HAZELTON:
Okay, now how long is this gonna take?
RICK PETERS:
Well, about 20 minutes.
RON HAZELTON:
Ah, I think that's it, huh?
RICK PETERS:
Soup, yeah.
RON HAZELTON:
Whoa, it looks done to me.
RICK PETERS:
Yeah.
RON HAZELTON:
One piece of cherry wood coming out. Well, you got your gloves on, right.
RICK PETERS:
I got my gloves on. I'm ready to roll 'cause I've got about a minute to work with this. I'm gonna line it up with the start mark.
RON HAZELTON:
Now this is a form that you made up.
RICK PETERS:
Yeah.
RON HAZELTON:
Out of medium density fiberboard. Look at that. Wrap that around there.
[BOTH SPEAK AT ONCE]
-- love that shape.
RICK PETERS:
Now you've just got to make sure when you come around to support those fingers 'cause they're gonna want to split. Once you get it right there, just hold it for about a minute, let it get used to that shape 'cause it's gonna stay there for a long time.
Now if you'd do me a favor here, you could just take this pencil and mark --
RON HAZELTON:
The ends of the --
[BOTH SPEAK AT ONCE]
RICK PETERS:
The ends so I have a registration mark --
RON HAZELTON:
Okay, so there you go --
RICK PETERS:
-- so I know where to come back to. That's perfect.
RON HAZELTON:
Do we have to work fast at this point?
RICK PETERS:
No, we're okay.
RON HAZELTON:
Okay.
RICK PETERS:
Because it, it's got the -- see, it wants to stay in that shape. Just gonna bend it back. And I'm gonna line those, those marks up.
RON HAZELTON:
The pencil marks.
RICK PETERS:
The pencil marks that we just made. I'm gonna come over here --
RON HAZELTON:
Now this is the little jig that you made up.
RICK PETERS:
-- so just a -- it's just a couple of pieces of two by four. Now I'm gonna hold this directly over the anvil and take one of these little tacks, I'm gonna put it in the pilot holes we drilled earlier.
RON HAZELTON:
Now what's happening right now?
RICK PETERS:
Well, it's going through. When that tack hits the anvil, it's gonna cinch and flip over --
RON HAZELTON:
And that's what's gonna hold it --
[BOTH SPEAK AT ONCE]
RICK PETERS:
It's a piece of -- it's a black pipe --
RON HAZELTON:
Piece of black pipe.
RICK PETERS:
Yeah.
RON HAZELTON:
That is so nice.
RICK PETERS:
Right. Now what we want to do is to keep it in that shape, we're gonna take a, a plug here. It's basically just a tapered piece of wood and we're gonna put it in there and what --that's what you want to hear. A kind of crunchy sound.
[BOTH SPEAK AT ONCE]
RON HAZELTON:
Sounds like my new pair of shoes.
RICK PETERS:
Nice -- nice and tight.
RON HAZELTON:
And how long does this have to dry?
RICK PETERS:
Overnight's fine.
RON HAZELTON:
Overnight.
RICK PETERS:
Yeah.
RON HAZELTON:
So this is one that you did yesterday and brought with you. This is all dry now.
RICK PETERS:
Totally dry.
RON HAZELTON:
So these come out
RICK PETERS:
Yeah.
RON HAZELTON:
Can I pull 'em out?
RICK PETERS:
Yeah, yeah, you can.
RON HAZELTON:
I see why you want the holes in there.
RICK PETERS:
You'll never get them out otherwise.
RON HAZELTON:
So all right, next step. Bottom.
RICK PETERS:
And trace around the inside.
RON HAZELTON:
Okay. So this will be -- you cut on the bandsaw?
RICK PETERS:
Cut on the bandsaw.
RON HAZELTON:
Do you mind if I give it a whirl?
RICK PETERS:
Go right ahead.
RON HAZELTON:
You think it's gonna fit, right?
RICK PETERS:
It should go in there.
RON HAZELTON:
Okay, let's see. Just drop it right in there. Oh, that is nice.
RICK PETERS:
Yeah.
RON HAZELTON:
Just drop it right there.
RICK PETERS:
Oh, yeah.
RON HAZELTON:
Oh, look at that. Wow.
RICK PETERS:
We're gonna hold that in there with dowels. Actually the dowels are toothpicks. We're gonna drill some holes in it in the edge, around the perimeter. We want to stay away from the ends because if you drill down in here, that's at the highest stress point, it's gonna have a tendency to snap.
Now just take a toothpick --
RON HAZELTON:
Drive it in?
RICK PETERS:
Yeah.
RON HAZELTON:
We tap in the toothpicks, snap off the protruding ends with wire cutters, then sand down the nub.
Okay, so the pins are in.
RICK PETERS:
Yeah.
RON HAZELTON:
What's next?
RICK PETERS:
Handle.
RON HAZELTON:
Handle, okay.
RICK PETERS:
It's a slightly thicker blank here. It's about an eighth of an inch.
RON HAZELTON:
Still cherry.
RICK PETERS:
Yeah. Same thing we're gonna do like we did last time.
There it is. It's whew -- it's steamy,
RON HAZELTON:
Ball Park franks.
RICK PETERS:
There you go.
RON HAZELTON:
Okay. So I'm gonna, I'm gonna lay it right along the edge of this, huh.
RICK PETERS:
Right, at the end.
RON HAZELTON:
Wrap around here. Okay. Now I'm gonna bend this around.
RICK PETERS:
Support that, support it as you bend it.
RON HAZELTON:
Support it as I bend it.
RICK PETERS:
In other words, wrap your hand, cup it around it as it bends.
RON HAZELTON:
It's going, it's going, it's going.
RICK PETERS:
[INAUDIBLE].
RON HAZELTON:
And you grab it there. That is amazing. All right, so this is on here now. How long does this have to stay?
RICK PETERS:
That's an over nighter too.
RON HAZELTON:
Over nighter too. What do you want -- to stay three days?
RICK PETERS:
Yeah, that's my plan.
RON HAZELTON:
You wouldn't have one of these that's already done, would you?
RICK PETERS:
Well, actually I just happen to have one
And when we do these, we're gonna lay it down on its side and actually hammer from the inside. And then after the tacks are in place, we'll take it over to the little anvil and then cinch them.
RON HAZELTON:
Well, sir, I do believe we have a basket.
RICK PETERS:
We do indeed and it looks very nice.
RON HAZELTON:
It's turned out great.


