RON – VO:
BESIDES BEING A BEAUTIFUL GULF COAST BEACH RESORT, SARASOTA, FLORIDA IS ALSO…A CIRCUS TOWN.
IT WAS ONCE THE WINTER HOME OF JOHN RINGLING’S WORLD-FAMOUS THREE-RING SPECTACLE. TODAY, IT’S THE YEAR-ROUND HOME TO ALEXANDRA AND JEFFREY COE WHO HAVE NESTLED INTO THIS CLASSIC FLORIDA HOME TO RAISE A FAMILY.
TRAVELING AND LIVING IN FOREIGN LANDS HAS GIVEN ALEX A TASTE FOR INTERNATIONAL COOKING, AND SHE’S ACQUIRED SUCH A HUGE ASSORTMENT OF UNUSUAL SPICES THAT HER CURRENT SPICE RACK CAN ONLY HOLD A SMALL FRACTION OF THEM.
SO TODAY, I’M IN SARASOTA TO HELP ALEX AND JEFF CREATE A SPICE CABINET THAT THEY CAN GROW INTO.
Alex Coe:
Also, we spent three years living in Saudi Arabia--
Ron:
Oh really--
Alex:
And kind of when we lived in Saudi Arabia, that's when I really got into all these exotic spices--
Ron:
Go down to the bazaar and, and buy them out of the--
Alex:
Oh yeah, it was fabulous, the colors and the smell…
Alex:
And so now what happens is I just don’t have enough space for all of my things, and I end up having some spices in my freezer, some at my mother-in-law’s house. And then I'm going to cook and uh, something I need I don’t have, so…
Ron:
I think the best way to get you more storage space on this is to make this deeper--
Alex:
Okay--
Ron:
Uh, but not so deep that you can't uh, you can't see what's in back.
Alex:
Right.
GRAPHIC
RON – VO:
I SUGGEST WE BUILD A LARGE, OPEN-FACED CABINET WITH A PERMANENT SHELF NEAR THE TOP. BENEATH IT, WE’LL INSTALL TWO VERTICAL DIVIDERS THAT WILL SUPPORT SEVERAL ADJUSTABLE SHELVES.
WE’RE BUILDING OUR CABINET OUT OF THREE-QUARTER INCH THICK RED OAK VENEER PLYWOOD WHICH IS SOLD IN FOUR BY EIGHT FOOT SHEETS. JEFF AND ALEX TAKE TURNS CUTTING EACH CABIENT PART TO WIDTH ON THE TABLE SAW.
ONCE THE PIECES ARE CUT, OUR NEXT STEP WILL BE TO CROSS-CUT EACH ONE TO THE PROPER LENGTH. AND FOR THAT, I USE A HOMEMADE TABLE SAW ACCESSORY CALLED A CRADLE.
Jeff Coe:
Does it come with the saw, or you guys make this up?
Ron:
Well that, I made it for my daughter when she was very young and now I use it as a saw. Actually it is, it's an attachment that goes on a saw. You can make this out of plywood and it converts the table saw into essentially a cross cut saw, a very accurate one.
RON-VO:
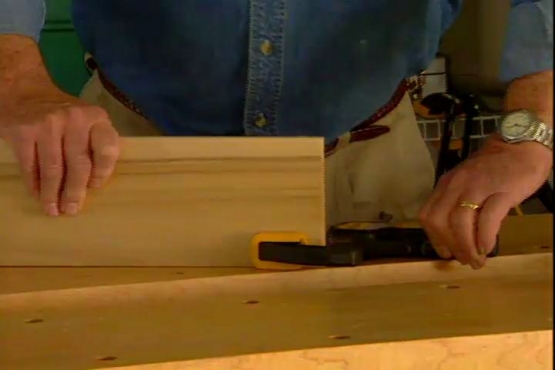
TO USE IT, WE LINE UP OUR CUT MARK WITH THE KERF OR BLADE SLOT ON THE BOTTOM OF THE CRADLE. NOW I ALSO MADE A WOOD STOP WITH A NOTCH ON THE END WHICH I CLAMP TO THE REAR EDGE OF THE CRADLE.
Ron:
This is going to make sure that the second piece we cut will be exactly the same length as the first. We don’t have to re-measure, we can just simply put this board in here, slide it up against that stop--
Alex:
Oh that's clever--
Ron:
Make one, two, or fifty cuts; they'll all be exactly the same.
Jeff:
Gotcha.
RON:
I CRANK UP THE TABLE SAW BLADE, AND ALEX CUTS THE TOP, BOTTOM AND SIDE SECTIONS… THEN JEFF TAKES OVER FOR THE SHELVES AND DIVIDERS.
WITH EACH PIECE NOW CUT TO SIZE, IT’S TIME TO CUT SOME JOINTS. THE JOINTS WILL GIVE US A STRONGER CABINET AND MAKE ASSEMBLY EASIER.
GRAPHIC
RON-VO:
FIRST, WE’RE GOING TO CUT AN “L” SHAPED GROOVE CALLED A RABBET DOWN THE BACK EDGE OF EACH SIDE PANEL. THE PLYOOD BACK WILL SLIP INSIDE THE RABBETS AND THE RAW EDGES OF THE BACK WILL BE CONCEALED.
TO CUT THE RABBETS I’VE FITTED THE TABLE SAW WITH A DADO BLADE WHICH IS ACTUALLY A PAIR OF SAW BLADES WITH A SERIES OF SO-CALLED CHIPPERS IN BETWEEN.
(SOT: SAW)
Ron:
There you go.
Alex:
Not bad--
Ron:
Your first rabbet--
Alex:
Not bad--
Ron:
And a perfect rabbet it is.
Ron:
Now the next rabbet that we’re going to cut is going to be just like the one we cut for the back except wider because that’s where the top right here is going to sort of rest or nest into the side. So all I’ve done is move the fence back to expose more of the blade, 3 quarters of an inch, Alex, put it down like this, slide it through nice and slow.
(SOT – SAW)
Ron:
So this is where our top is going to go and that rabbet that we just cut. We also have a divider that’s going to intersect this side and then we have a bottom that’s going to intersect the side down here. So what we want to do is cut those out next and…go on back to our cradle but now we’re using the dado saw, dado blade.
(SOT – SAW)
RON-VO:
IN THE MIDDLE OF THE SIDE PANELS ALEX AND JEFF CUT GROOVES FOR THE SHELVES … CALLED DADOES … AFTER MAKING A FINAL SET RABBETS TO RECEIVE THE BOTTOM …OUR CUTTING IS COMPLETE.
Ron:
Alright you know what this is?
Jeff:
Bunch a’ holes.
Alex:
Pegboard.
Ron:
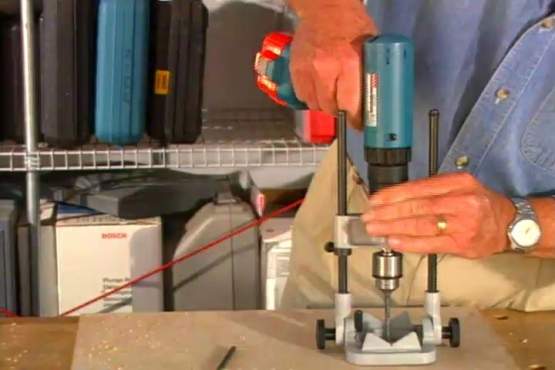
Pegboard. You’re both, you’re both right actually it is a pegboard. We’re going to use this as a drilling template because on the sides of the cabinet, we’re going to need a series of holes equally spaced into which we’ll put pins for shelf supports.
RON-VO:
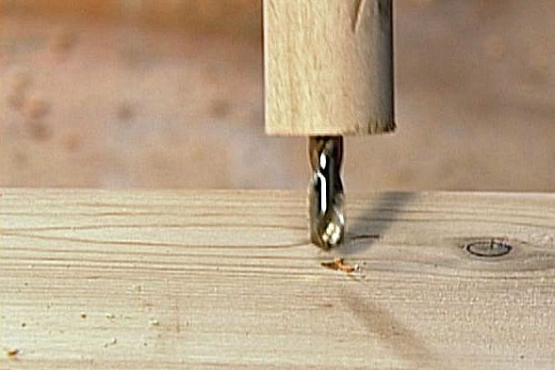
ALEX USES A PORTABLE DRILL PRESS TO DRILL A LINE OF PERFECTLY STRAIGHT HOLES THROUGH THE PEG BOARD AND DOWN THE LENGTH OF THE SIDE PANELS.
Ron:
You know what they say about this.
Jeff:
What’s that?
Ron:
It’s a very boring job.
Jeff:
I heard that somewhere.
(SOT – DRILL)
Ron:
There you go.
Alex:
That looks great.
Ron:
Now these are the shelves right here. But you notice they’ve got this really kind of unattractive plywood edge right here. So we’re going to cover that up and make this look like solid wood. With this product right here, this is wood edge banding, real oak.
Alex:
That’s real wood.
Ron:
Mm-hmm, on the back though we’ve got an adhesive.
RON-VO:
THE ADHESIVE IS HEAT- ACTIVATED, SO WE USE AN IRON TO APPLY HEAT TO THE FACE OF THE EDGING AND SOFTEN THE ADHESIVE.
Alex:
Now does it give you a temperature on the, on the instructions?
Ron:
I usually go with cotton.
Alex:
Cotton is the way to go?
Ron:
I figure cotton is pretty close to wood.
RON – VO:
NEXT, WE APPLY PRESSURE BY RUNNING A LAMINATE ROLLER OVER THE BANDING. THIS FORCES THE ADHESIVE INTO CONTACT WITH THE EDGE AND ASSURES A FIRM BOND.
Ron:
See, who would know?
Jeff:
You would never know.
Alex:
You would never know; that looks great.
Ron:
Okay you two let's put this together without any glue in it just to make sure everything works. They call this a dry fit. And if we have made a mistake it would be a good thing to find it out before we had glue over, over everything huh? There are the two sides. This is the top up here and that's the bottom. No that's the top. This is the bottom.
Alex:
There's the top. That's the bottom.
Ron:
All right. Looks good huh?
Alex:
Looks good yeah.
Jeff:
Hey Ron you're a genius.
Ron:
Oh doggone it I couldn’t have done it without you guys.
RON – VO:
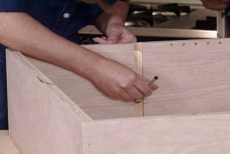
WELL AFTER CONGRATULATING EACH OTHER ON A SUCCESSFUL DRY FIT, WE’RE READY TO PERMANENTLY ASSEMBLE THE CABINET. I RUN A NARROW BEAD OF GLUE DOWN THOSE RABBETS WE CUT, THEN DISTRIBUTE IT EVENLY WITH A BRUSH.
Ron:
So we’re going to slip this on…
RON-VO:
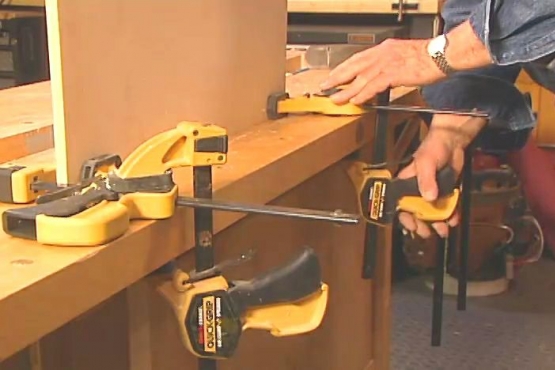
WE CLAMP THE FOUR SECTIONS TOGETHER AND ALLOW THE GLUE TO DRY, THEN APPLY MORE GLUE ALONG THE TOPS TO ATTACH OUR BACK PANEL.
FINALLY, WE GLUE AND NAIL THE BACK IN PLACE. THE COMBINATION OF BOTH WILL GIVE US A VERY STURDY CABINET.
Alex:
We need one of those too honey.
Jeff:
We need all of this stuff.
Alex:
We need all of this stuff.
Ron:
I can see you guys. Big shopping trip to the home improvement center huh?
Jeff:
Yeah that’s it. Lowe’s, here we go.
Alex:
That’s right.
RON-VO:
AFTER OUR GLUE DRIES, WE TURN THE CABINET ON ITS BACK AND BRUSH MORE GLUE INTO THE RABBETS FOR THE FIXED SHELF… SLIDE IT INTO PLACE… AND SECURE IT WITH FINISH NAILS.
WE REPEAT THE PROCESS FOR THE TWO DIVIDERS AND JEFF TAPS THEM INTO PLACE WITH THE HEEL OF HIS HAND BEING CAREFUL NOT TO…
Alex:
Ouch.
RON-VO:
WELL, ALEX BOUNCES RIGHT BACK AND MOVES ONTO THE NEXT STEP. BEING PLYWOOD, THE UNFINISHED EDGE OF THE CABINET IS NOT VERY ATTRACTIVE, SO WE’RE GOING TO CONCEAL IT WITH A FACE FRAME. WE BRUSH ON GLUE THEN APPLY INCH AND A HALF WIDE STRIPS OF OAK THAT WE CUT EARLIER. THE RESULT … A MORE SUBSTANTIAL, FINISHED LOOK.
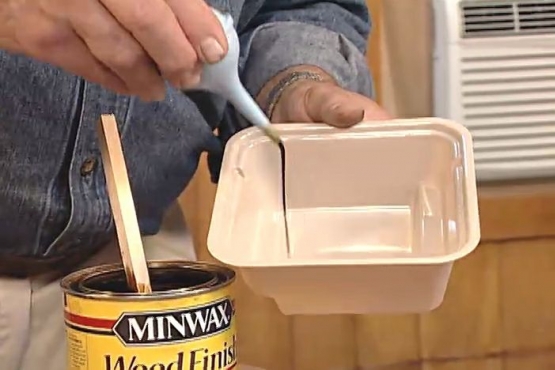
NOW WE’RE READY TO STAIN THE SPICE CABINET TO MATCH THE EXISTING KITHEN CABINETS. WE APPLY THE STAIN WITH PADS … MADE JUST FOR THIS PURPOSE. ON VERTICAL SURFACES LIKE THESE THEY HELP MINIMIZE DRIPPING AND RUNNING.
Ron:
Okay I'm going to climb up here and we're going to put a screw right into the wall stud right here.
RON-VO:
FINALLY, WE INSTALL THE BRACKETS FOR THE ADJUSTABLE SHELVES AND OUR SPICE CABINET IS READY FOR STOCKING.
Ron:
So what do you think?
Alex:
I think it looks great.
Jeff:
I had no idea we were this talented.
Ron:
You know the moment I saw you I said now this is a couple who could really build a great spice rack.
Alex:
And we did it too.
Ron:
And you've got some extra room here?
Alex:
I do and I need some extra room because I need some more spices. I see I'm running low on fermented black beans. I'm running low on cardamom and I'm just about out of briani. That's one of Jeff’s favorites.
RON-VO:
WELL, ALEX AND JEFF’S NEW CABINET SHOULD PROVIDE AMPLE SPACE FOR ALL THEIR SPICES. AND WHENEVER THEY USE IT, THEY’LL HAVE THE SATISFACTION OF KNOWING THEY BUILT IT THEMSELVES.