How to Build a Porch Stairway
These Stairs Made from Pre-cut Stringers and Standard Dimensional Lumber Are a Snap to Build
Step up to a project to build a porch stairway with pre-made stringers secured with lag screws at the top and supported on a concrete paver landing at the bottom. The porch stairway will be constructed of treated lumber stringers, risers and treads secured with stainless steel screws. Four-by-four posts support stairway rails that tie into the existing porch.
Read More
Prepare Support for Stringers for the Porch Stairway
Level pavers at the correct elevation with sand and attach a constructed ledger to the porch rim joist with rust resistant screws. Both have to be positioned properly to support the ready-made stringers purchased to build the porch stairway.

Drill Pilot Holes for Stringers in the Porch Stairway
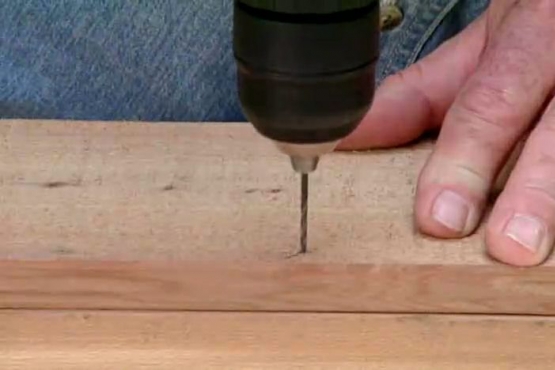
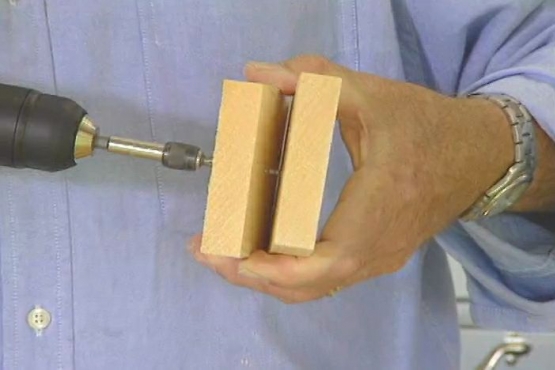
Position the four stringers for the porch stairway with joist-hangers while drilling pilot holes for lag screws through the rim joist and end of each stringer. Remove the joist-hanger and enlarge the holes for the lag screws.

Secure Porch Stairway Stringers with Lag Screws
Insert the hex head lag screws from the back of the joist/ledger and into the stringers to permanent attach them. Tighten each with a socket wrench. Repeat for all four stringers to support the porch stairway.

Attach Risers for the Porch Stairway
Install the risers for the porch stairway with stainless steel screws that will resist rust and corrosion in the salt air. Drive them through the riser into the vertical edge of the stringers.

Center Treads on the Porch Stairway
Add all but the bottom two-by-twelve pressure-treated treads, centered so that the overhang is the same on each side of the porch stairway. Drive screws through the treads into the middle of each stringer to secure each.

Cut an Opening for the Porch Stairway
Use a reciprocating saw to cut away the existing rail from the porch and make an opening to access the new porch stairway.

Secure the Post for the Porch Stairway Railings
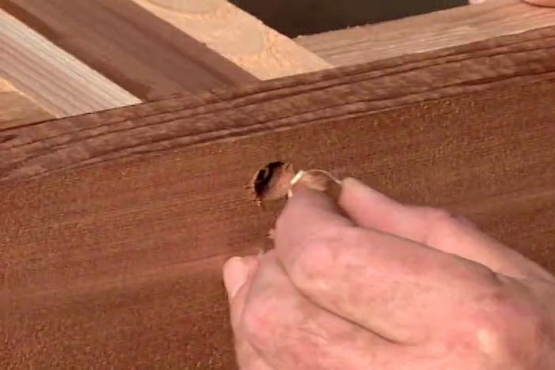
Add the bottom four-by-four post to support the porch stairway handrail. Clamp it in place and use a level to insure it is plumb. Drill holes for carriage bolts and snug them with a socket wrench.

Fit Components of the Porch Stairway
Trim the cut ends of the railing to length with a Japanese hand saw and round the ends with a jigsaw. Notch the ends of the bottom tread in the porch stairway to fit around the post.

Miter the Rails for the Porch Stairway
Angle the rail on the porch stairway by measuring the same distance up the posts to the bottom of the rail. Use a bevel gauge to transfer the angle to the power miter box and the miter the ends.

Finishing the Rails on the Porch Stairway
Use a Japanese handsaw to cut the post top to the same angle, and then add the upper rail and its top. Add the bottom rail. Repeat to add rails to the other side of the porch stairway.
Related Tips
Blog Articles
Have You Heard of Landscape Glue?
You love the rustic charm of a gravel walkway, but the constant scattering of stones across your lawn and patio can be a real headache. Whether it’s from pets, lawn mowers, or just foot traffic, it seems impossible to keep those stones in place. Sound familiar? Well, Brian shows us a simple DIY method using landscape glue to keep your gravel path looking pristine and, more importantly, in place.
How to Remove Candle Wax Drips: Two Effective Methods
Candles create a warm and inviting atmosphere, but those pesky wax drips can be a real headache. Luckily, Brian shows us a couple of effective methods to tackle this issue, and they involve two very different temperatures: hot and cold. Here, we'll explore two effective methods: one using cold and the other using heat.
Guide to Hanging on Masonry Walls
Ever wondered how to hang that picture frame or shelf on a brick or concrete wall? It can seem daunting, but with the right tools and techniques, it's a straightforward DIY project. This guide breaks down two common methods: using concrete screws and using anchors, making it easy for you to tackle your next hanging project.


