How to Build an Under Bed Storage Box that Rolls
Learn how to build an open box that rolls under the bed to reclaim space from the dust bunnies.
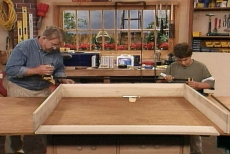
Building an open box on rollers to fit under the bed is an easy way to reclaim that unused space from the dust bunnies. The box storage unit offers a great place for children's toys. In the parents' room, little-used but necessary items like small suitcases and seasonal clothing in storage bags occupy the box out of sight until you need them.
Read More
Plan the Roll-out Under-Bed Storage Unit
Determine under-bed clearance and allow for additional height required by the diameter of the wheels. Plan the depth of the roll-out box fractionally lower. Select a method of joining components. This project uses locking rabbet joints.

Cut Four Sides of the Under-Bed Storage Unit from One-by-sixes
Cut one-by-sixes to length for the four sides of the roll-out under-bed storage drawer with a power miter saw or chop saw. In this stage, each of the four sides is simply straight-cut on the ends.

Notch Side Pieces of the Under-Bed Storage Unit
Install a three-blade stacked dado set on the table saw and notch both ends of the four side pieces. In a later step, the sides will join as a four-sided drawer for the roll-out under-bed storage unit.

Change the Dado Blades to Make a 1/4 Inch Groove
Use a different set of dado blades to make a 1/4-inch grove along the bottom length of each side panel. The bottom of the under-bed storage box will slide into this groove later.
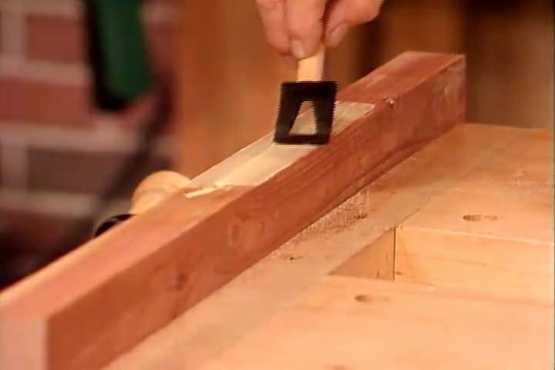
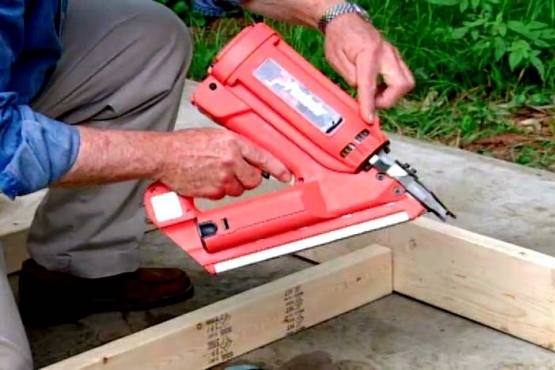
Assemble Three Sides of the Under-Bed Storage Unit
Brush carpenter's glue on the rabbets on both ends of one side piece and only one end of two other pieces. Fit them together as three sides of the under-bed storage drawer. Clamp them and secure the joints with nails.

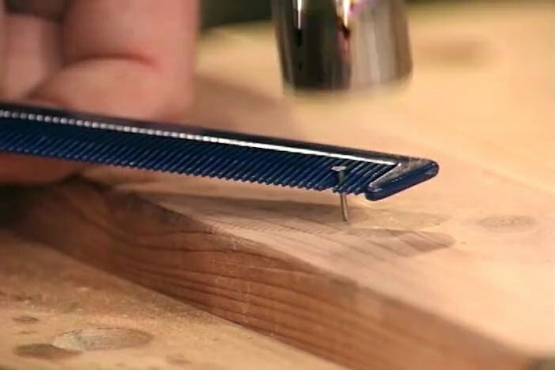
Slide the Plywood Bottom into the Under-Bed Storage Unit
Guide the 1/4-inch plywood bottom into the groove along the bottom of the three assembled sides of the under-bed storage unit. Tap it with a block of wood to seat it in the groove.

Attach the Fourth Side of the Under-Bed Storage Unit
Brush glue on the rabbets on the last side and fit it to the under-bed storage box. Do not apply glue to the bottom panel anywhere, because it may expand and contract with temperature changes.

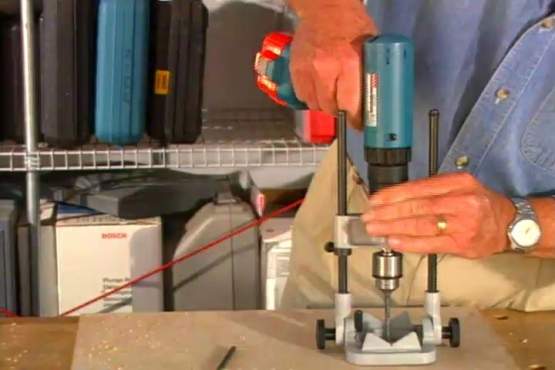
Cut Four Wheels from Scraps of One-by-fours
Cut wooden wheels from one-by-four scraps for the under-bed storage unit. Use a large hole saw on your drill press and, if necessary, knock the cutouts out of the hole saw by tapping gently with a hammer and nail set.

Assemble and Mount Four Wheels on the Under-Bed Storage Unit
Assemble axles and caps for each wheel along with double washers to space them out from the sides of the box. Add epoxy to the free end of the axle and insert into predrilled holes on the rolling storage unit.

Mount Drawer Pulls on the Front of the Storage Unit
Mark drawer pull positions on the front of the rolling storage unit and pre-drill a pair of holes for each. Insert screws from the inside of the drawer into the back of the pulls and snug them with a screwdriver.
Related Tips

Blog Articles

Have You Heard of Landscape Glue?
You love the rustic charm of a gravel walkway, but the constant scattering of stones across your lawn and patio can be a real headache. Whether it’s from pets, lawn mowers, or just foot traffic, it seems impossible to keep those stones in place. Sound familiar? Well, Brian shows us a simple DIY method using landscape glue to keep your gravel path looking pristine and, more importantly, in place.

How to Remove Candle Wax Drips: Two Effective Methods
Candles create a warm and inviting atmosphere, but those pesky wax drips can be a real headache. Luckily, Brian shows us a couple of effective methods to tackle this issue, and they involve two very different temperatures: hot and cold. Here, we'll explore two effective methods: one using cold and the other using heat.

Guide to Hanging on Masonry Walls
Ever wondered how to hang that picture frame or shelf on a brick or concrete wall? It can seem daunting, but with the right tools and techniques, it's a straightforward DIY project. This guide breaks down two common methods: using concrete screws and using anchors, making it easy for you to tackle your next hanging project.


