RON HAZELTON:
You know, I love outdoor cooking, but I hate this makeshift food preparation area. So I'm gonna ask my friend Rick Peters to design a solution for me. So Rick, what do you say? Can you improve on this?
This is really pretty cool. This is a grilling prep station and first of all, it's portable. It's got wheels down here on the bottom and a handle over on this end, so I can move it wherever I want to. Down on this end, there's a tray for condiments and under here is a holder for paper towels.
The bottom shelf is situated low enough so that I can put a cooler on that. And then one of the things I really like about this is, right up here is an insert into which a carving board will drop, so I could prepare my food in the kitchen, bring it out, set it right in the cart. So any way you slice it, this is a grilling prep station for a serious outdoor cook.
I'm going to build this project almost entirely out of cedar. It's a bit pricey but lightweight, ideal for outdoor use and a real pleasure to work with. Since several of the parts I'll be cutting have identical dimensions, I'm using a stop block on my power miter saw.
It eliminates the need to measure each time and guarantees I'll end up with pieces that are precisely the same length, whether I need to cut two or twenty.
[MUSIC, SAWING SOUNDS]
Now this is every single piece of wood I'm going to need to build this mobile grill prep station. I was able to do all of my cutting at one time. Now I can start assembling. I'm going to start by building the frame for the lower shelf.
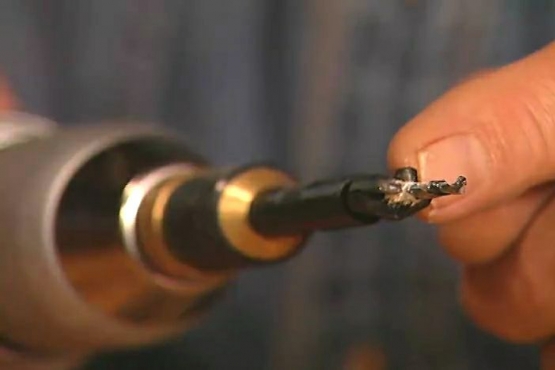
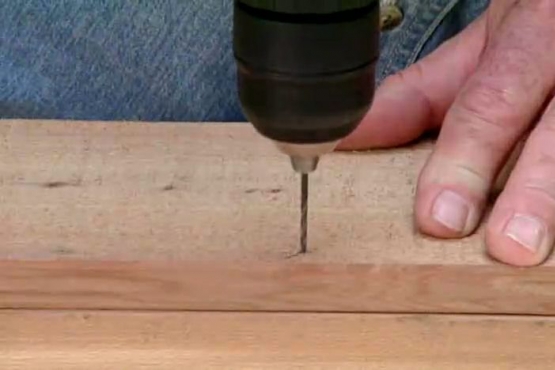
It consists of a front, back and two ends. Duct tape will hold the corners in position until I can attach them permanently. This combination drill and driver will come in especially hand for this project because I'll be drilling a whole lot of countersunk pilot holes, into which I'll be driving scores of corrosion-resistant decking screws.
With the frame complete, I begin attaching the deck boards. First, boring pilot holes, then driving in weatherproof screws. With the lower shelf pretty much complete, I set it out of the way. The upper frame is made up mainly of two rails. Next, I plant the two rails together and bore a three-quarter inch hole through both pieces at the same time. These have been cut to length. Now I want to cut miters on one end, and using an oscillating spindle sander, shape this part of the rail into a sort of half circle. Then I sand off the sharp edges.
Attached to the rails, will be four legs. Through two of the legs, I drill half inch holes that will hold the axle to the wheels. Then I set the legs in position, plant them in place, and check to see that they're perpendicular to the rails.
When I'm satisfied, I secure them with three-inch screws. Now, at this point, I'm building the project upside down on a workbench. I drop in the lower shelf allowing it to rest on temporary support blocks I've attached to the inside of the legs. I clamp the shelf frame to the legs, and permanently attach it with more three-inch rustproof screws. Now I can flip the prep station, right-side up. It's clearly beginning to take shape. To complete the structural part, I insert the upper end rails and screw them in place.
Now, remember those holes I drilled into the ends of the rails? Well they will hold this piece of three-quarter-inch dowel that will serve as the lifting handle. I mark the length, cut the dowel, insert it in place, then drill pilot holes through the rail and drive in short screws to lock the handle in place.
The axle for the wheels is made from a piece of half-inch steel rod I picked up at the home improvement center, and am cutting to length. I insert the rod through the ends of the legs, slip on a washer, a wheel, and finally, an axle cap that gets tapped onto the end.
I've left the end pieces of decking on the lower shelf until now because they needed to be notched around the legs. That should finish the base. Now, I can start on the top.
To avoid any sharp edges, I'm going to draw a radius on the corners, cut off the excess material, and use the spindle sander to create a safe, smooth, rounded shape. The prep station is designed to include a drop-in cutting board. Now, rather than build a carving board from scratch, we found a stock size online.
The way this is going to work is, we're gonna drop this in between a couple of rails and, in effect, we're gonna build a top around the carving board. Something like this.
I'm going to connect the rails to the slats, using something called biscuit joinery.
This plate joiner has a rotating cutter that will make precise slots first in the side rails -- and then in the ends of the slats. The cutter is designed to make sure the slots are straight and always the same distance from the top of any matching pieces.
Next, I put water-resistant glue in the slots, then press in these compressed disks of wood called biscuits. I use a brush to distribute whatever glue has squeezed out, then apply glue to the slots I cut at the ends of the slats, and press the slats into place. From this angle, it's easy to see how the biscuits keep everything aligned. Then I repeat the process on the other side: first applying glue, then inserting biscuits and finally setting the opposite rail in place.
Now I drop the whole assembly into a couple of bar clamps, tighten, add a couple more clamps, then snug everything up while the glue dries. In a few hours, I remove the top from the clamps and using a random orbit sander, eliminate any ridges or dried glue, making the surface smooth to the touch.
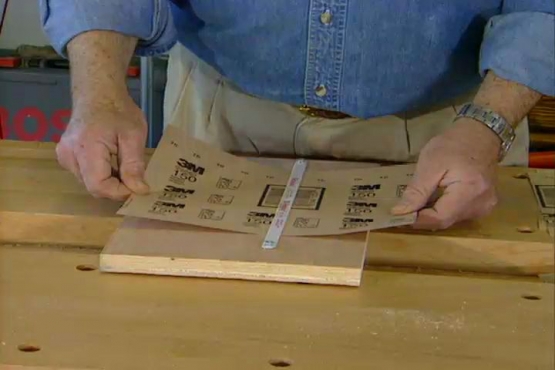
Next, I use a router with a roundover bit to machine a 3/8th-inch radius around the edge of the top. Then do my finish sanding with a palm sander and 150 grit paper. Now the carving board will fit into this opening in the top. No doubt about that. And these support slats are what will keep it flush with the surface. The top is finished and the base is just about done. Now it's time to marry the two pieces together.
Once again, countersunk pilot holes and three-inch weather resistant screws will do the trick. Now for a couple of handy accessories. Paper towels are a real necessity when it comes to cooking outdoors, and this dispenser will keep them close at hand.
And finally, a condiment tray to keep salt, pepper, spices and sauces well within arm's reach. A thorough shaking insures that the color pigments in this combination stain sealer get evenly distributed. Before starting, I like to pour the finish into a container small enough to hold in my hand.
I brush with the grain, using long, straight strokes to work the finish well into the surface. I begin at the top and work downward to catch any drips as I go. A stain sealer like this one does three things. First, it helps keep water from penetrating the wood fibers.
Second, cedars like this one have a built in filter that helps block damaging ultraviolet rays that can deteriorate wood cells. And third, stains add color to the wood, evening out variations in tone and shape.
Well, I think I got just about everything I wanted. Paper towels close at hand, a cooler within easy reach, grilling tools at the ready and condiments where I can get my hands on them. Everything a guy could want in a grilling prep station. Well, plus maybe a couple of sirloins.


