RON HAZELTON:
Now… I came up here looking for tree lights. But what I’ve come across is a bit of my childhood. You know, for decades, trains and Christmas have gone together like eggnog and mistletoe. Generations of kids have been captivated by tiny locomotives chugging heroically beneath the dipping bows of fragrant evergreens.
Well the trains haven't changed too much since I was a kid. But these days there sure are a lot of cool track side accessories.
[MUSIC]
[TRAIN WHISTLES]
So today, I want to start my own family tradition by building a special holiday train storage box that unfolds into a layout and Christmas tree stand. When the holidays are over, the train cars and track will go back inside safe and sound and all ready for the next holiday season.
And you know what, when the time comes, I can just see myself passing this keepsake along to my kids so they can share it with their children. Yeah, what we create today just might become an heirloom. So what do you say? Let's build a tradition.
Now this is quarter inch bead board. You can get this at any home improvement center and chances are they'll cut it to size for you. I'm gonna make our box 3 feet x 3 feet and the bead board is going to form the outside skins if you will.
Around that. we're gonna put up a frame made up of in this case, 1 by 4 pine. Again, you can make your box as thick as you want it.
My first step is to apply a bead of woodworking glue to the top edge of the one by fours.
Okay now, I'm just gonna set the bead board right on top of the 1 by 4. Now I want to make this look like an old packing crate.
That's why I've chosen the bead board. And when it comes to attaching the bead board to the sides here, well I might enhance that by actually using nails with large heads. In my case, I happen to have a staple gun that's gonna make the job go faster. So I'm gonna use this.
[MUSIC]
Well here's the first half of our case and that was pretty easy, wasn't it? Now we're going to move right ahead and build another one just like this. And there's our second half right there. Now together, these are gonna form our train storage box.
Now keep in mind, this is also going to be though, a support for our Christmas tree. So I want to add a little additional bracing in this. One piece coming out from here and then another piece kind of crossing over here. So I'm gonna go ahead and glue and nail these in place.
Set these in place. Glue along the edge. Now just to take a tri square, set it in here and make sure that these are perfectly vertical.
[MUSIC]
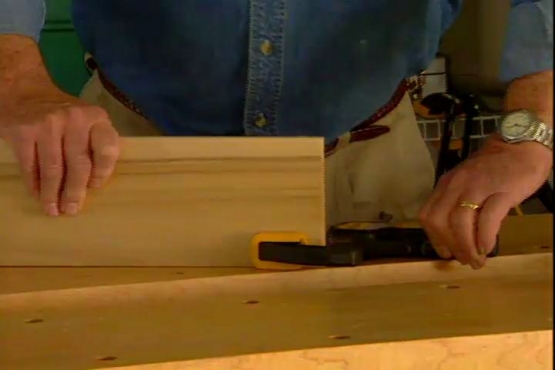
Well now it's time to join our two halves into one box. Now what's gonna hold our box together permanently is this piece of piano hinge. I've cut it to length and all we have to do is lay it down here right across that joint.
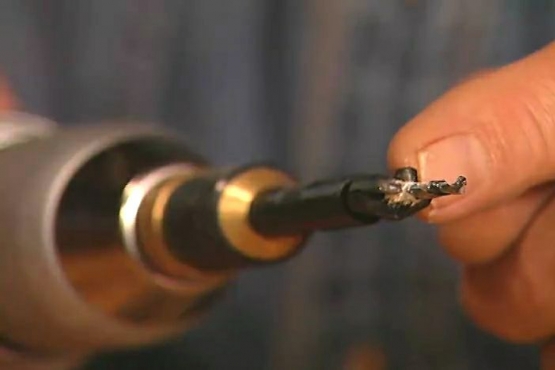
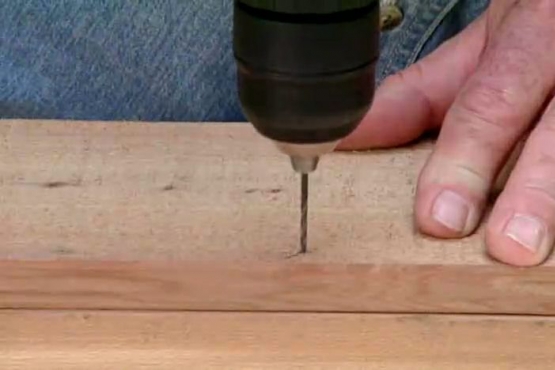
Then, I drill pilot holes with a self-centering bit and put in the screws. I’m careful not to over tighten the tiny fasteners and strip out the threads.
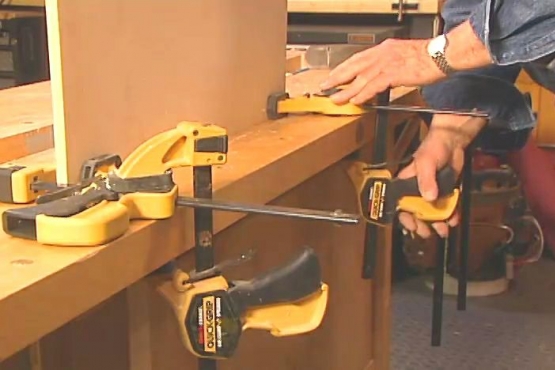
Okay, piano hinge is on. Take the clamps off. And put this back up on the bench and open it up and see what our train box looks like. Pretty nice, huh? Now what I want to do is take some of the train pieces and just kind of lay these in here to get some idea of how I might want to arrange the storage compartments.
RON HAZELTON:
Electric trains are a holiday tradition and today we’re creating a storage box that will last for decades and hopefully become a treasured heirloom. The outer case is done, now it’s time to customize the interior.
Now what I want to do is create some compartments in here into which we'll put each of these individual cars. And the compartments are to keep them from banging against each other and also to protect them.
So I want to use sort of a cushion material. And something that's easy to work with. And I've settled on this. This is rigid foam insulation. You can find this at any home improvement center. It's really inexpensive and very easy to work with. Let me show you. For example, I'm gonna need several strips that are about 3 inches wide. So all I'm gonna do is just mark these. Want to use a really sharp blade for this.
Make just a couple of passes. And then once I've scored the surface like that, just break it in half. It gives you a nice clean edge. Couldn't be easier to cut. So I'm gonna go ahead and - and shape a couple of more of these.
Now this is the adhesive I'm gonna use to put this down. It's designed for foam board. Should work really well. And we'll start by kind of outlining this section right here with these strips. And I think the best pattern is kind of a serpentine pattern like that.
Then we'll just drop this in.
Now in order to make this foam more durable to give our train some added protection and to make this whole case look more attractive, I'm going to line these compartments with some felt.
[What Child Is This?]
Now this is white glue that I've thinned down with a little bit of water. I'm just gonna brush this on the inside of the compartment.
[MUSIC]
These panels, made from the same bead board as the case sides, will keep the train and accessories snug in their compartments as the box is closed. The panels are held in place with small squares of Velcro. And, there’s plenty of extra space for storing additional pieces that will surely join the set in holiday seasons to come.
{Jingle Bells}
Well I guess it’s the end of line for my old train set but the new one, well it’s just leaving the station. All aboard!!


