How to Build a Room Divider
Learn how to build and install a knee-wall room divider; includes details on framing, and installing drywall and pre-made columns.
This project is all about a couple looking for a separation -- a separation of spaces, that is. They would like to visually divide their living room from an adjoining den without erecting walls. The idea is to clearly define the adjacent spaces while keeping them connected and related to each other. They accomplish this with a half-wall and columns.
Read More
Determine Dimensions for the Knee Wall Dividers
Construct a simple plywood mock-up to help visualize the dimensions for the knee wall dividers and columns. View the mock-up from both rooms to gain different perspectives and ensure that it is sized appropriately.

Cut Two-by-fours for the Knee Wall Divider Framing
Cut two-by-fours to dimension for the internal structural wall frame for the knee wall dividers. Each knee wall will require two long side pieces and shorter lengths for the top and bottom.

Join the Two-by-fours for the Knee Wall Divider Framing
Lap the top and bottom framing components for the knee wall divider over the ends of the long sides and secure them with screws. Working on a flat surface such as the floor will keep them from skewing during assembly.

Add One-by-fours to Thicken the Knee Wall Divider Framing
Nail one-by-four strips to the assembled knee wall frames to add additional thickness to match the existing doorway opening when sheetrock is added. Attach the frames to the existing doorway and floor with screws.

Cut Drywall Panels to Cover the Knee Wall Divider Framing
Make four wide drywall panels and two narrow end panels. Score the drywall's paper face, break it along the score-line, and cut the paper back to separate it. Secure panels to the knee wall divider frames with screws.

Mount Metal Beads on the Knee Wall Dividers
Attach metal corner strips to protect the fragile edges of the knee wall divider and provide sharp, clean corners. Nail them in place with a hammer, working carefully to avoid hitting and denting the metal bead.

Apply Joint Compound to the Knee Wall Dividers Seams
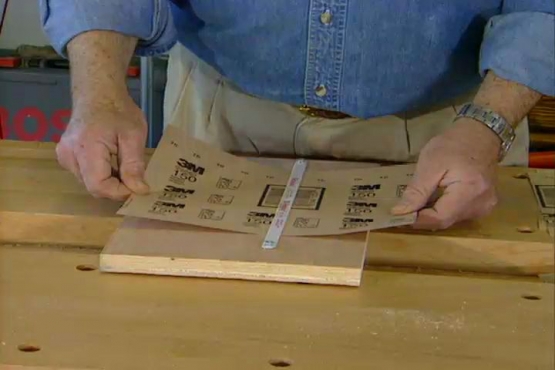
Smooth joint compound and paper joint tape over seams in the knee wall dividers. Add a layer of joint compound over the tape and over the metal corner beads. Let dry and apply an additional coat. Sand the dried surface.

Make a Solid Wooden Top for the Knee Wall Dividers
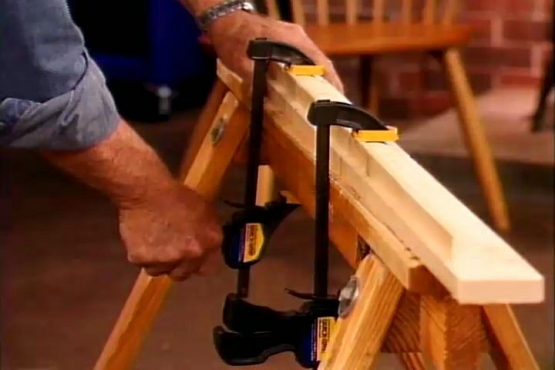
Cut and notch a solid poplar top for the knee wall dividers, sizing it to overhang on the free edges. Route the poplar edges to round them and leave smooth crisp corners. Secure the tops with nails.

Trim the Knee Wall Dividers and Doorway Opening
Use a variety of decorative wooden millwork to trim the wall frame and the exposed edges of the original wall and lift the wall from ordinary to elegant. Miter the corners for a professional look.

Fit the Columns for the Knee Wall Dividers
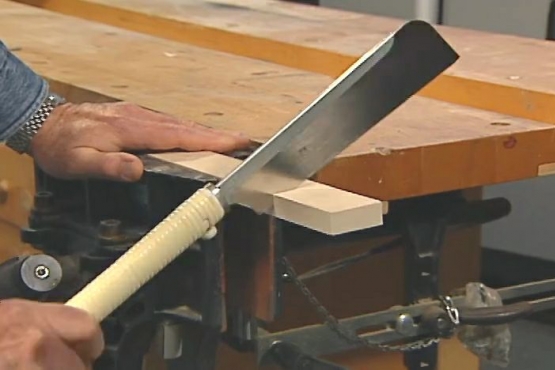
Shorten the purchased columns as necessary to fit with their decorative details in the opening on the knee wall dividers. Glue and nail the capital, base, and shaft to assemble the columns and secure them in position. Paint as desired.
Related Tips
Blog Articles
Have You Heard of Landscape Glue?
You love the rustic charm of a gravel walkway, but the constant scattering of stones across your lawn and patio can be a real headache. Whether it’s from pets, lawn mowers, or just foot traffic, it seems impossible to keep those stones in place. Sound familiar? Well, Brian shows us a simple DIY method using landscape glue to keep your gravel path looking pristine and, more importantly, in place.
How to Remove Candle Wax Drips: Two Effective Methods
Candles create a warm and inviting atmosphere, but those pesky wax drips can be a real headache. Luckily, Brian shows us a couple of effective methods to tackle this issue, and they involve two very different temperatures: hot and cold. Here, we'll explore two effective methods: one using cold and the other using heat.
Guide to Hanging on Masonry Walls
Ever wondered how to hang that picture frame or shelf on a brick or concrete wall? It can seem daunting, but with the right tools and techniques, it's a straightforward DIY project. This guide breaks down two common methods: using concrete screws and using anchors, making it easy for you to tackle your next hanging project.


