How to Make a Custom Wood Picture Frame from Scratch
Make Your Own DIY Picture Frame to Show Off Art and Photos
Add a personal touch to a photograph, print, or piece of art by designing and building your own picture frame. Taking the time to create your own will allow you to design a frame that fits your decor, the nature of the artwork, as well as give you the satisfaction that comes with doing it yourself.
Read More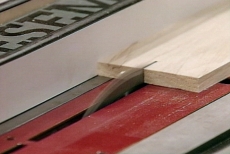
Select the Material for Your Frame
To build this frame, you will need three different thicknesses of wood, but if you'd like a frame with a little more (or less) heft, you can be flexible with the thickness of the wood that you choose. Obviously, a heaver frame may be more appropriate for a larger piece. Once you've selected the thickness of your stock, use a table saw to rip it to the correct width.
Round the Edges of the Frame Stock
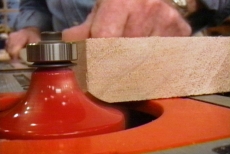
When building a custom frame, you can add your own unique design touches by rounding and shaping the pieces of stock that you assemble. A router and a router table are the easiest way to do this. A round-over bit will eliminate any sharp edges and give the framework a smooth, sculpted look and will help hide the transitions between the pieces.
Glue and Clamp the 1st set together
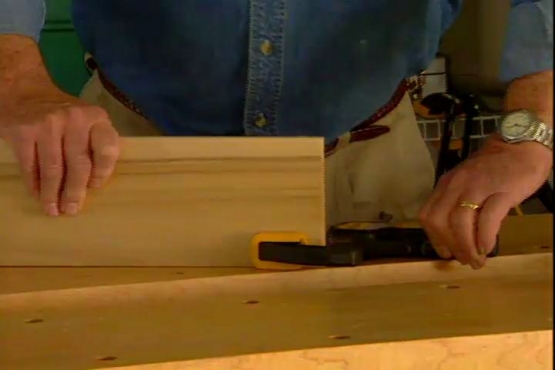
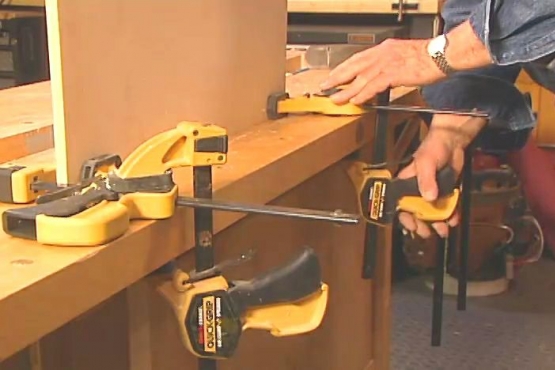
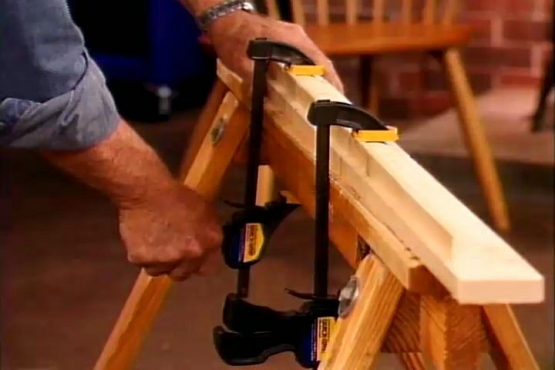
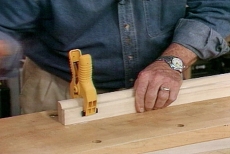
When gluing two flat pieces together, make sure that the glue is spread into a thin even layer. This will ensure that the bond is tight and will stand the test of time. Once the glue is spread over the appropriate area, apply a spring clamp every 6 inches or so. If you have to use heavier clamps, make sure you use a piece of wood between the jaws of the clamp to disperse the force, otherwise you will have marks and indentations on wood and they will show on your finished frame.
Create the Contours of the Frame
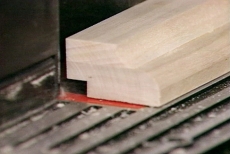
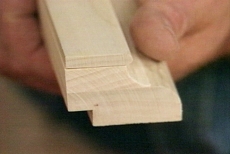
Once the glue has dried, you can use another style of router bit to remove the corner where the two pieces of wood are glued together. This will make the frame look as though it's one solid carved piece of wood. Use a cove box bit to create the smooth, round face of the frame. After you've shaped the face, change the bit again to a square router bit and cut a rabbit joint on the back side. Make it deep enough to hold the glass that will go over the front of your painting, photograph or other artwork.
Completing the Frame Stock
The third piece of stock that you are going to add to the picture frame stack is fairly thin compared to the two others. To ensure that you can run it through the router table safely, you'll need to construct a simple jig. The purpose of the jig is to hold keep the stock in place, without you having to place your fingers too close to the router bit. The jig can be several pieces of scrap wood that are clamped into place with spring clamps. After the 3rd piece of stock is shaped with the router, glue it into place and let it dry while clamped.
Miter the corners
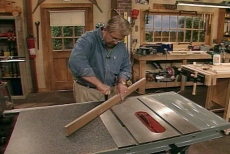
Using a table saw to cut the miters for the frame ensures accuracy and safety. Use a miter gauge to ensure that the angle is correct and uniform for all of the joints. A stop block will guarantee that all of the frame pieces are the same length. This is vital if they are going to line up correctly when you try to put them together.
Build a jig to glue the frame together
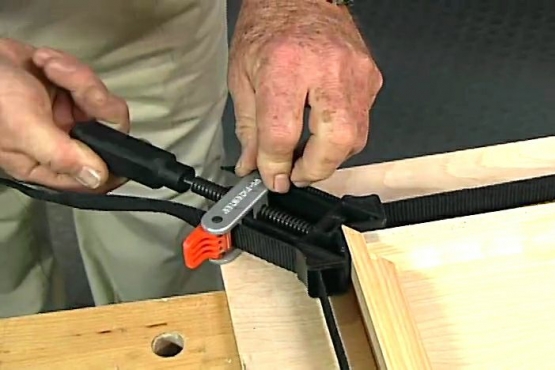
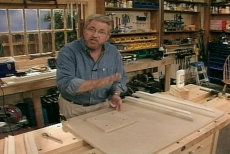
You will find that it is much easier to build a frame that is square and true if you construct a jig to help you line the pieces up correctly for gluing. Simply nail or screw a square piece of stock to the bench, and then use the square corners to make sure that your frame joints are lined up perfectly. Once you have the jig ready, apply a generous amount of glue to the corners, set them together around the jig, and then fasten them with a pin nailer.
Framing the Picture
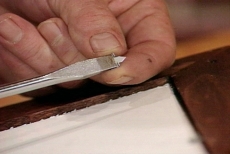
After the glue has completely set and you've had a chance to stain, paint, or finish the frame the way that you want, you are ready to put in the picture. First, set the glass into place in the rabbit that you cut on the back side of the frame. Then, you can set the matted picture into place behind the glass. Use glazier's points to hold the glass and picture in place. Once it is secure, tape craft paper over the back of the frame to help protect the picture inside.
Related Tips
Blog Articles
How to Remove Candle Wax Drips: Two Effective Methods
Candles create a warm and inviting atmosphere, but those pesky wax drips can be a real headache. Luckily, Brian shows us a couple of effective methods to tackle this issue, and they involve two very different temperatures: hot and cold. Here, we'll explore two effective methods: one using cold and the other using heat.
Guide to Hanging on Masonry Walls
Ever wondered how to hang that picture frame or shelf on a brick or concrete wall? It can seem daunting, but with the right tools and techniques, it's a straightforward DIY project. This guide breaks down two common methods: using concrete screws and using anchors, making it easy for you to tackle your next hanging project.
Budget-Friendly Staircase Updates You Can Do Yourself
Sometimes, the smallest details can make the biggest difference in a home. A mismatched newel post and railing can detract from the overall aesthetic of a space. Luckily, updating this feature can be a relatively simple DIY project, often requiring only a change of the newel post cap. Brian walks you through this project in the video!
