How to Install Decorative Faux Metal Ceiling Tiles
A Video Demonstration of How to Put up Lightweight Decorative Metallic Ceiling Tiles
Decorative faux metal ceiling tiles come in dozens of metallic finishes and colors and can add a dramatic touch to any room. Made of lightweight PVC plastic they are easy to cut and can be installed in a single day. The faux metal tiles used in this project were selected online and were chosen by the homeowner to reflect the metal accents in the room’s furnishings. This video shows, step-by-step, how to install decorative metallic ceiling tiles in your home.
This article is produced in partnership with decorativeceilingtiles.net. The opinions, recommendations and experiences are my own. The metallic ceiling tiles featured in this project are available from the company website.
Read More
Remove Any Crown Molding or Light Fixtures
Take down any existing crown molding, overhead fixtures or heating and cooling vent registers.

Layout the Tiles
Virtually every room will require cut tiles around the perimeter. These partial tiles will form a border inside of which there will be a field of full tiles. Layout is necessary to determine the dimension of these perimeter tiles and can be done mathematically or by temporarily placing the tiles on the ceiling with tape. The video shows both methods.

Cut the Perimeter or Border Tiles Using Scissors
Faux metal ceiling tiles look very realistic. However, they can be easily cut by first drawing a line on the back then using a pair of large scissors. They can also be cut using a multi-tool fitted with a fine-tooth blade.

Create a Start Line
Measure out from each end of the wall a distance equal to the width of the perimeter tiles and, using a chalk line. strike a starting line. This is necessary since most walls are not perfectly straight. Align the edges of the perimeter tiles with this line, beginning in one corner of the room.

Glue Tiles in Place Using a High-Tack Adhesive
These decorative ceiling tiles are very lightweight and are put up with a high-tack, water based adhesive that immediately holds the tile in contact with the ceiling while, at the same time, allowing it to be slid sideways for alignment and positioning. No tape is necessary.

Cut Out Tiles for Fixtures and Ductwork
Openings for electrical boxes and heating/cooling ducts can be cut using either scissors or a utility knife. The video demonstrates how to locate the proper position for these openings.

Install Crown Molding to Conceal Edges
The cut edges around the perimeter of the room are usually covered with crown molding. In this case, we used a lightweight polystyrene crown mold, also available from decorativeceilingtiles.net. This molding can be cut with a miter saw and installed with the same high-tack adhesive used for the tile. No nails or fasteners of any kind are required.

Caulk Molding Joints and Paint
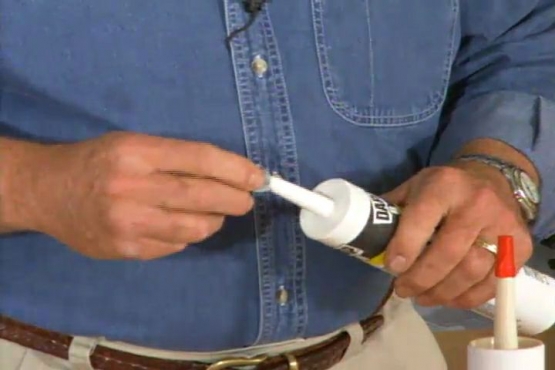
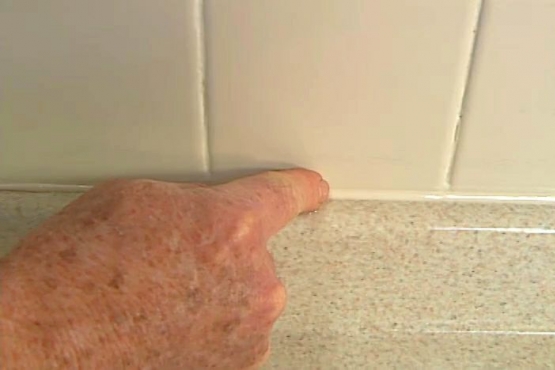
The crown molding can be purchased pre-painted or painted on-site with just about any water-based paint. Seams and joints are filled beforehand with a water-based sealant.
Related Tips
Blog Articles
Have You Heard of Landscape Glue?
You love the rustic charm of a gravel walkway, but the constant scattering of stones across your lawn and patio can be a real headache. Whether it’s from pets, lawn mowers, or just foot traffic, it seems impossible to keep those stones in place. Sound familiar? Well, Brian shows us a simple DIY method using landscape glue to keep your gravel path looking pristine and, more importantly, in place.
How to Remove Candle Wax Drips: Two Effective Methods
Candles create a warm and inviting atmosphere, but those pesky wax drips can be a real headache. Luckily, Brian shows us a couple of effective methods to tackle this issue, and they involve two very different temperatures: hot and cold. Here, we'll explore two effective methods: one using cold and the other using heat.
Guide to Hanging on Masonry Walls
Ever wondered how to hang that picture frame or shelf on a brick or concrete wall? It can seem daunting, but with the right tools and techniques, it's a straightforward DIY project. This guide breaks down two common methods: using concrete screws and using anchors, making it easy for you to tackle your next hanging project.


