How to Build a Tree Bench - DIY
Build a Custom Bench around a Tree to Gain Sitting Space and Garden Interest while Protecting the Tree
Design and construct a simple hexagonal redwood bench around your family tree--the geometry of building the hexagonal bench is easier than a circular bench yet provides equal sitting comfort and practicality from all sides because it is symmetrical. Build the bench in sections with leg/supports spaced to avoid the tree's roots and then assemble it around the tree.
Read More
Cut the Six Inner Seat Boards for the Inside Row
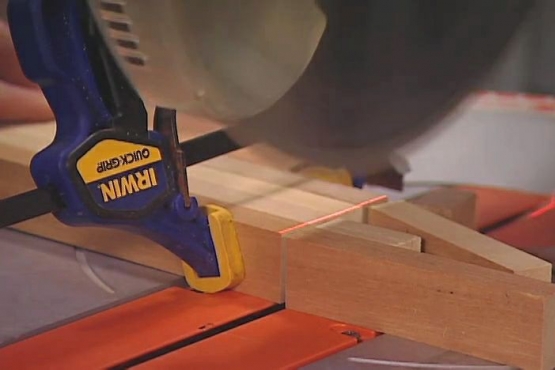
Plan the dimensions of the hexagonal custom tree bench to encompass the tree trunk without damaging it or impeding its growth. Set your power miter saw for a 30-degree angle and cut the first row (inner row) of seat boards.

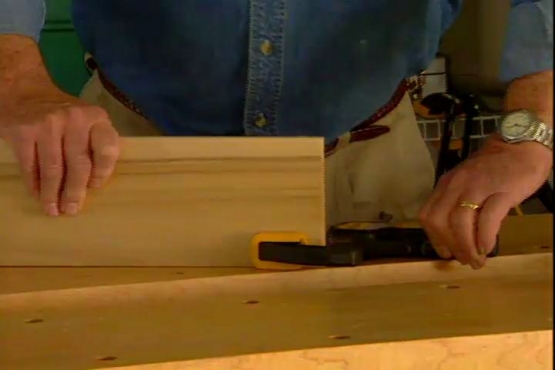
Cut and Miter Remaining Middle, and Outer Seat Boards
Lay two planks parallel to an inner seat board, separated with 1/4-inch spacers. On both ends, extend a 30-degree cutline from the first board across the other two. Cut six sets of inner, middle, and outer planks in this manner.

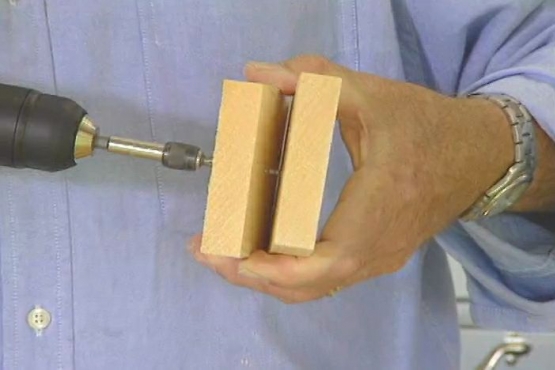
Cut, Assemble, and Secure Six Tree Bench Supports
Build six tree bench supports having two two-by-six legs sandwiched across the top by two one-by-four cross braces. Secure them with galvanized carriage bolts, washers, and nuts. Tighten the nuts with a socket wrench, compressing the wood slightly.

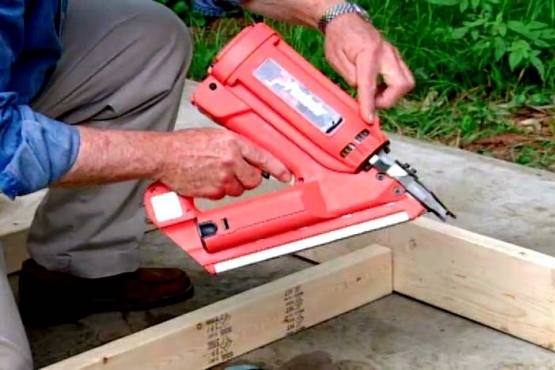
Join Two Pairs of Bench Seat Sections by Attaching Supports
Join two seat sections, drilling pilot holes beneath to screw a support directly over the joint and one at both ends of the assembly. Make two assemblies, reserving the remaining two individual sections for installation once positioned around the tree.

Turn Assembled Sections Upright and Countersink Screws from the Top
Turn the two bench assemblies upright. They are not yet rigid, so drill countersunk pilot holes and screw through the bench top into the support cross braces below. The countersunk screw heads will lie beneath the surface and protect clothing.

Level the Tree Bench, Removing Soil if Necessary
Level the two bench assemblies around the tree, leaving gaps of the exact length for the two remaining seat sections. If necessary, remove soil to level the ground for the tree bench, but avoid the tree roots.

Screw Remaining Bench Seat Boards into Exposed Portion of Supports
Drop remaining tree bench planks into position. Drill countersunk holes to drive screws through the bench top into the support cross braces below. Remember to leave a 1/4-inch space between boards to allow for wood expansion and water drainage.

Apply Sealer to Redwood Tree Bench
Coat redwood with sealer to extend the tree bench life, keep it looking good, and prevent the top from weathering and becoming rough. All these actions will lead to less maintenance labor and make the bench more comfortable as well.
Related Tips

Blog Articles

Have You Heard of Landscape Glue?
You love the rustic charm of a gravel walkway, but the constant scattering of stones across your lawn and patio can be a real headache. Whether it’s from pets, lawn mowers, or just foot traffic, it seems impossible to keep those stones in place. Sound familiar? Well, Brian shows us a simple DIY method using landscape glue to keep your gravel path looking pristine and, more importantly, in place.

How to Remove Candle Wax Drips: Two Effective Methods
Candles create a warm and inviting atmosphere, but those pesky wax drips can be a real headache. Luckily, Brian shows us a couple of effective methods to tackle this issue, and they involve two very different temperatures: hot and cold. Here, we'll explore two effective methods: one using cold and the other using heat.

Guide to Hanging on Masonry Walls
Ever wondered how to hang that picture frame or shelf on a brick or concrete wall? It can seem daunting, but with the right tools and techniques, it's a straightforward DIY project. This guide breaks down two common methods: using concrete screws and using anchors, making it easy for you to tackle your next hanging project.


