RON HAZELTON:
Are we gonna have some fun right now. This is Kevin Locke, a long time friend of mine and a scenic designer, the scenic designer actually for Good Morning America. And we're gonna be talking about today — what you're gonna be showing us are decorative —
KEVIN LOCKE:
Faux finishes.
RON HAZELTON:
Faux finishes.
KEVIN LOCKE:
Faux finishes, finishes that we've used in television and theater that have been discovered and a lot of people are using in their homes.
RON HAZELTON:
So you're gonna show us three today.
KEVIN LOCKE:
Three.
RON HAZELTON:
Starting with sponging.
KEVIN LOCKE:
Sponging.
RON HAZELTON:
Now we're gonna use — this - we're gonna use paint. This is just a —
KEVIN LOCKE:
Right.
RON HAZELTON:
— or a water-based paint.
[BOTH SPEAK AT ONCE]
Latex paint.
KEVIN LOCKE:
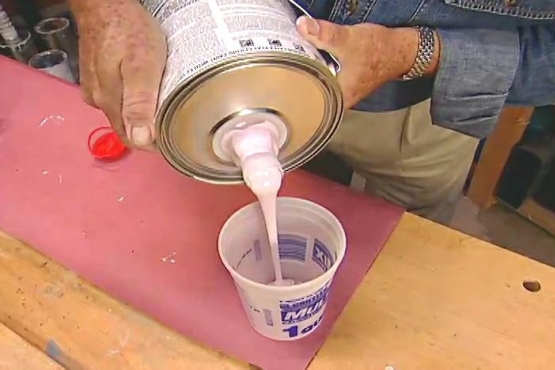
This is all latex house paint. For sponging, I like flat paint which I'll just — this is all flat. And one of the things that I think if you're a first time sponger, insures success —
[BOTH SPEAK AT ONCE]
RON HAZELTON:
I've been a sponger all my life.
KEVIN LOCKE:
Well, there you go. But if you're a first time sponger, you'll want to use colors that are in the same color family. See, these are all greens. The middle tone is the one that we based the wall with. You're not gonna take the sponge and dip it in the paint.
Then you've got a mess on your hands. What I like to do is take the paint, get any old piece of board, pour it on. We want to smooth that out —
RON HAZELTON:
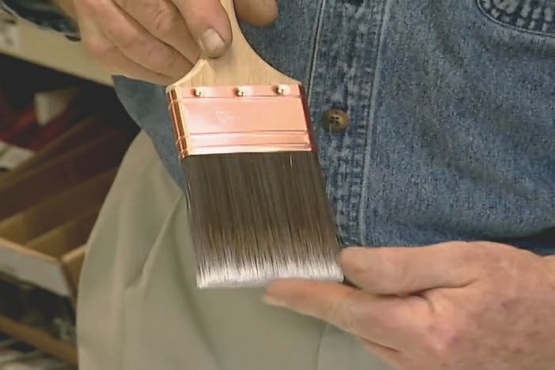
With a four-inch brush there —
[BOTH SPEAK AT ONCE]
KEVIN LOCKE:
— any old big brush will do. I'm gonna take our sponge and then we're gonna dip it in here. And see what this does is, it puts the paint just on the bristles. Now before you put it on the wall, you might want to have another piece of board here where you just maybe clean it off a little bit, rehearse, get a sense of what's going on. I like to work diagonally. And you just start putting her on the wall.
Okay, you see what I'm doing here is I'm —
RON HAZELTON:
You're dancing. I see what you're doing.
[BOTH SPEAK AT ONCE]
— yeah, I'm rotating the sponge so I don't get a dot dot dot pattern. It looks a little different every time I change it. Sometimes I move around so that you can't see how the paint traveled across the wall.
RON HAZELTON:
So you don't necessarily start at one side and move over, you, you intentionally bounce around.
[BOTH SPEAK AT ONCE]
KEVIN LOCKE:
Correct. I move around but I'm always working around this wet edge. Now the next thing we want to do is the light color. Where I see dark areas, I'm gonna go in there a little harder. Where I see light areas, I'm gonna go in a little softer. I'm gonna move a little more quickly and gently around on the wall.
RON HAZELTON:
So you like what you're coming up with here?
KEVIN LOCKE:
Yeah. I think we got a pretty good look. This area is done — very successful. It's got some interest. You can see the difference between this finished area and down here where it's less smooth. We haven't done this color top. I think this would be a good look on your wall.
RON HAZELTON:
Yeah. What about when you're going up into corners, you're going down next to your baseboard. You got any —
KEVIN LOCKE:
I do have a tip for that, Ron, and one of the most important things I think about sponging is, a lot of times, you'll see a sponge job where they've gone in and gotten it to a corner like that and they just won't get up to the corner and it gives it away. And what I find is good to do, is take a little paint and above your moldings, go in and just drag yourself some of that dark color in there and then sponge it out.
And see how it just sort of melts it into the wall there?
RON HAZELTON:
Oh, yeah.
KEVIN LOCKE:
It really gives it a professional touch. And also, if you've got a room with moldings, two things — one, you want to sponge your wall first. And two, I find that unless you don't like the moldings and want to hide them. You want to go back and paint those moldings with a flat color.
RON HAZELTON:
Okay, now what we're going to do — what?
KEVIN LOCKE:
A glazing technique. Actually, two glazing techniques. We're gonna do dragging and combing. You apply the paint the same way, but you use two different tools.
RON HAZELTON:
Okay and what's the difference between a glaze and a paint?
KEVIN LOCKE:
Well, a glaze just implies a paint that's been thinned down, it's become more translucent. It lets the light move through it and that's what creates the texture. Okay, so we're gonna load up the wall with our glaze.
RON HAZELTON:
You always start at the top?
KEVIN LOCKE:
Well, yeah, I like to because I need a continuous stroke all the way down. So now that we've got our wet wall, we take our short stiff brush and I'm gonna put it right here on the wall and I'm gonna use the bristles. I'm also gonna press my fingers in, which gives it a little more texture, makes it a little more dramatic.
Now this is gonna look subtle, but remember that this paint is gonna dry darker. This paint technique is a — is best as a team sport.
RON HAZELTON:
So let me team up with you, buddy.
KEVIN LOCKE:
Okay.
RON HAZELTON:
I'll take the — I'll do this part.
KEVIN LOCKE:
Here's the dragging tool. I'll lay some wet down for you. Press those fingers in there.
RON HAZELTON:
Wow. That is surprisingly easy.
KEVIN LOCKE:
Yeah. It's a good quick technique. This is the combing tool. We're gonna use the combing technique which gives us a little more hard edge line and we should mention that this is a technique that's best used on a very smooth wall, where we can use the, the sponging technique on a wall with some texture.
This is best used on a wall that's pretty smooth.
RON HAZELTON:
Technique number two. Dragging and combing.
KEVIN LOCKE:
Right.
RON HAZELTON:
All right, what have you got for three? I can't wait.
KEVIN LOCKE:
Marble. And now marble is most dramatic if it grows kind of in a certain direction. So I'm gonna take and I'm gonna smear some of my color on there, just like that. Now I'm gonna take a white contrasting and I'm gonna just toss it in there in the middle of those colors.
RON HAZELTON:
Right in between.
KEVIN LOCKE:
Right.
RON HAZELTON:
Same squiggly thin things?
[BOTH SPEAK AT ONCE]
KEVIN LOCKE:
Same squiggly lines. And then you want to go in and you want to just take that brush and blend together.
RON HAZELTON:
Is this called stippling?
KEVIN LOCKE:
This is called stippling.
RON HAZELTON:
Excellent.
KEVIN LOCKE:
You get an A. All right. Now the idea — this is also a wet blend technique — it's not to blend it all into a third color but to leave those different colors a little separate.
RON HAZELTON:
Yeah, okay.
KEVIN LOCKE:
Okay?
RON HAZELTON:
Think I kind of over stippled here.
KEVIN LOCKE:
And you can, you can change direction a little bit, and I'm gonna take my big brush and gently do a little bit of spatter. There you go.
RON HAZELTON:
Now what is it — this sort of simulates what?
KEVIN LOCKE:
Just gives it a little contrast, you know, marble. It's a rock, it has different elements in it. It just gives it a little more interest. This is a watered down gray and then we can just take this brush and we can push it along there, see I'm twirling it and you rotate your finger, see.
[BOTH SPEAK AT ONCE]
RON HAZELTON:
You rotate — oh, yeah.
KEVIN LOCKE:
And I'm letting the line be thin and thick and sometimes broken. And again, marble grows in veins, kind of like a tree.
RON HAZELTON:
So the trick here though, is to, is to make it look random I guess.
KEVIN LOCKE:
Yes. Be very random. You're looking good. And now I'm gonna take my brush and I'm gonna soften some of these veins a little bit so they're not so hard edged. And then for a final touch, I'm gonna take a little more white and do a little more spatter.
RON HAZELTON:
Your lines are a little more convincing than mine.
KEVIN LOCKE:
Well, I've done it more often than you have.
RON HAZELTON:
Kevin's right. He has done more than I. But you know what? Even without any experience, you can still get beautiful and dramatic results using these techniques.


