This Simple Clamp Extension Stretches Ordinary Clamps to Any Length
An Easy Way To Make A Clamp Extension
If you find yourself working on a project and find that you don’t have a clamp that’s long enough to do the job, here’s a way to improvise and use what you do have. While many clamps are adjustable, they can only go so far. So, what do you do if your clamp is too short for the project at hand? Here’s a DIY solution that can extend your clamp to nearly any length you want.
This is a simple way to essentially build an extension for your clamp. It’s easy, doable, and reusable for any time you need it in the future. In this video and blog, I’ll outline step-by-step how to make the extension from wood and exactly how to use it.
 MATERIALS:
- 1x3 piece of wood
- Wood Glue
- Two Screws
- Hand Drill (with Hole Saw)
- Miter Saw
MAKING YOUR OWN LONG CLAMP
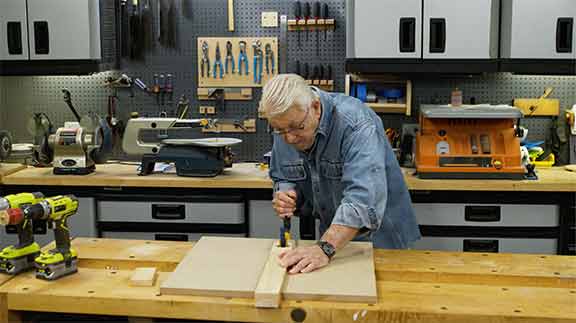
I start by cutting a piece of 1 x 3 to length so that it is just a little bit shorter than the combined width of my project. In my case, and as seen in the video, I am trying to make the clamp long enough to hold three boards together, edge to edge.
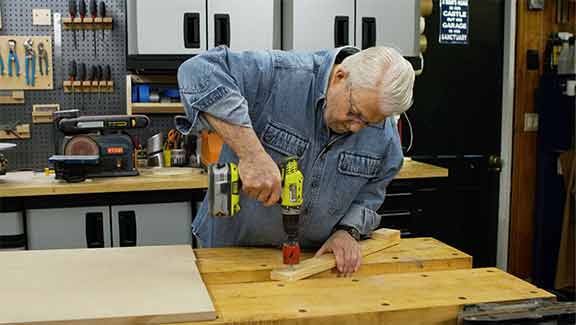
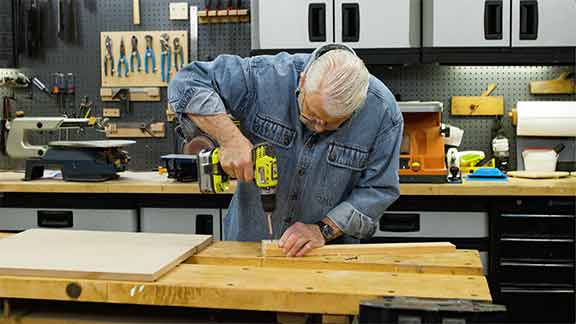
While I’m still at my miter saw , I cut a small block from the same piece of wood. This small will capture one edge of your work. Essentially, you can view this as an extension of one jaw of your clamp. Attach this small block to the longer piece of 1 x 3. Using a hand drill, bore two clearance holes and create a countersink. After applying wood glue, lay the short block on top of the longer piece, and drive in two screws.
Now, on the opposite side of the board, drill a 1 ½” hole using a hole saw. The purpose of this is to create a place for the clamp to grip the extension. As the clamp is tightened, it will create pressure uniformly on both sides of the project.
HOW DOES IT WORK?
This DIY, homemade clamp extension makes a clamp longer by allowing you to use the clamp on one end of the board while t he other secures the far edge. The small-block that was cut and attached overhangs on the far edge of your project and secures it like a jaw. The hole on the opposite end provides a way for the clamp to engage the extension
If the clamp you have is shorter than you need, or if you are working on an unusually large project, now you know how to make it longer. This project is easy to do yourself, uses very little material, and takes about 20 minutes to make. Not to mention the money it may save you from having to buy much larger clamps. Once you’ve made it, you can keep it in your workshop for future reuse.
It always feels good to be able to improvise a solution to a problem with what we already have at hand. Whether it’s getting creative with the clamps we already have or using other ordinary items like an elastic bandage or an old bed spring to clamp awkward shapes.
Recommended Articles

The How’s and Why’s of Upgrading a Central AC System
A step-by-step video demonstration showing removal and replacement of a central air conditioning system. Includes advantages of new, state-of the-art AC systems.

If You’ve Got a Project That Involves Demolition, You’ll Want to Know About This Tool.
I try out a new tool designed and engineered to do one task exceptionally well -- demolition.
