Realistic Faux Wood Beams Add Warmth and Style. Install Them Yourself.
A Step-by-Step Video Guide on How to Install Realistic Faux Wood Beams
This post is in partnership with Decorative Ceiling Tile. The opinions and recommendations are my own.
For more information on the faux beams featured in this video CLICK HERE.
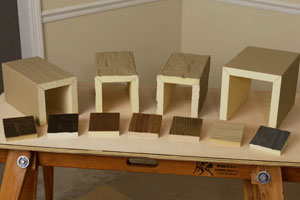 Today’s faux wood beams are convincingly realistic with variegated colors and deeply embossed grain and texture. Despite their realistic appearance, they’re extremely lightweight since they’re made of high-density polyurethane and hollow inside.
I found the installation to be straightforward and relatively easy. I’ve never done this project before, so I had my own learning curve.
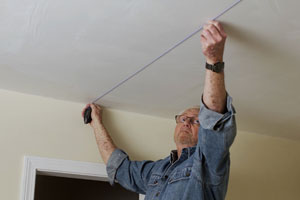 Step one is to determine where you want the beams to go considering room shape and dimensions, overhead lighting fixtures and heating or air conditioning grills. After settling on the layout, I marked the beam locations using a chalk line.
The beams are hung from the ceiling using a pair of standard two-by-two rails. You can buy these in the lumber section of any home improvement center or cut them from wider planks. The rails are 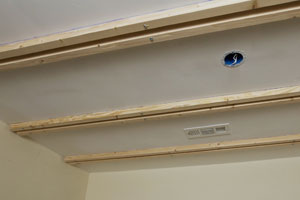 attached either directly to ceiling joists or in the hollow part of the ceiling using toggle bolts. I had to take the toggle bolt route. First, I drilled the bolt holes in the rails at three-foot intervals. Then, held the pre-drilled rail on the ceiling and used it as a template for making the ceiling holes. The video demonstrates this in more detail. I found that this part of the project is best done with two people,
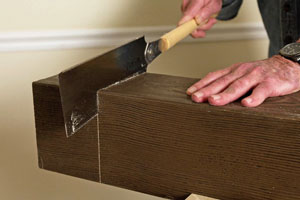 I installed all the rails first, the moved on to the beams. The easiest and fastest way to cut the beams to length is with a power miter saw. However, they can also be cut with a handsaw. I used my favorite Ryoba Japanese saw because of the control it gives me and the smoothness of the cut.
Once cut to length, the hollow, three-sided 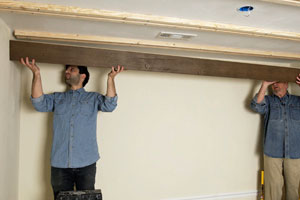 beams are simply slipped of a pair of rails and held in place with either finish nails or finish-head screws. If you go for nails, I recommend using a nail gun since a missed hammer blow can create an embarrassing dent.
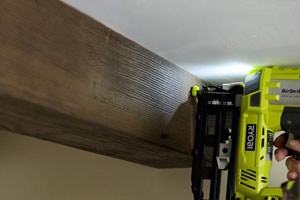 The beams are convincingly realistic and require no additional finishing. That being said, you can add false hangers, brackets and plates made from a silicone-polyurethane composite.
Wood has always had a certain rustic charm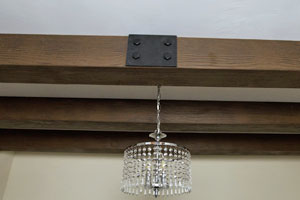 . Today, it’s warm and welcoming look can be enjoyed in in just about any room in the house. This is one of those jobs that, at first glance, can seem challenging although it’s really easier than you may think… and it offers impressive bragging rights.
For a FREE sample of the Faux Wood Beam Finishes and
Textures click here.
Recommended Articles

The How’s and Why’s of Upgrading a Central AC System
A step-by-step video demonstration showing removal and replacement of a central air conditioning system. Includes advantages of new, state-of the-art AC systems.

If You’ve Got a Project That Involves Demolition, You’ll Want to Know About This Tool.
I try out a new tool designed and engineered to do one task exceptionally well -- demolition.
