How To Fix A Hole In The Wall
3 Easy Steps For Fixing A Hole In The Wall
Part of living in a home is learning how to fix problems big and small. Sometimes those larger problems may seem daunting, but they don’t need to be if you have the right know-how. A large hole in your drywall is one of those seemingly bigger problems that may initially cause alarm, but rest assured that it only looks harder to fix than it actually is.
Interior walls can take a beating, damaged by everything from swinging doorknobs to tipping chairs. Over time, you’re bound to end up with at least one unwanted hole in the wall. Knowing what to do will be the difference between panic and keeping calm and carrying on.
Fixing large holes in drywall doesn't require a lot of time or experience - all you need is a piece of drywall, a wallboard saw, drywall screws, joint compound, and a couple of pieces of scrap wood.
STEP ONE: MAKING A DRYWALL PATCH
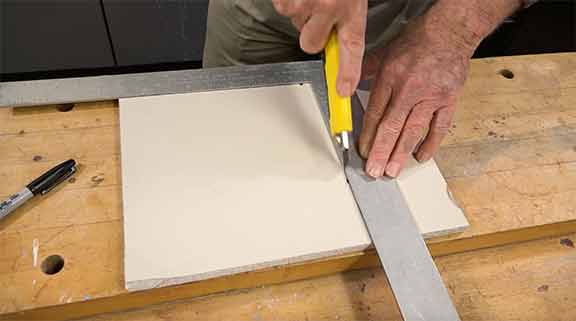
Measuring the hole at its widest point and adding an inch and a half will tell you how large to cut your drywall patch. You may be wondering why I am suggesting cutting it so large. The reason for this is twofold - The technique that I show in the video involves scoring the drywall in a way where we can use the paper on the front of the wallboard as tape to span the joint. The second reason is that the damage on the backside of the wall is usually greater than the front. Creating a larger patch accounts for that damage.
 Using a utility knife, score the drywall piece in the front, back, and all four sides as shown in the video. Break the wallboard along all four score lines, then peel off the paper backing and the inner gypsum core, leaving the front paper intact. As I mentioned, this creates a flap on the front of the patch that will cover the joint between the patch and the surrounding wall.
STEP TWO: USING A TEMPLATE TO CUT
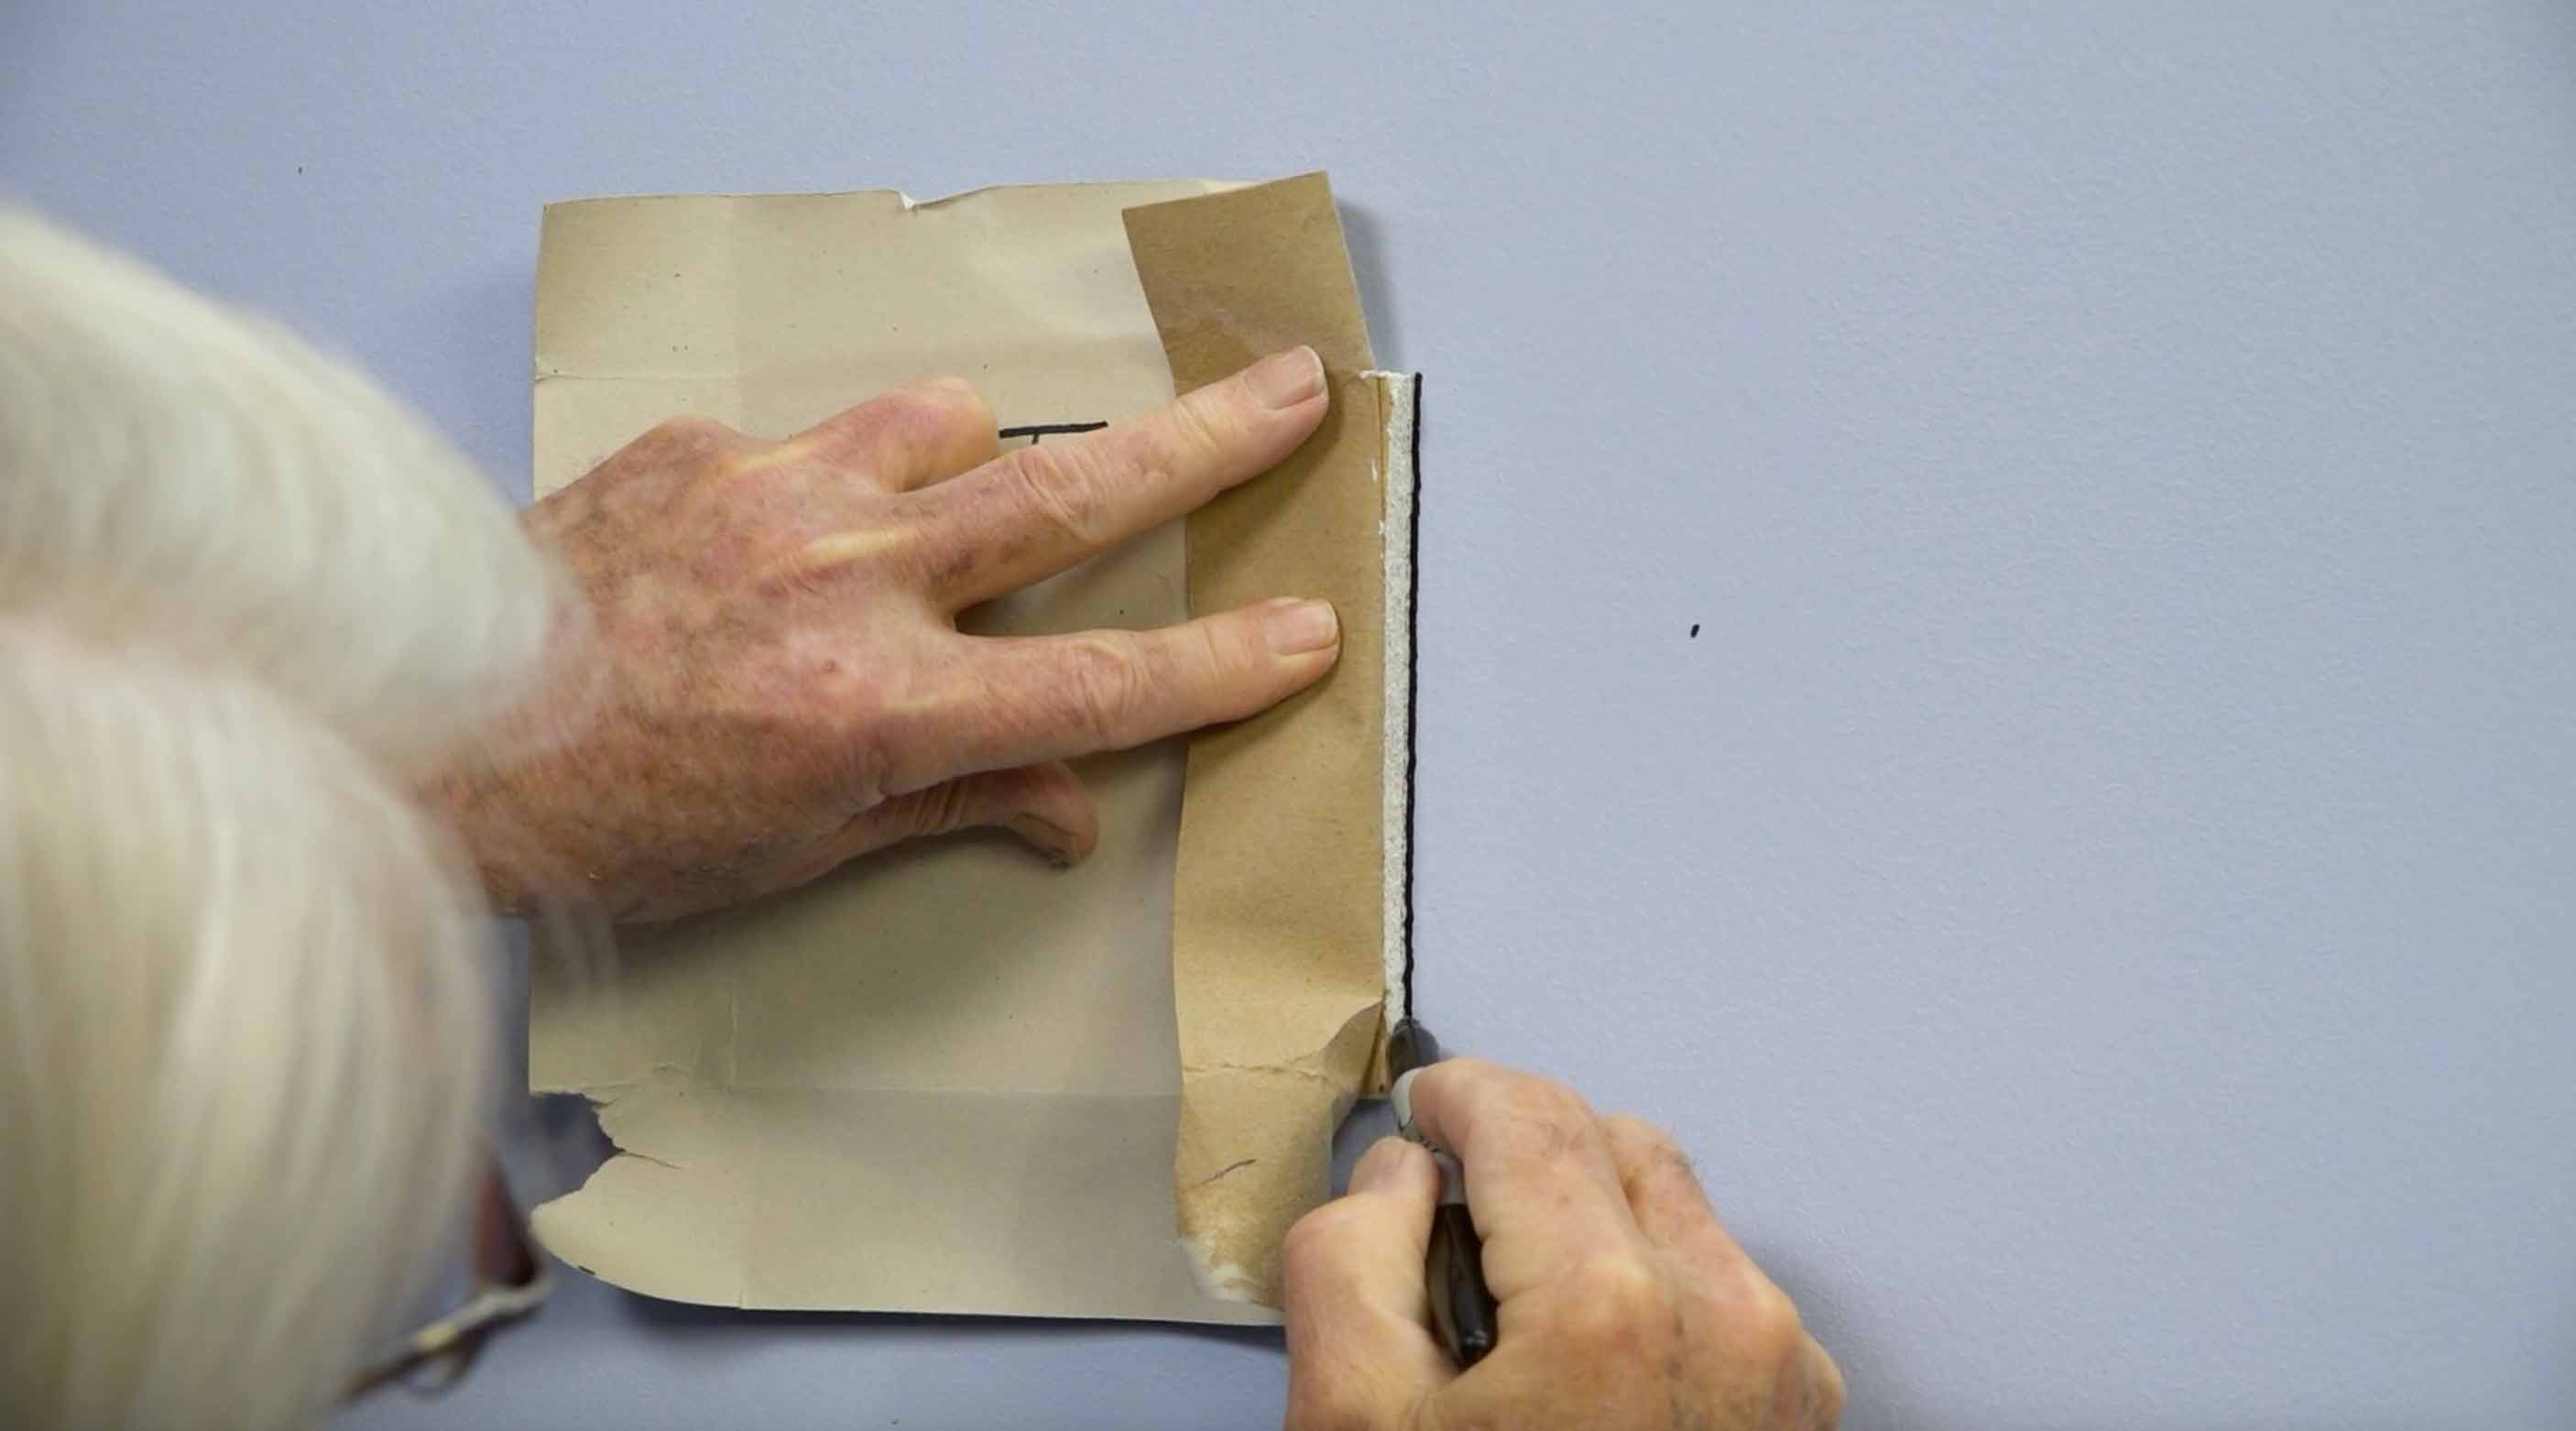
Using the wallboard saw, cut along the line that you traced and remove the damaged piece. Test fit the patch, making sure to place the “T” at the top so that it’s properly oriented.
STEP THREE: PATCHING UP
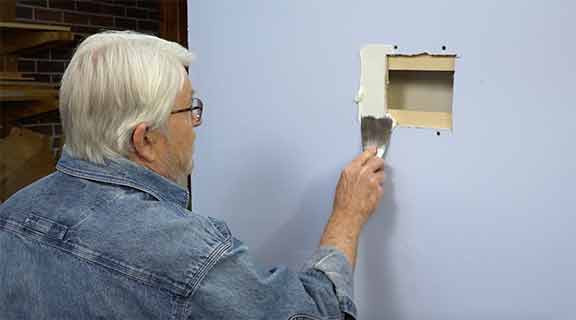
Now that you’ve created your patch and used it as a template to cut out the hole in the drywall, it’s time to button everything up. To make sure the patch is supported on the backside, attach two pieces of scrap wood with drywall screws.
Apply a layer of joint compound on all four sides and edges of the opening. Then, place the patch into the opening. With a putty knife, press the paper on the front of the patch firmly into the joint compound. Let the joint compound dry overnight. The next day sand any excess joint compound using a regular piece of sandpaper or an abrasive mesh drywall sander designed specifically for this purpose. The advantage of the latter is that it has much less tendency to fill with compacted dust.
Apply another coat of joint compound with a wider joint knife. This will allow you to taper the joint evenly from the patch to the surrounding wall.
Allow the patch to dry overnight. Then, it will be ready for one final sanding and a coat of paint.
In three easy steps, the hole in your wall will be fixed and you’ll have the know-how should it happen again.
Because home repair problems are frequent, I’ve created a specialized guide for do-it-yourselfers that covers the most requested solutions to home repair problems.
Recommended Articles

The How’s and Why’s of Upgrading a Central AC System
A step-by-step video demonstration showing removal and replacement of a central air conditioning system. Includes advantages of new, state-of the-art AC systems.

If You’ve Got a Project That Involves Demolition, You’ll Want to Know About This Tool.
I try out a new tool designed and engineered to do one task exceptionally well -- demolition.
