How to Remove Numerous Layers of Old Paint
Remove a Century of Lead Paint Build-up from Your Front Door in a Project That Is Not Quite a Honeymoon!
Spend your honeymoon or your weekend revealing your front door's century-old style and workmanship under decades of lead paint build-up. Remove the layers with modern paste strippers that cling while they work. Throughout the project, protect yourself from exposure to the lead and chemicals with required protective gear! It's a memorable and productive way to start a marriage!
Read More
Lay the Door Flat While You Remove Paint
Lift the door off its hinges with a pry bar and a block of wood that also saves your back. Choose a work area that is well ventilated but protected from weather while you remove lead paint.

Detach Hardware before Starting to Remove Lead Paint
Remove all the hardware. It may also require your efforts to remove lead paint so it can be preserved for reinstallation. Beneath, you may see just how many different colors and coats of lead paint have been applied.

Remove Paint and Glazing from the Glass
Chip out fractured glazing compound around the glass window to lift it out. Remove lead paint from the glass and preserve the window for reinstallation--especially if waves and imperfections indicate the glass is as old as the door!

Protect Yourself while You Remove Paint
Wear respirators and disposable paper coveralls along with gloves and eye protection to ensure that you protect yourself while you remove lead paint. Such harmful elements are controlled now, but in bygone eras, they were in common use.

Apply Paste Stripper to Remove Paint
Use a clinging paste-type stripper to remove lead paint. Brush a generous amount on the surface, but don't over-brush or the active ingredients will evaporate before they have time to work.

Remove Paint Layers with a Putty Knife
Remove lead paint layers, lifting the softened and bubbled layers off with a wide putty knife. Use a brass-bristled brush to remove loose paint from the moldings. Some paint may resist the stripper.

Use a Different Stripper to Remove Paint
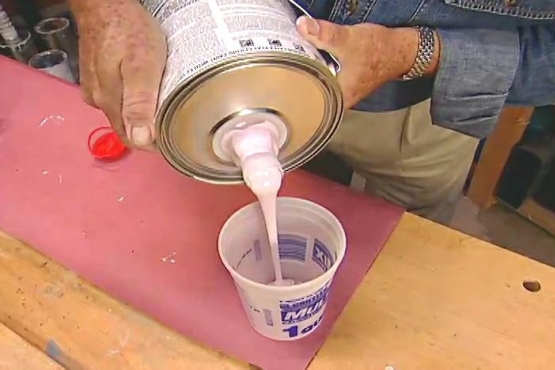
Change to an alkaline-based stripper to remove lead paint when the last few coats were not touched by the original paint stripper. Apply the new formula with a putty knife to flat areas and use brush on molding and details.

Keep Alkaline Paste Wet to Remove Paint
Keep the alkaline paste wet for 24 hours to remove lead paint. Cover it with freezer paper (shiny side up) pressed in contact to eliminate as much air as possible. Drape the entire project with heavy plastic sheeting.

Working a Section at a Time to Remove Paint
Work one section at a time, lifting with a putty knife to remove lead paint. Keep the alkaline stripper damp until the lead paint is removed.

Continue Applying Stripper to Remove Paint Layers
Continue applying stripper to remove lead paint layers until the bare wood is ready for stain and varnish. The alternative is to resort to sanding the remaining patches and then priming and repainting the door. (Don't give up!)
Related Tips
Blog Articles
Have You Heard of Landscape Glue?
You love the rustic charm of a gravel walkway, but the constant scattering of stones across your lawn and patio can be a real headache. Whether it’s from pets, lawn mowers, or just foot traffic, it seems impossible to keep those stones in place. Sound familiar? Well, Brian shows us a simple DIY method using landscape glue to keep your gravel path looking pristine and, more importantly, in place.
How to Remove Candle Wax Drips: Two Effective Methods
Candles create a warm and inviting atmosphere, but those pesky wax drips can be a real headache. Luckily, Brian shows us a couple of effective methods to tackle this issue, and they involve two very different temperatures: hot and cold. Here, we'll explore two effective methods: one using cold and the other using heat.
Guide to Hanging on Masonry Walls
Ever wondered how to hang that picture frame or shelf on a brick or concrete wall? It can seem daunting, but with the right tools and techniques, it's a straightforward DIY project. This guide breaks down two common methods: using concrete screws and using anchors, making it easy for you to tackle your next hanging project.


