How to Strip and Refinish a Wood Kitchen Table
A Step by Step Video Demonstration of How to Strip, Sand, Stain and Finish a Wooden Table
Refinish an oak veneer table top that is scuffed and faded by years of kitchen use. Detach the table top and relocate to a ventilated workshop to minimize fumes and dust. Remove the old finish, sand and stain, and then coat the surface with several coats of durable water-proof clear coat before reenlisting the table as kitchen furniture.
 For more information on the Minwax products used in this video, click here.

Brush on Thick Paste Finish Remover, Letting the Chemical Work
Apply a thick paste remover with a disposable nature bristle brush to a small area. Overworking stripper lessens its effectiveness, so use minimal brushstrokes. Give the gases in the chemicals time to bubble and lift the old finish.

Use a Wide Putty Knife and Scrape off the Finish
File the sharp corners of a wide putty knife and gently scrape up the wet residual finish lifted by the stripper. Clean the putty knife on the edge of a small cardboard box lined with newspaper. Work with the grain.

Apply Liquid Stripper and Use Steel Wool to Lift Remnants
Brush on liquid stripper and let it work. Use medium fine steel wool to dislodge remnants left by the paste. Work the rounded edges of the table top with steel wool to clean the surface. Work with the grain.

Wash Away Waxy Stripper Residue with Lacquer Thinner
Dip medium fine steel wool into lacquer thinner and work with the grain to wash away the wax-like residue left by the strippers.

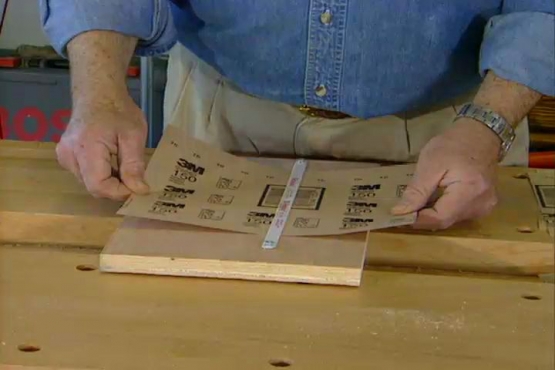
Use a Finishing Sander to Smooth the Surface
Wear a face mask while you smooth the oak veneer using 220-grit sandpaper and a finishing sander. Keep working with the grain and don't over-sand, because the veneer is very thin. Clean away the sanding debris.

Apply Matching Stain, Letting It Dry for 24 Hours
Match existing color, mixing stains if necessary and testing on scrap wood. Coat the table top with a brush or rag. Wipe off the excess with a lint-free rag and let it dry for at least 24 hours.

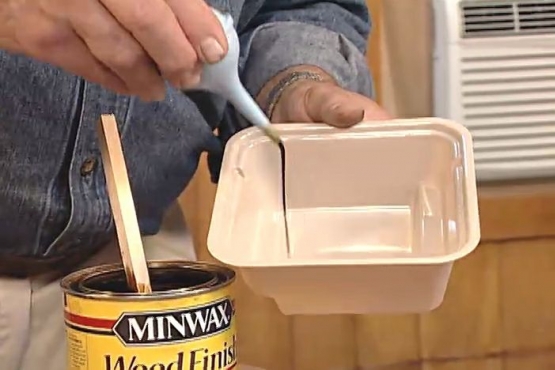
Bush on Three Coats of Semi-Gloss Polyurethane Clear Coat
Stir the semi-gloss clear coat thoroughly to mix the flattening agent. Apply the clear coat with a good quality natural-bristle brush to avoid dropped bristles and produce a smooth coat. Sand and clean between each coat after they dry.

Apply Finishing Wax with Super Fine (#0000) Steel Wool
Rub finishing wax on the dried surfaces with super fine steel wool to eliminate any tiny surface imperfections and give them a velvety finish. Let the wax dry for a few minutes, and then buff it with a soft cloth.
Related Tips

Blog Articles

Have You Heard of Landscape Glue?
You love the rustic charm of a gravel walkway, but the constant scattering of stones across your lawn and patio can be a real headache. Whether it’s from pets, lawn mowers, or just foot traffic, it seems impossible to keep those stones in place. Sound familiar? Well, Brian shows us a simple DIY method using landscape glue to keep your gravel path looking pristine and, more importantly, in place.

How to Remove Candle Wax Drips: Two Effective Methods
Candles create a warm and inviting atmosphere, but those pesky wax drips can be a real headache. Luckily, Brian shows us a couple of effective methods to tackle this issue, and they involve two very different temperatures: hot and cold. Here, we'll explore two effective methods: one using cold and the other using heat.

Guide to Hanging on Masonry Walls
Ever wondered how to hang that picture frame or shelf on a brick or concrete wall? It can seem daunting, but with the right tools and techniques, it's a straightforward DIY project. This guide breaks down two common methods: using concrete screws and using anchors, making it easy for you to tackle your next hanging project.


