RON HAZELTON:
Now, if I want to get in and out of my basement from the outside, well, this is how I have to do it. It's called a bulkhead door. Now, don't worry, if you don't have a bulkhead door, you're still gonna find this project interesting.
Now, my door's in pretty rough shape. For one thing, it's badly rusted on the inside, but my two-year-old son Max, has given me another good reason to make a change. He loves exploring, and that includes trying out the cellar entrance.
These steel doors are heavy and can slam shut with a good bit of force. Now you can see how dangerous that could potentially be for a couple of children. So today, I want to replace this bulkhead door with one that never needs painting, will not rust and will be a lot safer for the children.
Now this basement door is attached to the foundation with several -- well, they're sort of like rivets that are driven directly into the concrete. As you can see if you look closely here, the heads of these are very badly rusted, so I've got to figure a way to get these out.
The techniques that I'm gonna try here are techniques that could be used on any rusted fasteners that you can’t unscrew. So first of all, let me put on some eye protection. And then the first thing I'm gonna try is a cold chisel.
Now this is hardened steel right here and I'm gonna put it at the base of the head, take a two pound sledge and see if we can pop that off. [BANGING SOUNDS]
Well [LAUGHS] I managed to loosen that up a bit, but I haven't been able to actually cut through it with the cold chisel. So, now it's time for plan B. A reciprocating saw fitted with a metal cutting blade can also do the job.
The cold chisel has lifted the river head slightly, allowing me to get the blade underneath and make the cut. [LAUGHS] Well, that saw worked over there, but it was kind of tough going. So over here on this side, I'm gonna try plan C.
And for that, I'm just gonna use a four-and-a-half inch grinder and simply grind the heads off. It's very important to wear good eye and face protection if you decide to use this tool. The grinder is throwing off a shower of red-hot metal bits. This full face shield is what I prefer for this job. [SOUND OF GRINDER]
These metal rods are actually tension springs that help push the doors upward as they're opened. The rods are also what secure the door hinges to the frame. With all the fasteners gone, it's probably just corrosion that's holding the frame to the foundation.
Sure enough, with a little encouragement from a pry bar or two, the frame pops loose. All that remains is a piece of flashing under the shingles. A few taps with a hammer, and it's out.
Well, this is the frame for my new basement door. It's from Bilco and it's made of high density polyethylene. I'm gonna set it in place right here and then double check to be sure that everything fits properly. The new frame is slightly larger than the old one, so I trace the outline onto the wall -- then trim the shingles back, using a small battery-powered circular saw.
Then I bring out my chisels, one of my favorite tools, and cut away the remaining shingles at the rounded corner. Next, I check to be sure the frame is square. If it's not, the doors won't fit properly. Now the best way to do this is to measure from corner to corner and compare the results.
If the frame is square, they'll be the same. Once I'm satisfied everything in in the right place, I mark the location of the mounting holes, using a felt tip pen. Now these are the marks I made by using a pen and tracing the slots on the frame.
And what I was doing right here was taking a punch and making a small center mark right in there, just a slight depression, so that the drill bit won't wander because I'm going to have to drill holes here, into which I'll be inserting these plastic anchors.
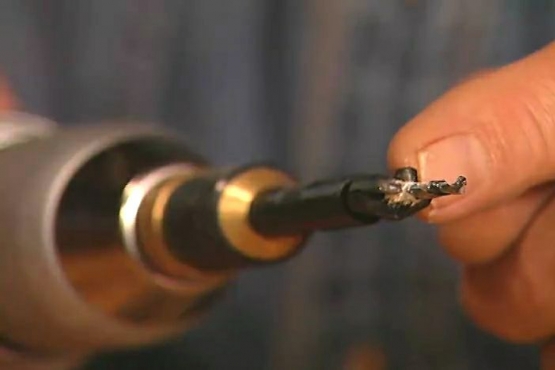
Now I won't be using just any drill, but this drill right here. It's called a hammer drill. It actually hammers at the same time that it's rotating. It makes short work of going through concrete like this and it's outfitted with a carbide tip masonry drill bit here.
Now I've got a piece of tape up here and that's a depth gauge so that I'll drill these holes at just the right depth to accept this plastic anchor. [SOUND OF DRILLING]
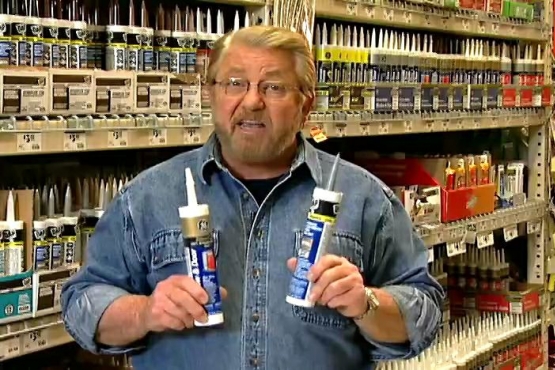
When drilling in a masonry material like this, I always make sure to vacuum away the dust. Especially any that may have fallen back into the hole. It's almost impossible to properly insert an anchor in a hole that's filled with dust. Well, before I set the frame permanently into place, I want to apply silicone sealant. By cutting the tip closer to the cartridge, I can get the heavy bead I want, on top of the foundation.
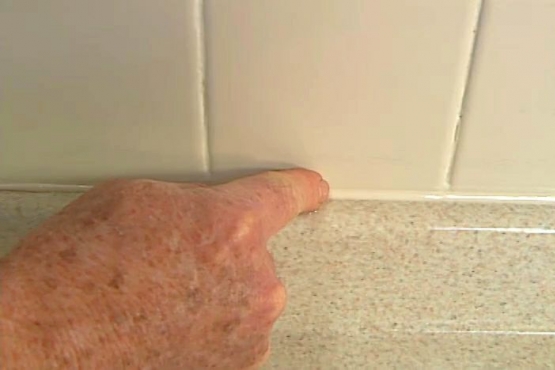
Then, I ease the frame into position, press it firmly into the sealant and begin installing the screws. I place a second bead of sealant on the inside where the frame meets the foundation. By spraying on a lubricating solution, I can use my finger to tool the caulk and end up with a super smooth joint.
I also apply sealant to the head of the frame, where it meets the side of the house. Finally, I secure the metal threshold to the foundation. The frame is in, now it's time to put on the doors. These two are made from high density polyethylene and my first job here is to put on the hinges.
The hinges are first attached to the doors --then the doors are set in place. Finally, the hinges are attached to the inside of the frame. The polyethylene doors are much lighter than the steel ones I'm replacing. But to make the new doors even easier to operate, I'm installing gas cylinders that will slow the doors closing, then help to push them upward when they're open.
Now here's a nice feature. On both sides of the base, there's an opening, and you can handle this one of three ways. You can put in a clear panel and make it a small window, a solid panel, or, and this is what I'm gonna do in my case, a screen and vent.
Well, I've got my new basement door. It won't ever rust, never needs painting, is safer for the kids and I think you'll agree, it's pretty darn good looking.