RON HAZELTON:
You know I'm getting the itch to do some gardening. But judging by the way it looks out there, I won't be able to do anything outdoors for a few more weeks. But I can do something inside. So I've decided to build a gardening bench.
It will actually serve two purposes. It will give some of my vegetables and flowers a head start on the growing season. And then, later on, I can convert it into a potting bench. Let me show you what I have in mind. I want to build this out of cedar.
It will have a slatted top and shelf below and then 2 uprights. And those will eventually support a lighting fixture. Now I'm going to begin by building 2 frames. They'll be identical and they'll form the front and the back of the bench. So let's begin there.
I begin by cutting pieces of 1 x 4 cedar into the lengths I’ll need for base.
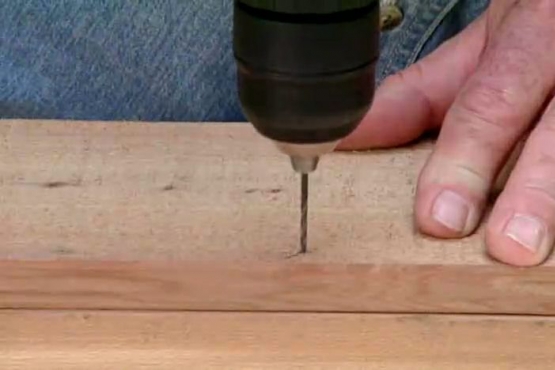
Next …I lay the legs on top of the bench, place a cross rail on top, check to make sure everything is square, then drill countersunk pilot holes and drive in rust-resistant screws to attach the rails to the legs.
Actually, the bench will have double legs each made up of a pair of 1 x 4’s. This will give me plenty of strength, with minimal weight.
Well, I've got both the front and back sections done and I've put a couple of clamps on the bottom of each just to keep it upright here.
Okay, this is about how they're gonna go. Now, come over here to the computer, and I want to show you what we're gonna do next.
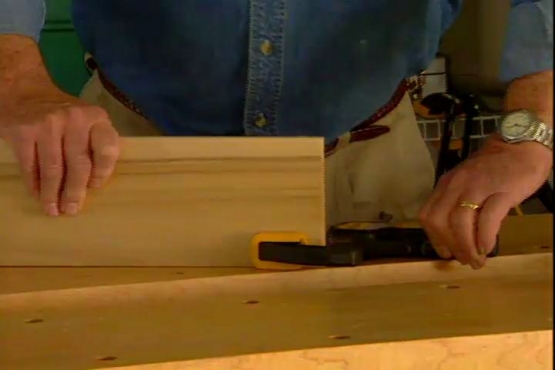
I want to connect the front and back together with end pieces: one pair at the top, another at the bottom. First I clamp the end rails in position, then attach then them with screws.
Next I’ll add cross braces between the front and back rails. And finally, I’ll install an apron at the top. The apron will give the base a finished look.
Now I'm gonna go ahead and add the decking on the shelf down below. And on the top of the bench.
To make sure the spaces between the boards are consistent, I’ve made up spacers using sixteen-penny nails driven through small squares of quarter inch plywood. This will give me about an eighth of an inch between the boards enough to allow for swelling and expansion when the top gets wet.
Well, the basic bench is done. But remember, I want to use this at least part of the year for indoor growing.
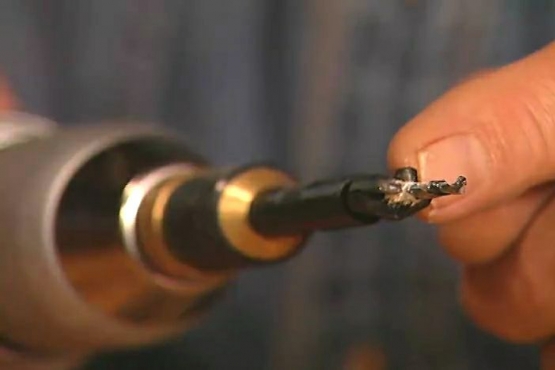
So I'll need some artificial light. To get it, I'm going to install a couple of uprights and eventually, to that I'll attach a lighting fixture. And the fixture will be raised up and down; be put in the lower position when the plants are small, and then raised to a higher position as they get larger. The uprights will have slanted notches on the inside to hold the light fixture. To make these I first drill inch and a quarter holes, then cut out the notches using a jig saw.
Now here are the pieces with the slanted notches. Now I'm just going to attach these to the uprights. I’ll laminate the two pieces by first applying some glue, then clamping them together. Screws will add strength and hold the pieces firmly in place while the glue dries.
I attach the assembled uprights to the bench … and add a cross-brace to connect the tops.
Now, for best results, artificial light used for indoor growing should be uniform from left to right and front to back.
So I went online to see what kind of special fixtures might be available for this. And I came across this site right here. It's called indoor gardening supplies. And after looking at their offerings, I found this. This fixture right here.
And that's the one I decided to use. I ordered it, showed up here a couple days later. It's perfect except I don't want it white. I'm gonna paint it a nice dark green.
When using spray cans, I like to keep the nozzle about twelve inches from the surface and move back and forth in long smooth strokes.
Well I've moved the bench down here to the basement - here's the light fixture. Got the grow lights in here. And the paint's dry. Now what I have to do is to figure out how to best hook this up to these uprights. And I'm gonna do it I think using this piece of copper pipe.
Got some caps on the end here. And I'll just attach that to these pieces of wood that I put on the fixture earlier. Common pipe straps like these, used for plumbing, work perfectly. So the way this is going to work is the ends of the copper pipe stick right in these notches here like that.
Now in general, you want to keep the light about 4 to 6 inches above the top of the ceilings. So as they get taller, it's just a matter of grabbing this - it actually makes a nice handle - and moving it up to the height where you need it.
RON:
Well my seedlings will have plenty of light but they'll also need other things to get a healthy start. So I visit my local home improvement center to pick up some essentials. Some seedlings also like warmth. That they'll get from this heating pad, made just for the purpose.
RON HAZELTON:
Well our seedlings will have light and warmth. Now we gotta make sure they have the proper growing mixture. And the best ones are soil-less, made up of sphagnum peat moss and pearlite, like this one from Scott's made especially for seedlings.
After I add the potting mixture to my trays, the seeds are ready for planting. I make a small depression with my fingertip and drop in just one or two seeds in each section. I cover them with a bit of the potting mixture … and these little guys are ready to take root.
Ideally these seedlings will want about 12 to 16 hours of light a day. This automatic timer will make sure they get it without fail. I place the trays on top of the heating pad. Give the newly planted seeds a drink of water using this watering wand that connects directly to a spigot here in the basement… place clear plastic covers on the trays to cut down on evaporation, and finally, lower the light fixture into the correct position.
Well my seeds have light, warmth, moisture and a great growing medium. Now, when I start seeing the first signs of foliage, I'll want to begin feeding them with a starter solution. Something like this one. And even though spring is still several weeks away, well I could start my gardening right now.

