RON HAZELTON:
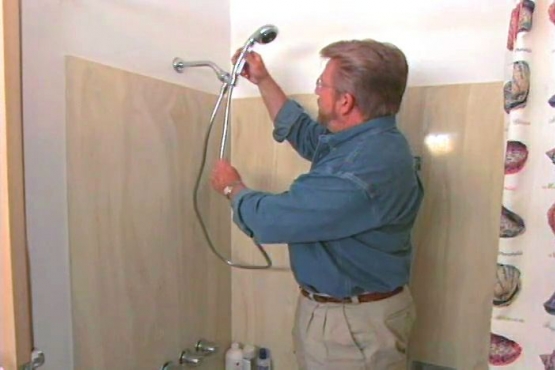
You know, a lot of folks have said to me that they don't want to go near plumbing projects because they're afraid of some unexpected surprise. Well, chances are that can [LAUGHS] happen. As an example, the other day I was taking out a shower valve.
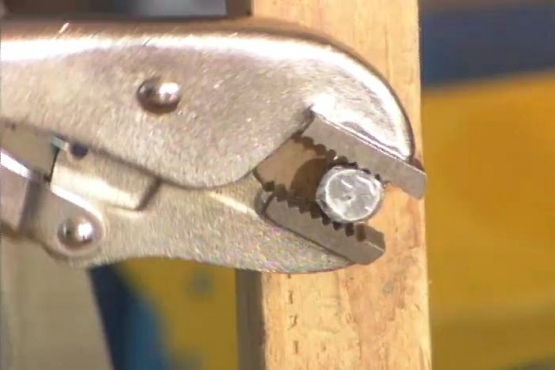
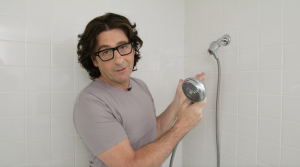
[GRUNTING] Well, this is not good. I applied so much force that I actually twisted this valve off. I really messed up this valve. I can't repair it, I'm gonna have to take it out. But the good news is, I'm gonna replace it with something even better and that would be unit from Grohe.
It's got not just one showerhead but two, three, four and five. Now rather than work from this side and possibly damage the tile, I'm gonna make my installation from over here in the bedroom where the wall is just wallboard.
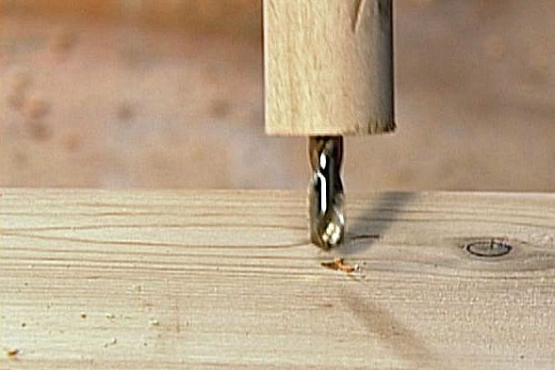
I begin by drilling several holes through the bedroom side of the wall that will show me the exact location of the valve. Then I draw out a rectangle that, when removed, will give me clear access to the valve and nearby plumbing. Next, I cut out the section using a handheld wallboard saw.
[SAWING SOUNDS] Down in the basement, I turn off the water supply to the upstairs bedroom, then cut the copper pipe going through the existing showerhead. Next, I place small pieces of sheet metal behind the pipe joints to protect the wood framing and begin applying heat to the joints with a propane torch.
When the solder melts, I gently tap the joint apart — and remove the broken valve. With the old plumbing out of the way, it's time to start rebuilding the pipes so they can connect to the new shower fixture.
Solder joints need to be properly prepared in order to be permanently watertight. I cleaned the previously soldered pipes with strips of emery cloth made just for this purpose. This wire brush is designed to clean inside surfaces of female fittings.
Flux, a paste that helps solder bond to the copper is then brushed inside and the fitting is slipped into place. Short sections of pipe are cut with a screw-type tubing cutter. With each turn or two, the cutting wheel is tightened. Both ends of the pipe are cleaned.
Here I'm using coarse steel wool. Flux is applied and the pipe is pushed into the adjacent fitting. In most cases, assemblies of pipe and fittings are put together in this way and then soldered at one time. Again, pieces of sheet metal are slipped into place to protect combustible surfaces.
Now I like to unwind several inches of solder and put a 90-degree bend in the end. Then I ignite the propane torch and begin soldering. Now the idea is to heat both the pipe and fitting until they're hot enough to melt the solder on contact.
Solder is actually drawn into the joint by capillary action even in cases where the joint is vertical. Some joints like this one use screw type connections. For these, I first apply Teflon tape, winding it in a clockwise direction.
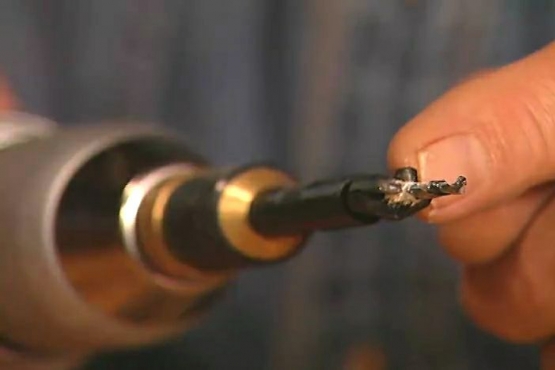
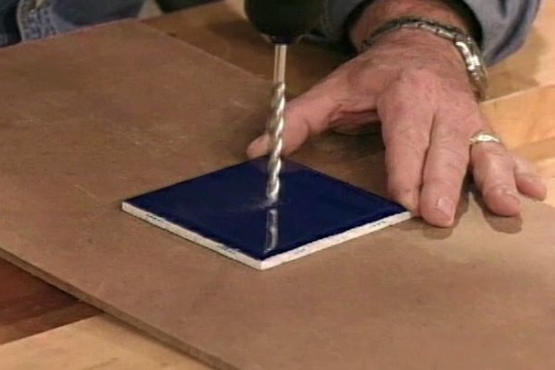
The tape lubricates and helps seal the threads. These adapters make it possible for me to easily connect the pipes coming out of the wall, to the new shower fixture. Next, I make a small indentation in the tile wall with a center punch, then drill a hole using a carbide-masonry bit, put in a plastic anchor and install a hanger screw.
I repeat the process for a second insert at the bottom. The shower fixture then slips over the two hanger screws — and is secured in place with a washer and nut. I then connect the shower valve to the adapters and snug them tight with an adjustable wrench.
Now it's time to turn the water back on and make a visual inspection for leaks. Everything looks dry, so I secure the water pipes to a cross brace to prevent them from making that knocking sound when the shower valve is closed.
Now I can begin repairing the wall. First, I attach cleats around the edge of the opening, using standard drywall screws. With coarse sandpaper, I bevel the edges of the opening and the wall patch. Then set the patch in place and attach it with more screws. The cleats on all four sides of the opening and the bevels on both the wall and the patch will eliminate the need for joint tape.
I can simply apply joint compound, level it and sand everything smooth and paint when it's dry.
Now while it's true, a lot of do-it-yourself projects will have unexpected twists and turns, sometimes you can end up with something even better than you expected.

