Wine Rack - How to Make A Rack for Your Vintage – Wines and More
Build a Handsome Stained Cherry Wood Wine Rack as a Home Woodworking Project and Expand It Later
Construct a simple, modular, expandable and elegant wine rack as a home woodworking project with only a table saw and drill press. It assembles with dados/notches, so no nails, screws or glue are required. It can be disassembled as easily. Cut, stain and assemble cherry wood in a home wine storage rack that holds 15 regular-sized bottles of wine.
Read More
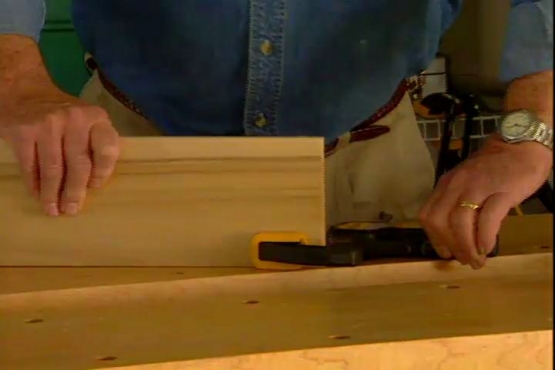
Cut Cross Rails and End Panels on a Table Saw
Cut two basic shapes from cherry wood: 3- by 24-inch cross rails to hold the bottles, themselves, and 6- by 12-inch end panels to support the cross rails. In this plan, you'll need six cross rails and six end panels.

Equip the Table Saw with a Dado Set
Install a dado set on the table saw to make the dados/notches to lock the end panels and cross rails together. The dado set consists of several cutters/chippers sandwiched between two saw blades.

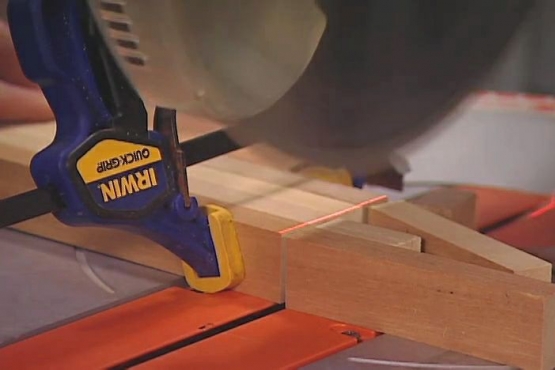
Make an Auxiliary Fence to Position the Wood for Dados
Add an auxiliary fence on the miter gauge and glue sandpaper on the front edge for traction. Clamp a stop block to position the end panels for identical dados. Reposition for the cross rails.

Cut Dados in All the Cross Rails and End Panels
Notch dados in both ends and edges of the cross rails first and the notch the end panels--four dados in each component. Clamp the wood to the fence to protect your fingers as you cut.

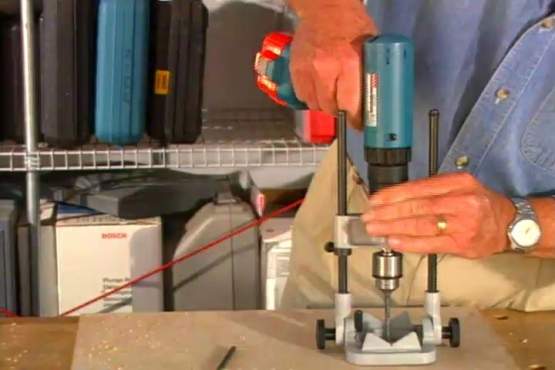
Cut Troughs for the Wine Bottles with a Hole Saw
Use hole saws slightly larger than the bottle bases and bottle necks, respectively, to cut troughs to hold the bottles. Install a fence to position rails for the larger holes first--then reposition for the smaller bottle necks.

Install a Drum Sander to Smooth the Edges
Add a drum sander to the drill press to smooth the edges of each trough. Use an orbital sander to smooth the flat sides of the cross rails and end panels.

Apply Tung Oil to Finish the Cherry Wood
Bring out the highlights in the cherry wood by applying two generous coats of Tung oil. In a few minutes, before it dries, wipe off the excess with a clean lint-free cloth.

Interlock the Wine Rack Side Panels and Cross Rails
Engage the dados on the cross rails with those in the side panels, assembling each of the three layers of the wine rack to hold a total of 15 bottles of wine.
Related Tips


Blog Articles

Have You Heard of Landscape Glue?
You love the rustic charm of a gravel walkway, but the constant scattering of stones across your lawn and patio can be a real headache. Whether it’s from pets, lawn mowers, or just foot traffic, it seems impossible to keep those stones in place. Sound familiar? Well, Brian shows us a simple DIY method using landscape glue to keep your gravel path looking pristine and, more importantly, in place.

How to Remove Candle Wax Drips: Two Effective Methods
Candles create a warm and inviting atmosphere, but those pesky wax drips can be a real headache. Luckily, Brian shows us a couple of effective methods to tackle this issue, and they involve two very different temperatures: hot and cold. Here, we'll explore two effective methods: one using cold and the other using heat.

Guide to Hanging on Masonry Walls
Ever wondered how to hang that picture frame or shelf on a brick or concrete wall? It can seem daunting, but with the right tools and techniques, it's a straightforward DIY project. This guide breaks down two common methods: using concrete screws and using anchors, making it easy for you to tackle your next hanging project.


