How to Build a Custom Insulated Dog House
Pamper your pooch with this perfect-fit dog house
This customized DIY dog house can be made to fit any sized dog and will offer your pooch all the comforts of home - warmth, protection, comfort, and privacy.
A dog house should be a safe and comfortable place for your dog to rest when outdoors. If your dog spends a good amount of time outside, a well-built dog house can provide protection from various weather conditions. Every dog has his or her own needs and dog houses should be built to meet those particular needs.
In this video, I work with a couple who has a puppy named Sebastian. Hardly coming out of the puppy stage, he is growing too rambunctious to spend long hours inside the home. With all his energy, it’s time for a dog house of his own.
The first step is to determine the size of your dog house and plan out what your needs are. According to the American Humane Society, the height of a doghouse should be the height of the dog plus 9 inches. The length should be the dog's length plus 18 inches. And the width, his length plus 12 inches.
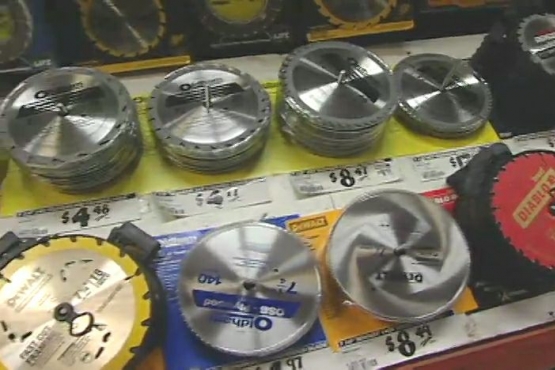
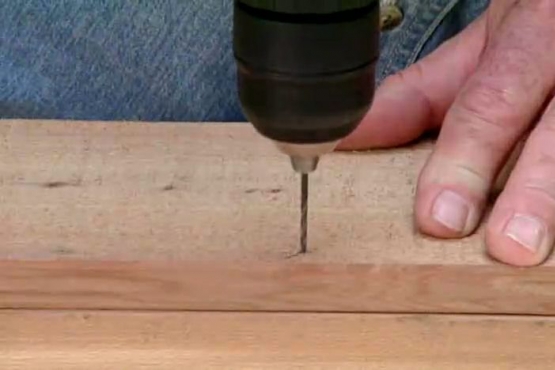
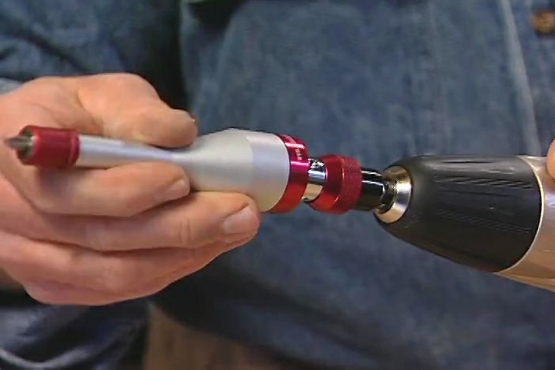
To help make your building easier, see my articles on how to choose a circular saw blade and how pilot holes make it easier to drive screws and nails.
Read More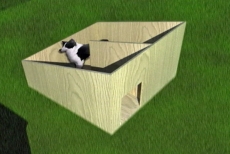
Size the Parts
To size the parts for your dog house, make the width equal to your dog's length plus 12". The length equals the dog's length plus 18". And the height equals the dog's height plus 9" in the front and sloping back to the dog's height plus 3" in the back.

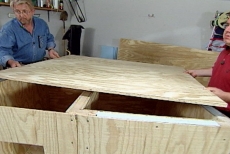
Build the Dog House Base
After you've determined the size of the dog house, cut the base parts to length from pressure-treated 2x4s. Then butt the ends together and secure the joints with weather-resistant screws. Cut a floor panel to fit from 3/4"-plywood and secure it to the base with weather-resistant screws.
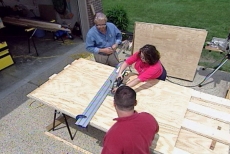
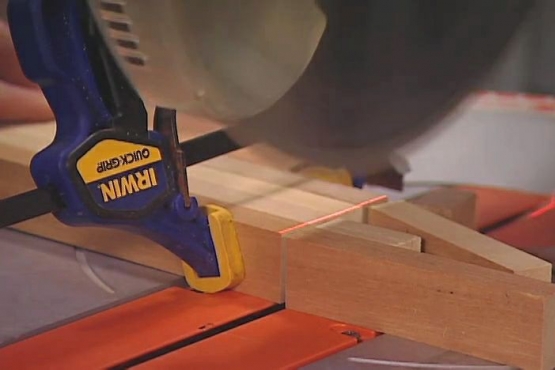
Angle the Sides
To keep your pooch dry, the roof sits on angled sides. To cut identical angles, first, attach the side pieces together temporarily with double-sided tape. Then clamp a straightedge to the sides at the desired angle and make the cut with a circular or saber saw. Secure each side to the base with weather-resistant screws.

Add the Corner Braces
To create a sturdy, weather-tight structure for your pet, corner braces are installed to keep the house from racking and also prevent drafts. Each brace consists of two strips of plywood screwed together. These are then attached to the sides and then to the back and front panels with weather-resistant screws.

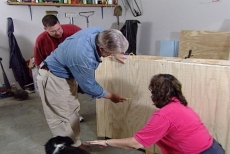
Install the Partition Wall
The partition wall is an important part of your pet's new home. Not only does it keep out weather and provide privacy, it also creates a space small enough for the pup's body heat to keep them warm. Secure the partition to the base and install a plywood panel angled to match the sides.
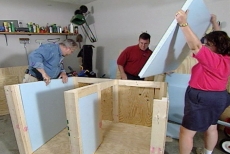
Insulate the Walls
To help keep your pet warm in the winter and cool in the summer, install rigid foam insulation in the wall cavities. Use either 1-1/2"-thick foam or glue up layers of 1" and 1/2" foam. Cut these to fit and then cover them with 1/4"-plywood. (If you don't, your pup may discover the foam is fun to nibble on.)
Cut the Door Opening
Before you attach the front, have your pup stand in front of it and make a mark a couple of inches above his back. Make the width the pup's width plus 3". Center the opening and cut it out with a saber saw. Secure the front to the corner braces and then sand the opening smooth.
Add the Roof
The roof is cut slightly oversize to aid in rain runoff. It's secured at the back edge with a weather-resistant piano hinge to make cleaning a snap. Cover the roof with tar paper and install a metal drip edge around the perimeter.
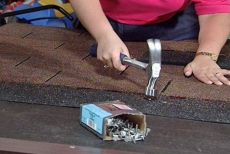
Install the Shingles
We used asphalt shingles to make the roof waterproof. Just make sure to use nails that are short enough so they won't poke through the roof and endanger your pet. Start at the bottom overlapping each row and work your way to the top. Apply a bead of roofing cement to the top edge to seal out moisture.
Related Tips
Blog Articles

Have You Heard of Landscape Glue?
You love the rustic charm of a gravel walkway, but the constant scattering of stones across your lawn and patio can be a real headache. Whether it’s from pets, lawn mowers, or just foot traffic, it seems impossible to keep those stones in place. Sound familiar? Well, Brian shows us a simple DIY method using landscape glue to keep your gravel path looking pristine and, more importantly, in place.

How to Remove Candle Wax Drips: Two Effective Methods
Candles create a warm and inviting atmosphere, but those pesky wax drips can be a real headache. Luckily, Brian shows us a couple of effective methods to tackle this issue, and they involve two very different temperatures: hot and cold. Here, we'll explore two effective methods: one using cold and the other using heat.

Guide to Hanging on Masonry Walls
Ever wondered how to hang that picture frame or shelf on a brick or concrete wall? It can seem daunting, but with the right tools and techniques, it's a straightforward DIY project. This guide breaks down two common methods: using concrete screws and using anchors, making it easy for you to tackle your next hanging project.


