RON HAZELTON:
Rita Brockway of Windermere, Florida has asked for a little help with a built-in bookcase. I’m going to pay her a house call.
Hi, good morning, Rita.
RITA BROCKWAY:
Hi, hi, Ron, come on in.
RON HAZELTON:
Well, thanks. This looks like this must be the area over here you were talking about —
[BOTH SPEAK AT ONCE]
RITA BROCKWAY:
Yes, this is the entertainment center.
RON HAZELTON:
Mm-hmm [AFFIRMATIVE], okay.
RITA BROCKWAY:
And as you can see right now, it looks fairly undone, unfinished. So I really wanted a nice entertainment center so everything would have a proper place for it.
RON HAZELTON:
Okay.
Rita's living room has an alcove that's the perfect place for the kind of entertainment center she has in mind. She wants something that looks built-in and can house her TV, stereo, CDs, books and of course —
RITA BROCKWAY:
Little tchochkes, little ornaments.
RON HAZELTON:
Well, that's not what TVs look like these days, is it?
Now it's time to sit down and draw a rough sketch. The base section will have doors and drawers for lots of out of sight storage. On top, we'll build three cabinets with adjustable shelving. Finally, to give our project that built-in look —
What we want to do is, is put this in place and then trim out, the way I see it, the edge of it right here, all the way around with molding.
RITA BROCKWAY:
That would look great.
RON HAZELTON:
So that it looks like it was — it's built into the unit.
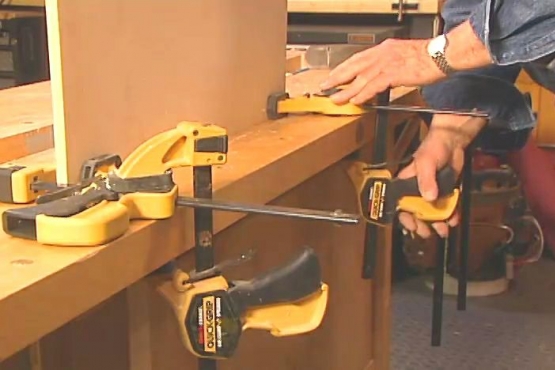
To save time and money and a lot of work, we construct a base from stock kitchen cabinets, purchased at the nearby home improvement center. The cabinets are first clamped together and then secured with screws. On each end, we attach a filler strip to conceal the space between the cabinets and the wall.
RITA BROCKWAY:
Okay.
RON HAZELTON:
Now it's the same with the drill. The further you pull the trigger, the faster the blade goes. [DRILL SOUNDS]
Before setting the base section in place, we cut holes in the back of the cabinets to give us access to the electrical outlets and TV cable jack in the wall. Boring holes through the sides of the cabinets will allow us to run wires wherever we need them. Next, we measure for the countertop —
So all the way to the corner.
RITA BROCKWAY:
Okay, 79 and three-quarters.
RON HAZELTON:
Okay, good. And now let's measure from the wall — 29-and-a-half —
RITA BROCKWAY:
Okay.
RON HAZELTON:
— transfer those measurements to a sheet of 3/4 inch plywood.
Okay, Rita, we want a cut here to be at 21.
Then it's time for Rita to confront the tool she's most uncomfortable using.
RITA BROCKWAY:
Okay.
RON HAZELTON:
Have you ever used one of these before?
RITA BROCKWAY:
No, I haven't.
RON HAZELTON:
Are you concerned about using this saw?
RITA BROCKWAY:
A little bit.
RON HAZELTON:
Are you?
RITA BROCKWAY:
Yeah.
[MUSIC]
ANNOUNCER:
HouseCalls is brought to you by Ron Hazelton's Home Basics available in Lowe's and bookstores nationwide. And by, turning your house into a beautiful home is as easy as turning to MinWax.
RON HAZELTON:
We're turning this alcove into a built-in bookcase. We've set the base cabinets in place and my friend, Rita's about to meet the circular saw. [SAWING SOUNDS] I ask her if she's ever used one before.
RITA BROCKWAY:
No.
RON HAZELTON:
But despite a little apprehension, she makes a near-perfect first cut.
Keep going. Right, there you go.
RITA BROCKWAY:
All right.
RON HAZELTON:
There you are, a beautiful straight cut.
RITA BROCKWAY:
Good.
RON HAZELTON:
How was that?
RITA BROCKWAY:
Not so bad, not so scary.
RON HAZELTON:
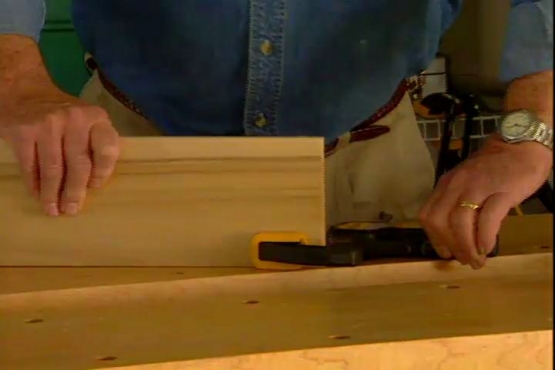
Rita's first cutting job results in a near-perfect fit. A piece of 1 x 8 poplar, notched to fit around the corners, conceals the edge of the plywood.
This is a great way to get a built-in run of base cabinets like this using off-the-shelf kitchen cabinets. You can see that these went together in a very short time and they cost us less than 300 dollars. But we're not stopping here. We're building an entertainment center that's going to go all the way up.
So now, let's move onto the next section. The upper portion of our entertainment center will be made in three sections: a center section for the TV and two side sections for books, audio gear and collectibles.
Using the circular saw and a clamp-on straight edge as a guide, we cut the sides, bottoms and top from sheets of 3/4 inch birch veneer plywood. Now the upper section of our entertainment center is going to have adjustable shelves. They're going to be supported on pins just like these. And these pins are going to be set into a series of holes.
Now two things are really important here. These holes have to start at the same point, usually near the bottom and they have to be spaced precisely the same distance apart. Now here's how we've been drilling those holes so accurately.
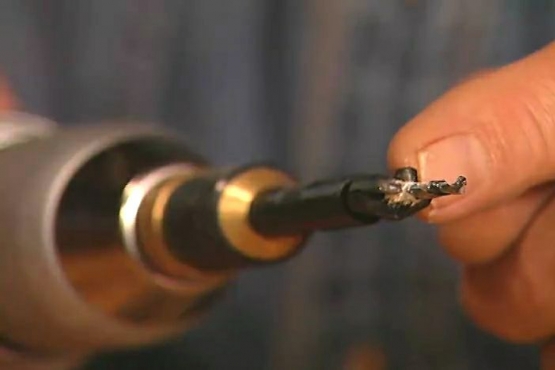
After measuring and drawing a baseline, I align and clamp a pre-drilled plastic template to the cabinet's side. Using a self-centering drill bit, I then drill a series of holes about two-thirds of the way through the wood. The process is then repeated on all of the cabinet sides.
The face of this cabinet-grade plywood is smooth and clean, but like most plywood, the edges are rough and unfinished. To conceal them, I apply edge banding, a thin strip of wood with a heat-activated adhesive backing. Once it's trimmed and sanded, it will make these plywood panels look like solid wood.
We're going to face the edges of our shelves with a solid piece of 1 x 2 lumber. This edging will make the shelves more rigid and will give them a thicker, more substantial appearance.
Well, it's time for some assembly. We're going to start with this end section right here. I've laid all the pieces out on the table and we're going to glue and nail these together. But to help us position these pieces for assembly and to make the unit stronger, we're going to be using these wooden biscuits or splines.
The biscuits are set into slots cut with this machine called a plate joiner, which can be rented or purchased for as little as a hundred dollars. Once the joiner has cut the slot, glue is applied and a biscuit or spline is inserted.
With the biscuits in place, more glue is applied to the surface of the wood and the pieces are pressed together.
Just put — put 'em right in the slots.
With the splines holding everything in the correct position, the two pieces are nailed.
RITA BROCKWAY:
A lot of things that we've done so far it was just a matter of watching once how it's done and then I become a pro, because that's all you need basically is you need to be shown how to do something. And then once you have that information, that knowledge, then you can do it yourself.
RON HAZELTON:
Here we go.
We complete this same assembly process for all three upper cabinets and carry each one back into the house.
Very nice job.
[MUSIC]
Very slowly.
RITA BROCKWAY:
Great job.
RON HAZELTON:
Good job.
After securing the cabinets together with screws, we cut trim strips and attach them to the front edge of the cabinets to conceal the joint. Now Rita gets a chance to try out the power miter saw as she cuts the molding or casing that will give the entire unit that built-in look.
Finally, it's time to mount the cabinet doors, install the drawers and set the shelves into position.
RITA BROCKWAY:
Okay.
RON HAZELTON:
Beautiful. Boy, it's time to take a look at this. This came out so nice. I know we did it but I, I must say, it really turned out nicely. You know, what was the most satisfying thing for you on this project?
RITA BROCKWAY:
I think seeing it all put together at the end. It's — it's a little hard to imagine sometimes just seeing the different parts and pieces, but when it's all pulled together, you really see what it is.
[BOTH SPEAK AT ONCE]
RON HAZELTON:
Yeah. And I gotta tell you, this really changes the personality of the entire room. Remember back what it looked like with this hole here?
RITA BROCKWAY:
Oh, yeah, horrible.
RON HAZELTON:
And now what it looks like. And it changed your personality too.
RITA BROCKWAY:
It did.
RON HAZELTON:
Yes. You have a tool personality now.
RITA BROCKWAY:
And I still have all my fingers.
RON HAZELTON:
You do, great job.