Ron:
Well, someone once said you can never have too much money, or too many shelves. And I’m sure my friend Kat Jackson would agree with that, at least the shelf part of it. She’s desperate for more shelf space. So I asked her to come on over here today, bring some things…here she is! Hey! Let me get that for you.
Kat Jackson:
Hi, Ron! Thank you! Ooh. Heavy.
Ron:
So what have we got here?
Kat:
We’ve got a lot of different things, things of a lot of different sizes. All this stuff needs to go up on shelves.
Ron:
So you don’t have a home for this right now.
Kat:
No.
Ron:
OK. Well, let me show you what I’ve got here. I went out to the home improvement center, and I bought four different kinds of shelving systems.
Kat:
Wow.
Ron:
What I thought I’d do is, we put up some temporary walls here, is we put each one of these up, I’ll show you how to install each one, and then you decide which ones seem to work best for you.
Kat:
All right!
Ron:
OK?
Kat:
Sounds like a deal!
Ron:
Now the first shelving system I’d like to introduce you to uses this standard, and a metal bracket that slides into these slots right here to support shelves. What I really like about this is it’s totally adjustable, you can determine what the spacing is vertically on the shelves, and also you can put different width shelves up. So let’s start by putting this up. If you would just take a step up on the ladder there, I’m going to hold this up for you. Now there’s a hole right there. See it?
Kat:
Unh hunh.
Ron:
Now put the awl in there and just sort of whack it with the end here.
Kat:
OK.
Ron:
So that’s just to mark the position of that first screw hole. Now I want you to take the drill…
Kat:
Whoa. Power tools.
Ron:
Power tools. You comfortable?
Kat:
Yep.
Ron:
Can you go one more step?
Kat:
Yep.
Ron:
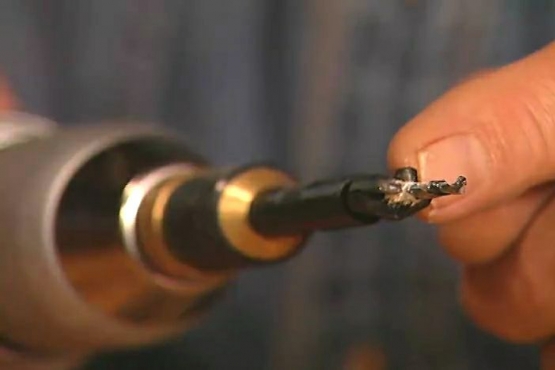
There ya go. And drill a hole right through where that mark is. OK. Pull it out. Now, um, we’re going to be putting this standard up where there’s no stud or wooden support behind here. So to get the strength we need, we’re going to use a hollow wall anchor. What we’re going to do is, we’re going to fold this together, we’re going to pinch it like this. And then what’s going to happen once it goes through the wall, once we get the screw in, is this is going to flare out like this on the back side, and that’s what’s going to hold it in.
Kat:
Oh.
RON – VO:
NOW IT’S REALLY EASY TO TAP THESE ANCHORS THROUGH THE HOLE, AND YOU CAN SEE HOW THEY EXPAND HERE ON THE OTHER SIDE OF THE WALL. NOW, DRIVE A SCREW THROUGH THE ANCHOR, AND THAT WILL SECURE THE STANDARD.
Ron:
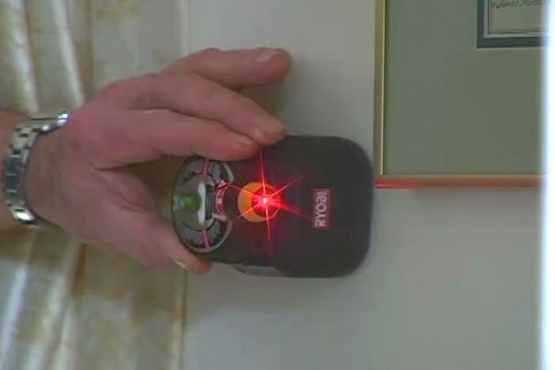
Whenever you’re putting these up, you always put up one standard first, and only the top screw. We’re going to take a level, we’re going to place the level on top of this first standard, and look at the bubble right here.
Kat:
And when it’s in the middle?
Ron:
Then we’re going to draw a line. So that is where the top of the second standard is going to go.
Kat
OK.
Ron:
This is really a critical step in this installation process. Because if we don’t make these level, then all the shelves are not going to be level.
Kat:
Everything will fall off the shelves.
Ron:
Everything will fall off the shelves. So, we’ve got that. I’m going to hold this up again now. Now, they’re level, we want to make sure that they’re vertical.
There ya go. Do you like that position?
Kat:
I think that’ll work.
Ron:
I’ll just sort of tap these in. Another thing about this system too, is these standards, these are a little over four feet, but you can get them up to eight feet. So you can go all the way down to the floor, and virtually all the way to the ceiling. Let’s move on to our next system here.
Now one of the simplest brackets to put up is this one right here. All it requires is three screws in the wall…
Kat:
Wow. It looks strong.
Ron:
…and it’s pretty strong, but it’s also kind of ugly. I think. Don’t you? Kind of industrial looking?
Kat:
It is kind of industrial.
Ron:
But, I want to show you this one over here. This is the same idea. What they’ve done, is they’ve installed a little vinyl strip here that covers up the screws.
Kat:
Oh.
Ron:
So it goes up the same way, holds about the same amount of weight, but when it’s installed it looks a lot prettier. So I’ve already put some marks up here as to where these’ll go.
RON – VO:
WE MOUNT THESE BRACKETS WITH HOLLOW WALL ANCHORS AS WELL.
Ron:
I can just tell, you’re going to be hanging things all over your apartment. You have got this mastered now. OK. So those are in. Now, the shelf just sits up on top like that. And you can see if you stand down here that it looks pretty good, but when you put these in let’s take this back off actually. I’ll give you this one to pop in over there. This is going to cover up all the hardware, all the screws.
Kat:
Oh, I’ve got this backwards.
Ron:
Give us a really nice finished look here. Kind of makes you wonder how these are held on when you see this in, doesn’t it?
Kat:
Sure does. This would be good on a white white wall.
Ron:
White white wall, yeah. You could paint these, too.
Kat:
Oh really?
Ron:
And then your shelf sits on here. If you want to, you could run a screw up through here to secure this.
Now this is one of my favorite shelving systems.
Kat:
Oh, really?
Ron:
This is called the invisible shelf support. What it’s going to do it’s going to create a shelf that looks like it’s kind of just floating.
Kat:
Wow.
Ron:
Let me show you how it works. This couldn’t be a simpler system. Because all it does, that bracket that we put up there, just catches the rear edge of this shelf.
Kat:
Gosh.
Ron:
Slips in like this, and down.
Kat:
And that’s it.
Ron:
And that’s it. See what I mean? It looks like it’s floating. There’s no bracket coming down the wall here. That’s why we call it the invisible shelf support. Now this is kind of a baby version of this bracket that we just put up. Instead of it being a continuous strip, they’re individual brackets like this, and they mount on the wall, same idea as with the continuous piece, except this time we’ve just got the two brackets. Shelf slips right in here. Now you notice there’s a gap here now. I’m going to take a screwdriver, and under here is an adjusting screw. What’s going to happen is as I tighten this up, that gap that we had there, it’s going to bring the bottom of the bracket up and kind of push it in contact with the top. How does that feel?
Kat:
Oh, very rigid.
Ron:
And this is nice too.
Kat:
This is nice. I like this
Ron:
It’s minimal, you know. And you can space these anywhere you want them, in any…you could put several on for a longer shelf, and maybe just a couple for a really short shelf like this one.
Kat:
And they’re sort of sculpted.
Ron:
Indeed they are.
Well there you go! You got four great shelving systems to choose from. Do you have a favorite?
Kat:
Um, I would have to say my favorite is the top one.
Ron:
The sort of, mini-, semi-invisible shelves.
Kat:
The mini-, semi-invisible shelves.
Ron:
OK. But, you know, you might want to use a combination of several of them.
Kat:
I really like all of them. And I think I could use them for different purposes.
Ron:
Absolutely.
Kat:
All around the apartment.
Ron:
So I’m going to loan you some tools. Here’s your drill. I know you love that one.
Kat:
I definitely do.
Ron:
And my two-foot level. I’ve got to have these back now, on Monday morning.
Kat:
I’m getting right to work this weekend.
Ron:
And here’s an awl. And here’s a screwdriver bit for the drill. And I’m going to give you your own personalized pencil.
Kat:
Oh, thank you Ron!
Ron:
You’re welcome.


