How to Put Together a Backyard Playset
Install a Backyard Play Structure with Two Stories, Ladders, and Tube Slide from a Kit. You Supply and Cut the Lumber.
Product Information
For more information on playsets by Swint N' Slide, CLICK HERE.
Call it a playhouse, a fort or anything your child wants. You and a helper can install this wooden outdoor play structure using a ready-made hardware and accessory kit that requires only purchase and cutting of lumber to fit. The kit's straightforward assembly instructions and cut list make this a true weekend project. Add pea gravel base and you're set.
Read More
Assemble the Playhouse Front and Back Frames with Stainless Screws
Cut wooden components. Assemble the play structure's front and back frames per manufacturer's directions. Snap a chalk line on your patio and set boards on chalk lines to guide assembly. Drill pilot holes and use stainless screws for preliminary joints.

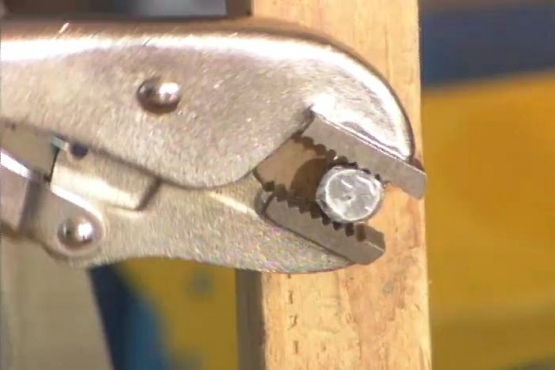
Flip Play Structure Frames and Secure Joints with Carriage Bolts
Flip frames over and secure each joint with a central carriage bolt, washer and nut. Hammer in bolts and tighten nuts with a socket wrench. Raise and level the frames, clamping them to braces on stakes driven into the ground.

Connect Frames with Two-by-sixes at Ground, Middle and Top
Connect plumbed frames with two-by-six horizontal members--two at ground, middle, and top levels. Drill pilot holes for stainless screws and install carriage bolts in joints. Add two joists at mid-level to support the deck boards to be installed later.

Stabilize Structure with Heavy Stakes around Inside Perimeter
Stabilize the play structure to prevent tipping by bracing the bottom with heavy stakes. Drive them with a sledge hammer against the inside perimeter of the base and secure them with 3-inch stainless screws.

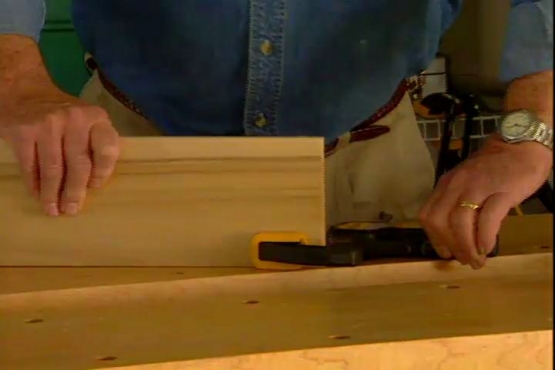
Install Deck Planks and Siding with Galvanized Screws
Install decking spanning all four joists. Space deck planks with a thin strip of wood or flat carpenter's pencil and secure with galvanized deck screws. Clamp and install siding planks on upper and lower levels in the same way.

Build a Landing and Attach the Play Structure's Rope Ladder
Build and attach a small wooden frame at ground level as a landing for a rope ladder. Attach the ladder to the upper railing with eye-bolts and to the bottom frame with heavy duty staples. Ensure tension is tight.

Attach the Climbing Rope with a Long Eye-bolt and Nut
Attach the climbing rope to the extended two-by-six on the top frame. Pre-drill for a long eye-bolt, insert the bolt and secure it on top with a nut. Have a full-sized adult test the rope to ensure its weight-bearing capacity.

Assemble the Ladder with Two-by-fours and Wooden Dowel Rungs
Clamp two-by-four ladder rails together and drill rung holes through both simultaneously to ensure holes are identically spaced. Insert the dowel and seat with a mallet tap. Secure rungs with screws and attach the ladder to the play structure.

Roll the Tube Slide into Position and Attach
Position the tube slide bottom in pea gravel and roll it upright to the play structure's upper frame. Attach the slide with bolts driven through each of the pre-drilled holes in the mounting flange at the upper end.

Attach the Ridge Beam and Install the Awning
Attach the ridge beam to support awning supplied with the play structure kit. Drape the awning over the beam and attach it to the upper frame with screws and fender washers.
Related Tips

Blog Articles

Have You Heard of Landscape Glue?
You love the rustic charm of a gravel walkway, but the constant scattering of stones across your lawn and patio can be a real headache. Whether it’s from pets, lawn mowers, or just foot traffic, it seems impossible to keep those stones in place. Sound familiar? Well, Brian shows us a simple DIY method using landscape glue to keep your gravel path looking pristine and, more importantly, in place.

How to Remove Candle Wax Drips: Two Effective Methods
Candles create a warm and inviting atmosphere, but those pesky wax drips can be a real headache. Luckily, Brian shows us a couple of effective methods to tackle this issue, and they involve two very different temperatures: hot and cold. Here, we'll explore two effective methods: one using cold and the other using heat.

Guide to Hanging on Masonry Walls
Ever wondered how to hang that picture frame or shelf on a brick or concrete wall? It can seem daunting, but with the right tools and techniques, it's a straightforward DIY project. This guide breaks down two common methods: using concrete screws and using anchors, making it easy for you to tackle your next hanging project.


