RON HAZELTON:
Hey, how you doing? You know, I've always liked the natural look of the tile here in this bathroom, but on the other hand, I've never felt that this countertop and sink really goes with it as well as I'd like.
Now, I've considered some options here. Thought about granite, but I don't think that's quite going to look right either. Don't really want to put more tile up here and I don't want a laminate. So what I think I might be interested in though, is concrete.
That's right, concrete. So I've asked my friend Jeff Kuryluk, who's a specialist in concrete countertops, to come over and have a look.
[DOORBELL]
Hey, Jeff. How you been, man?
JEFF KURYLUK:
I'm good, good to see you, how are you?
RON HAZELTON:
Come on in, come on in.
JEFF KURYLUK:
Thank you, thank you.
RON HAZELTON:
Okay, well, here it is, what do you think?
JEFF KURYLUK:
I think you've got a fantastic opportunity for concrete countertops. You have a very natural look to the tile, a lot of colors involved there, so with the concrete, we can pick up on any one of those colors, because we can do 1500 different colors of concrete.
RON HAZELTON:
Fifteen hundred?
JEFF KURYLUK:
Fifteen hundred colors.
RON HAZELTON:
I've gotta choose one, right?
JEFF KURYLUK:
You have to choose one. So we'll, we'll try and pick up on maybe a gray or a tan and it will look great.
RON HAZELTON:
So you think that the texture would be a good match for this.
JEFF KURYLUK:
The texture is very natural with the concrete so -- with little imperfections in the tile, it will go wonderfully.
RON HAZELTON:
Great. Well, I'm sold. What have you got here?
JEFF KURYLUK:
These are strips of wood. What I'll do with these is, we'll make a template of your existing countertop. We'll take the template, make our counter from that.
RON HAZELTON:
Okay. I'll let you go to work.
JEFF KURYLUK:
All right,
RON HAZELTON:
Jeff lays strips of quarter inch plywood along the edges of the existing countertop, then attaches it together, using hot melt glue. When he's finished, he's got a template that will allow him to duplicate the exact size and shape.
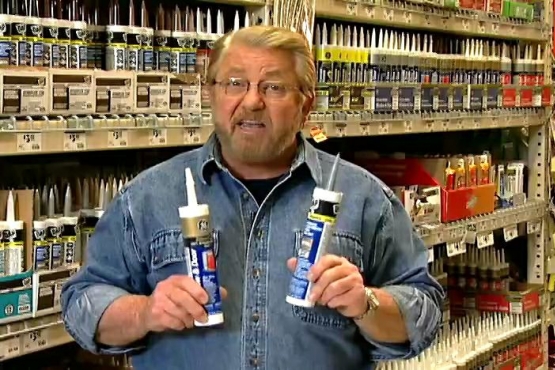
Then, Jeff and I make a trip to the home improvement center to pick up the materials we'll need for the new countertop. Sand, concrete, rigid foam insulation, caulk and this material, called melamine. Now this is actually particle board that has vinyl bonded to both sides.
Now Jeff is going to use this to build a mold into which he'll pour the concrete. When the concrete is cured, he'll knock the mold apart and it's this vinyl surface on here that will allow it to release easily.
[SOUND OF MACHINERY]
Jeff goes to work cutting the melamine into smaller pieces that will be used for the bottom and sides of the mold. He places the template on top of a larger panel, traces the outline, then cuts the mold bottom to size.
The laser on this miter saw makes it easy to align the cut.
[SOUND OF SAW]
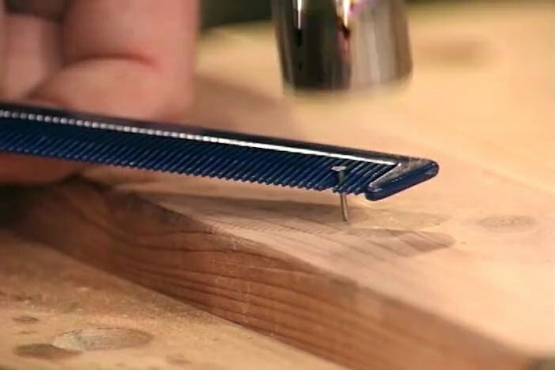
To make sure the sides are vertical, Jeff uses a block made from scrap that he holds against the inside surface as he nails. With all the sides in place, he makes a final check by test fitting the template in the mold.
Let me show you what Jeff's going to be doing. Rather than cutting and boring the openings for the sink and faucet, they'll be molded into the countertop. This will be done by attaching forms to the mold bottom and pouring the concrete around them. Once the concrete has cured, the forms will be removed, leaving the openings.
JEFF KURYLUK:
So, in the box that Kohler has supplied for you, there will be a template for the sink. Great. And what we'll do with this, they provide an exact outline of the sink hole, we're going to cut this out, we'll create our form from that.
RON HAZELTON:
The forms are made from one-and-a-half-inch thick rigid foam insulation. The sink template is laid on top and traced. Then the shape is cut out, using a band saw. A jigsaw or a long blade would also do the job.
The edges of the form are wrapped in clear packaging tape. The tape will allow the form to release easily and create a smooth, finished edge on the sink opening. Next, Jeff uses a piece of inch-and-a-half drainpipe to punch out small cylinders from the insulation. These too, are wrapped in packaging tape.
Finally, the forms are attached to the mold base with silicone to create what will eventually be the sink opening and holes for the faucets and spout. The seams in the mold are sealed with silicone, to give the countertop edges a smooth, rounded shape.
This spray-on tooling liquid will allow Jeff to get a perfectly clean, uniform bead by drawing his finger over the joint. The mold is finished and ready for concrete.
First, dry concrete and sand are mixed together.
[SOUNDS OF MIXER]
JEFF KURYLUK:
We're going to start adding our color --
RON HAZELTON:
So what is this?
JEFF KURYLUK:
That's a oxide which will make the concrete a deeper gray, sort of a soapstone color. And then this is our special mix which we'll add in there. Makes it strong so that we've got the strength to hold up as a countertop.
RON HAZELTON:
This additive is a blend of plasticizers and other materials Jeff has developed from his own experience. With the dry ingredients thoroughly mixed, it's time to add the water. Mixing time is somewhat critical. Too much or too little can affect the strength, appearance and pliability of the concrete.
Next, the mixture is poured into the form, filling it about two thirds full. An orbital sander, held on edge, serves as an excellent vibrator, leveling the concrete mixture, distributing the aggregate, and eliminating air bubbles. Then, steel reinforcing mesh and rebar is laid in place. The vibration causes it to sink to the center of the mold.
Finally, more concrete is poured on top -- and a piece of wood is used to screed off the excess. It will take this concrete about a week to cure.
[MUSIC]
Jeff's coming back today. Before he gets here, I'm going to remove the existing countertop. To start with, I'm removing the vanity doors to give me plenty of work room. Then I shut off the water, take off the P-trap on the sink drain and remove the supply lines.
This molded countertop and sink is attached to the cabinet with silicone adhesive. I'm cutting through the silicone, using a two-inch-wide putty knife. Next, I cut through the sealant along the edge with a sharp utility knife.
This cold chisel that I've ground into a long taper, works like a wedge, easily separating the top from the base. A flat pry bar finishes the job.
Wow, so it's been a week. Now it doesn't take concrete a week to set up, does it?
JEFF KURYLUK:
No, the concrete will get hard within about 24 hours. I like to leave it in the form for up to a week because that slows the curing process down. And what happens then is that the concrete will be stronger the slower it cures and that will enable us to work with it, flip it over, start polishing it.
RON HAZELTON:
First, Jeff cuts the form for the sink opening into sections, then pries the pieces out. Next, he taps the sides of the mold apart and removes them. Together, we stand the countertop on edge and carefully remove the mold bottom.
Finally, the tape-wrapped foam cylinders are pushed out, leaving the holes for the faucet fixture. The edges of the countertop are smooth and polished, using a resin-backed diamond pad. Actually, the sides and top are polished three times with progressively finer pads, lubricated with water. Sealing is the final step. This milky liquid will dry clear and make the surface resistant to stains and spills.
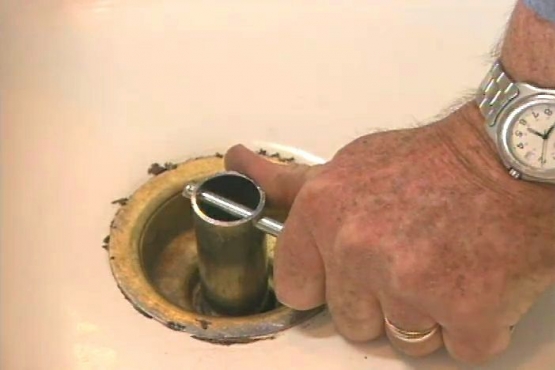
While Jeff is finishing up the polishing, I go upstairs and begin installing the fixtures on the sink. Plumber's putty, rolled into a coil and laid around the drain opening, will make a watertight seal.
The tail piece is inserted from the bottom, hand-tightened and snugged up, using a pair of multi-groove pliers.
[MUSIC]
The sink will rest on these brackets or rails that Jeff installs on the inside of the vanity. The sink goes in first, the countertop we'll set on top.
Now I can go ahead and mount the faucet and valves on the new countertop. These clamps will hold the countertop on edge, leaving my hands free to work. The valves and faucet drop in from the top and are secured in place by tightening a large nut on the underside. The ring of plumber's putty will make a seal on the top, preventing any water from dripping into the cabinet below.
Whenever I possibly can, I attach fixtures to a countertop before I set it in place. It's a whole lot easier to do it this way than lying on my back in the cramped quarters of a vanity cabinet. The hot and cold water valves connect to the faucet, via this tubing.
It's here in the faucet that the mixing takes place. With everything tight and ready to go, I clean off the excess putty. A bead of silicone along the lip of the sink, will seal it securely to the bottom of the countertop. One thing about concrete is, it's heavy.
The two of us are careful to keep the countertop vertical as we carry it in. When we're over the vanity, we lower it carefully into place.
We're clear.
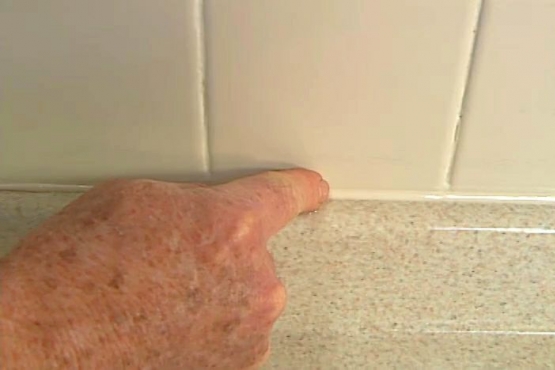
The matching concrete backsplash attaches to the wall with a bit of silicone. Silicone is also used to seal the joint between the top and wall. All that's left to do now, is attach the water lines, tighten them up, install the drain pea trap -- and re-hang the vanity doors.
[SOUND OF
[WATER]
Now who would have thought that something that started out looking like this, ended up looking as terrific as this? You know, it's made a believer out of me. As a matter of fact, I guess you could say, I've had a concrete encounter.
